Hot weather, ever more frequently. You need one of those drinks with electrolytes in, but they cost a lot. Don’t worry, you can make your own! This recipe is cheap, easy, and likely to be fatal…
Obviously, the main ingredient you need to find will be some electrolytes. You can get them from electrolytic capacitors. Old ones that have blown will be most suitable for this recipe. They have the best flavour. Or you can buy cheap batches of them on online market places, who would rather I didn’t mention them.
Ingredients
A pound of electrolytic capacitors
A quart of battery acid
Juice of a lime
Fresh water from a stream
Method
Blend the capacitors in a blender, until they are totally blended. You will need to do this for a couple of hours at least, to get the best texture.
Boil up the electrolytics in the battery acid, until just before the bottom of the pan dissolves away. A breathing aparatus set is recommended while you do this.
Dilute the resulting dangerous poison with stream water until it is safe. A few million gallons should suffice.
Drink the lime juice.
Throw the rest away, and never, ever rely on recipes scraped from the internet.
But I’m in the process of moving to self hosting, and when I do, the domain name doctor-dark.co.uk should continue to work. Of course, a Raspberry Pi 5 will be slower then the dedicated hosting I am paying for. But much cheaper…
I’ve been using slow cookers for ages. Decades. I have put a great deal of effort into getting the temperature in them up to boiling point, so the contents were simmering nicely. Because I thought I needed to.
More recently though, I have been cooking things sous vide, where the meat (or whatever else it might be) is held at the temperature for “doneness” for a couple of hours or so, and then flash fried on the outside.
Today, I am slow cooking beef brisket. I browned the outside of the joint in a frying pan before putting it in the slow cooker, as you do. While I was waiting for the liquid to boil, I realised that I do not have to! It only needs to get to the “done” temperature… As long as the other ingredients are cooked (and after nine hours I think they will be) all will be well.
I expect that if I tell people this, they will shake their heads, and say “Surely everyone knows that?” I looked for introductory slow cooking articles online, to see if I could confirm this insight, only to find an article that insisted the slow cooker should get to 150°C for brisket. It must have been written by a machine, using source text about cooking in a smoker, I assume.
I have been reading this cookery book, because who doesn’t read cookery books? It’s a translation of a 13th Century book, written by a Moorish scholar who loved the food in Andalusia and Maghrib. ISBN 978-9004469471. It can be bought from Blackwells, if you have a awful lot of money to spare. Even the paperback is £42! Fortunately, it is possible to obtain it as a .pdf file.
I have so far read the very informative, scholarly introduction by the translator, the section on bread, and am now well into the meat dishes section.
I wasn’t particularly surprised to find that none of the recipes include weights or volumes of ingredients. That sort of thing is common in old recipe books. By old, I mean Mrs Beeton era, not the tatty Good Housekeeping book one tends to inherit when the oldies move on to somewhere food doesn’t matter any more… Those are quite good.
But I was a little surprised to find how many of the meat stews were served by breaking a lot of bread into tiny bits in a bowl, pouring stew juices on the bread, and layering meat on top, often followed by an egg mix. I couldn’t think of anywhere I had seen this, until I went to our cookbook library and searched a few favourite books.
There was nothing like this in Arto der Haroutounian’s Penguin paperback, “Complete Arab Cookery”, as far as I could see. But then I thought, who has written more knowledgeably about Middle Eastern food than anyone else I can think of? Claudia Roden, obviously. She’s a cookery book superhero, and in “Arabesque” (ISBN 978-0-718-14581-1) there are two recipes that are served that way. One is Turkish, “Kofte Kebab with Tomato Sauce and Yoghourt” on page 212, and the other is Lebanese, “Chicken and Chickpeas with Yoghourt”, on page 307.
I did also look briefly in Clarissa Dickson Wright’s “A History of English Food”, (ISBN 978-0-099-51494-7) to see if there was anything similar in our own food history. At first, I couldn’t find anything, but then I remembered – we didn’t bother with the bowl. The bread was a flat loaf called a trencher, left intact instead of breaking it up, and the meat and gravy went on top of that. And anyone who ate all of the meat, and the gravy-soaked trencher as well, as called a “trencherman”.
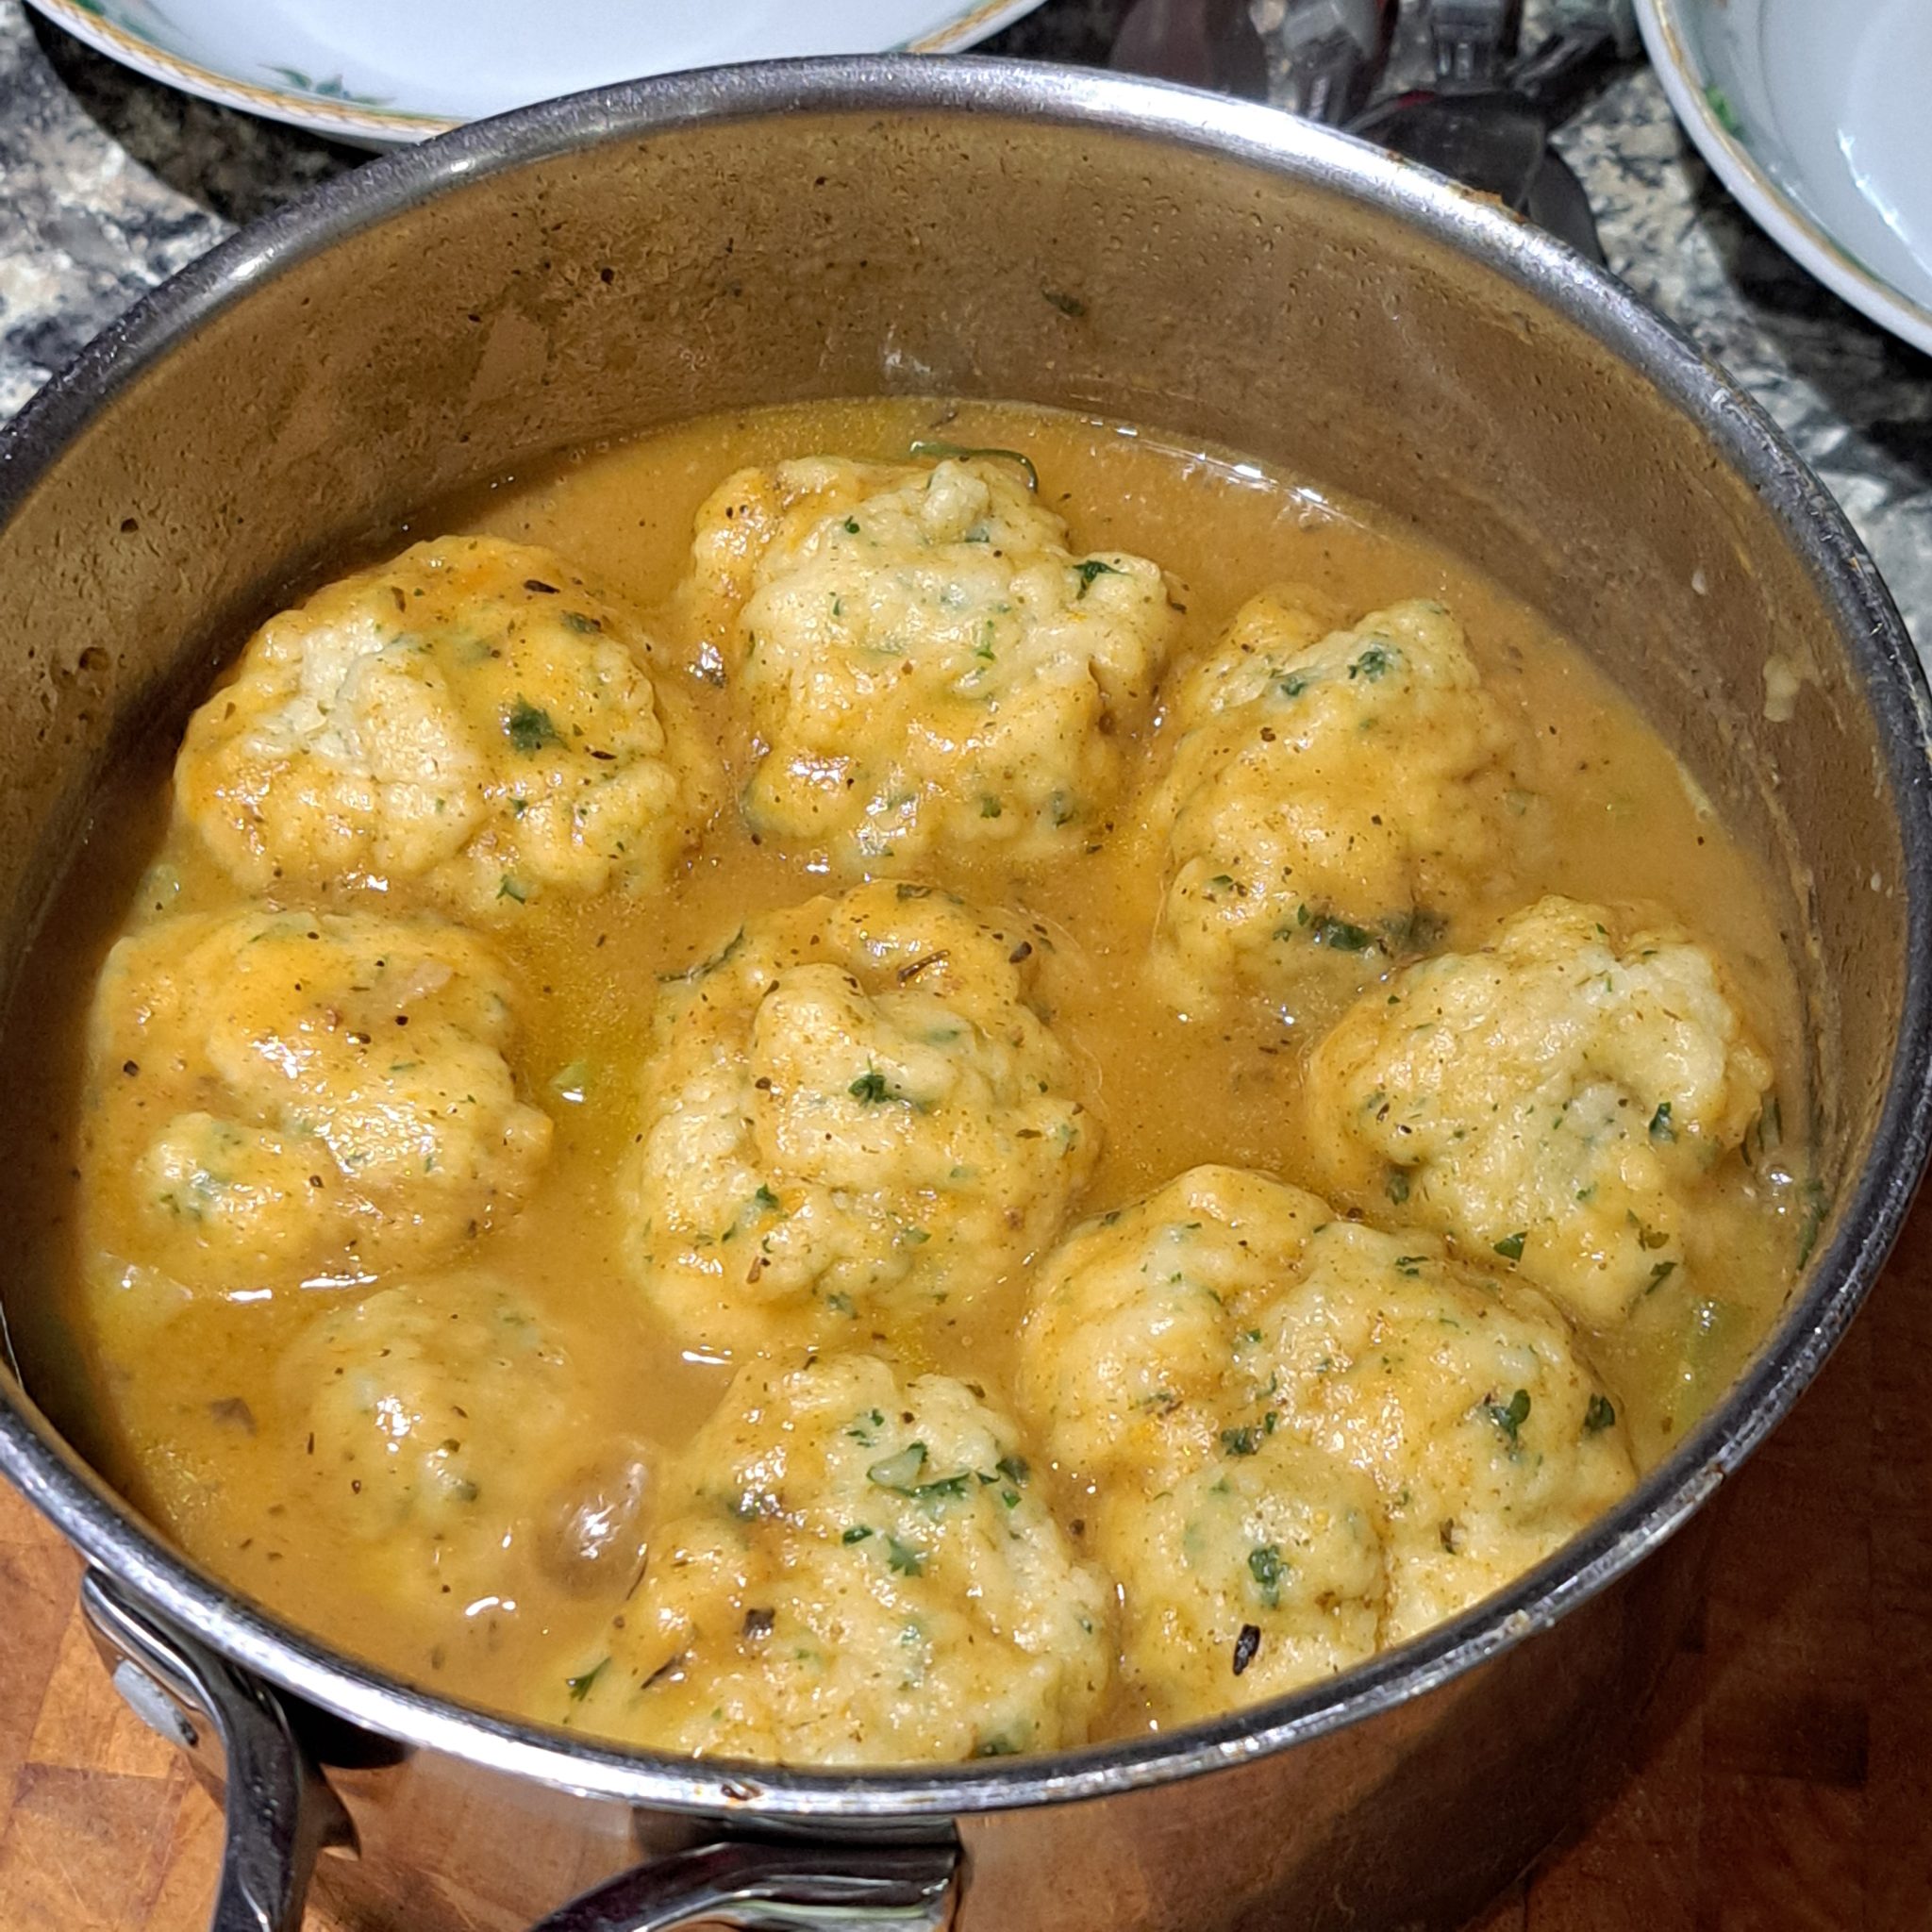
I’ve been making dumplings in stews for, ooh, forever. I always made them the way my Mum did, with Atora suet, using the recipe on the packet. And more often than not, I made solid cannon-balls, instead of the light, fluffy things I was intending to make.
Today, I found we had run out of suet. A quick scan of the entire internet (OK, I used a notorious search engine that shall not be named here) revealed that suet is not considered necessary. There were recipes using melted butter, and other recipes using olive oil.
All the recipes were pretty similar, take some self-raising flour, add a bit of baking powder, herbs if you like, salt, and more or less equal amounts of olive oil and milk. You only need just enough liquid to be able to form a dough from the dry ingredients. If it’s sticky, add more flour. If you mix it about too much, you’ll develop the gluten in the flour, and get cannon-balls…
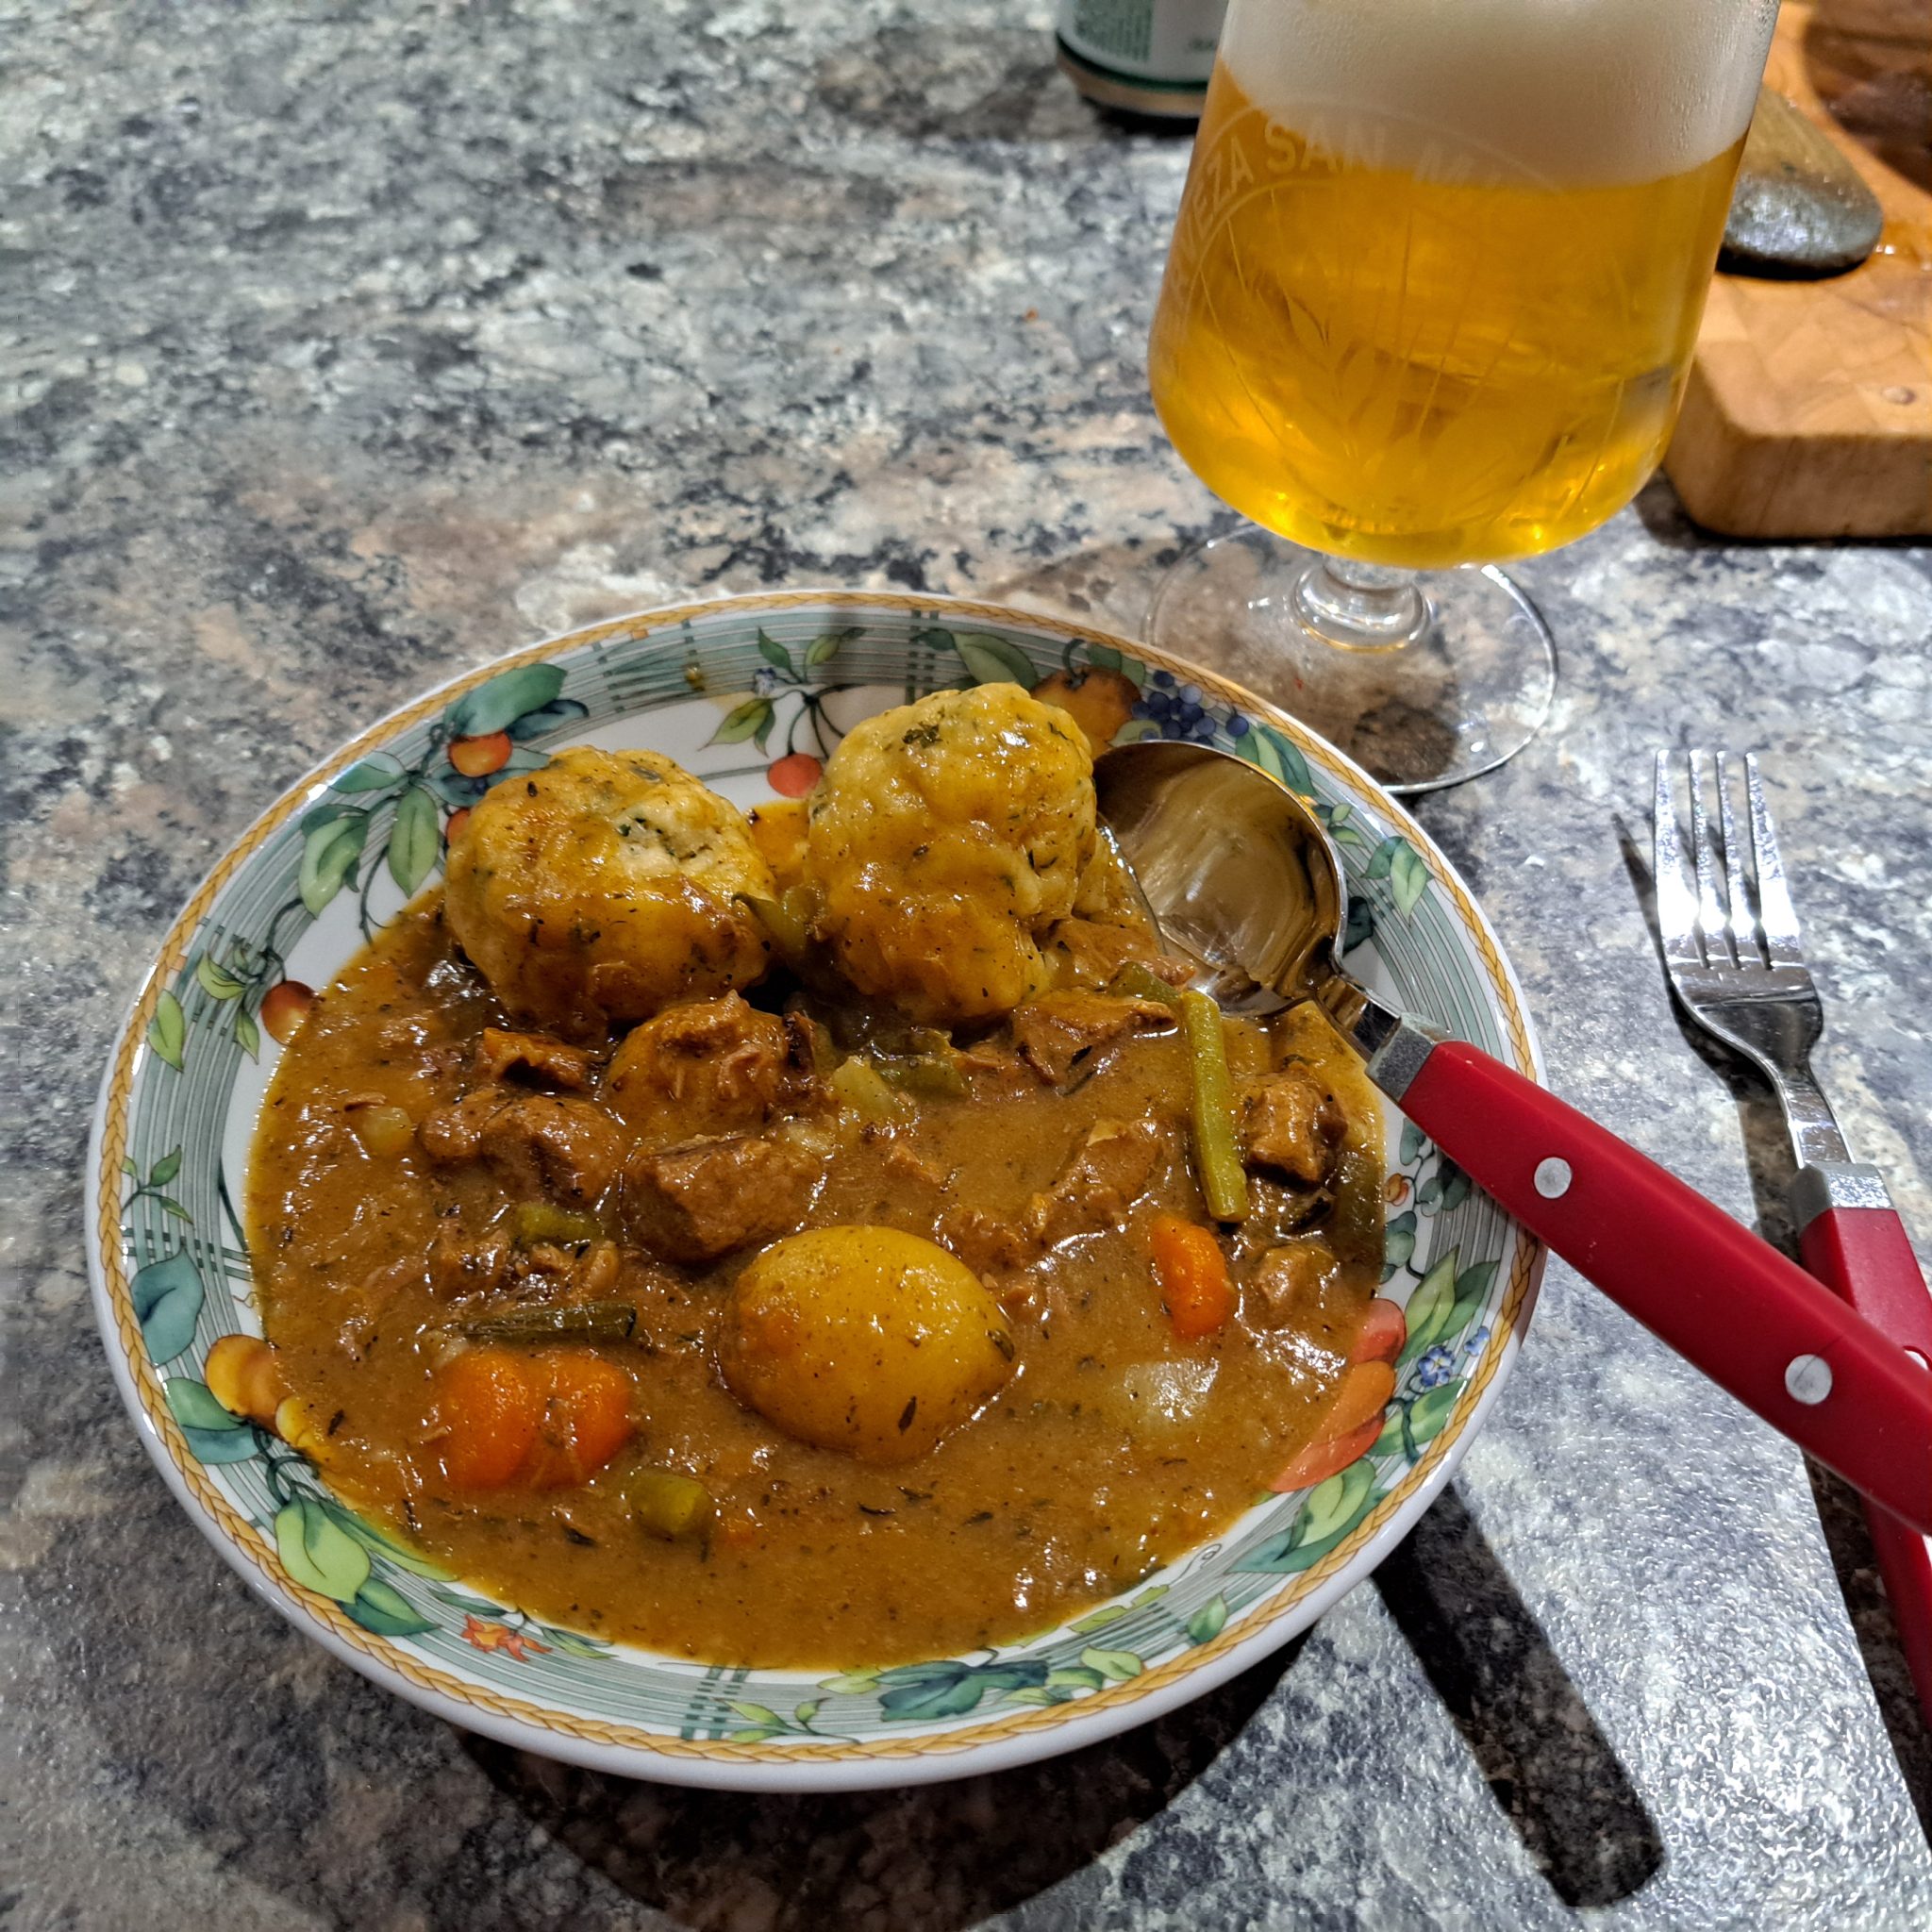
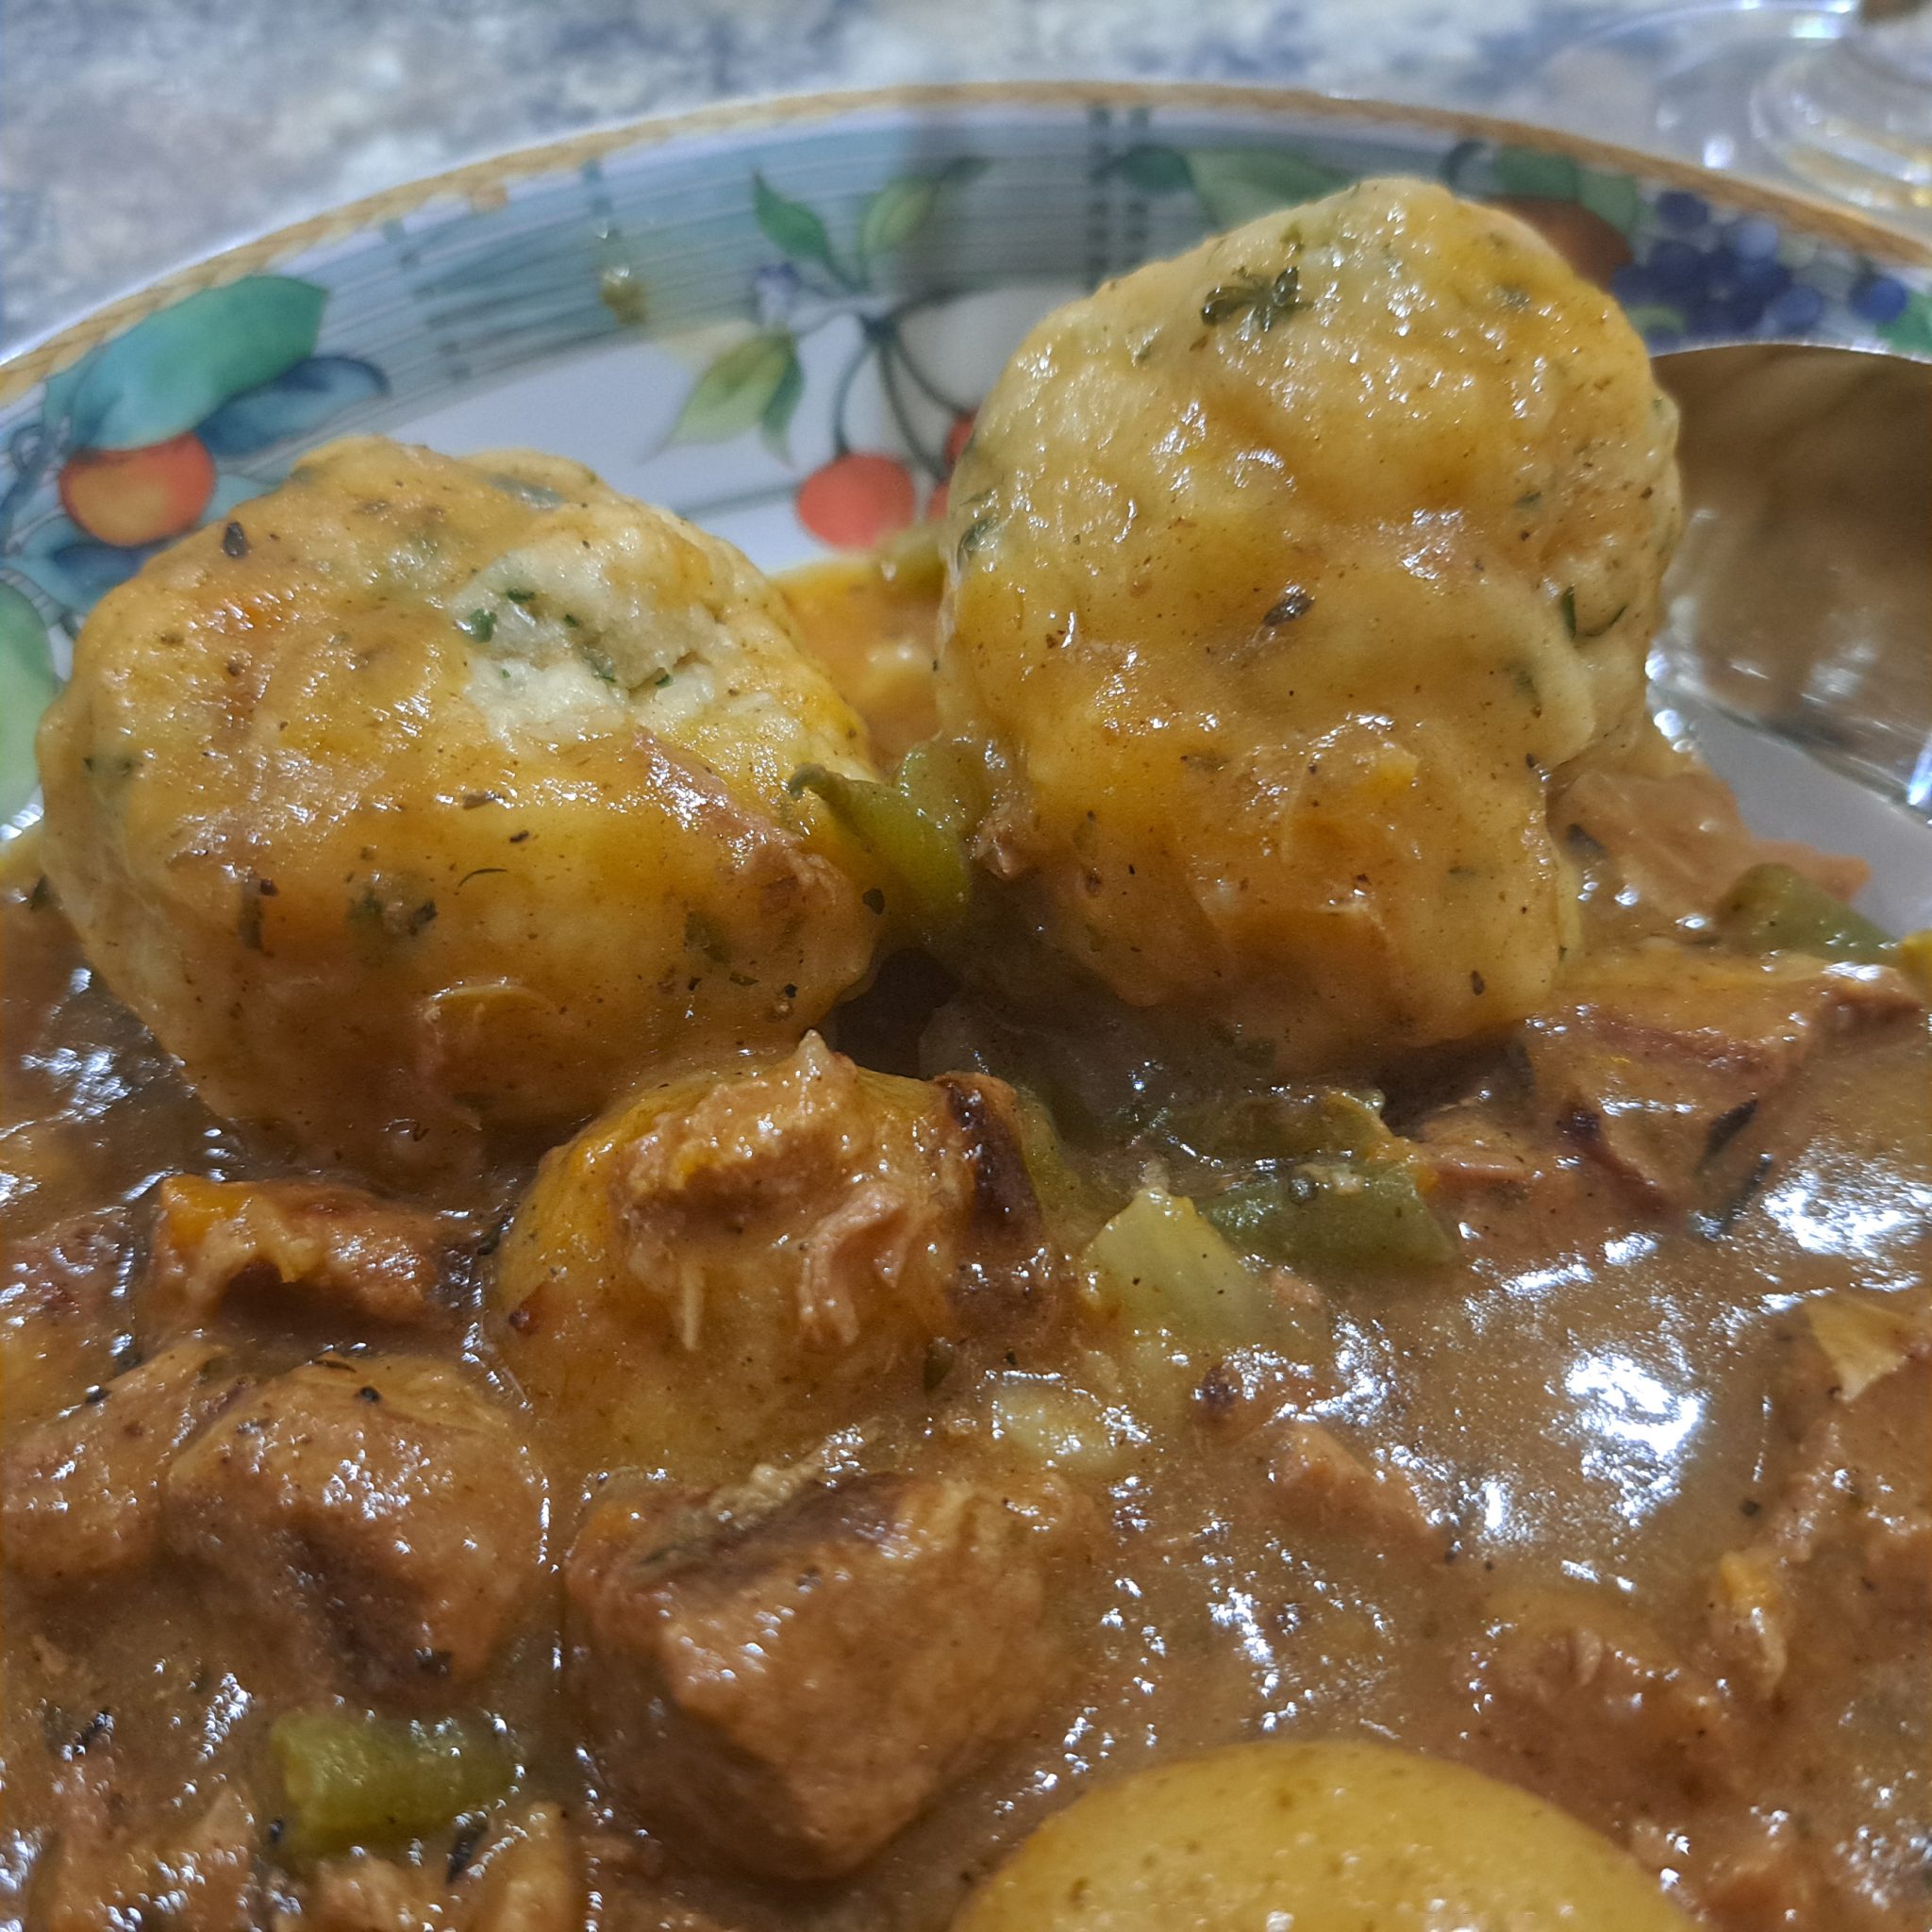
To my great delight, the result was nice and fluffy!
Yes, that is a beer. We also ran out of red wine.
Definitely fluffy, not cannon-balls. No more suet for this purpose, then!
Nice Mr Tesco sold me a beautifully smelly La Rustique Camembert cheese for a £1, and I decided I wanted to bake it in a loaf of bread. Not a ready made loaf, which was what all the online recipes I found showed how to do. So, here’s a way to make a cheesy loaf from scratch, in case you wanted to.
150g Wholewheat flour
350g White bread flour
7g Easy Bake yeast
10g Salt
350g Water
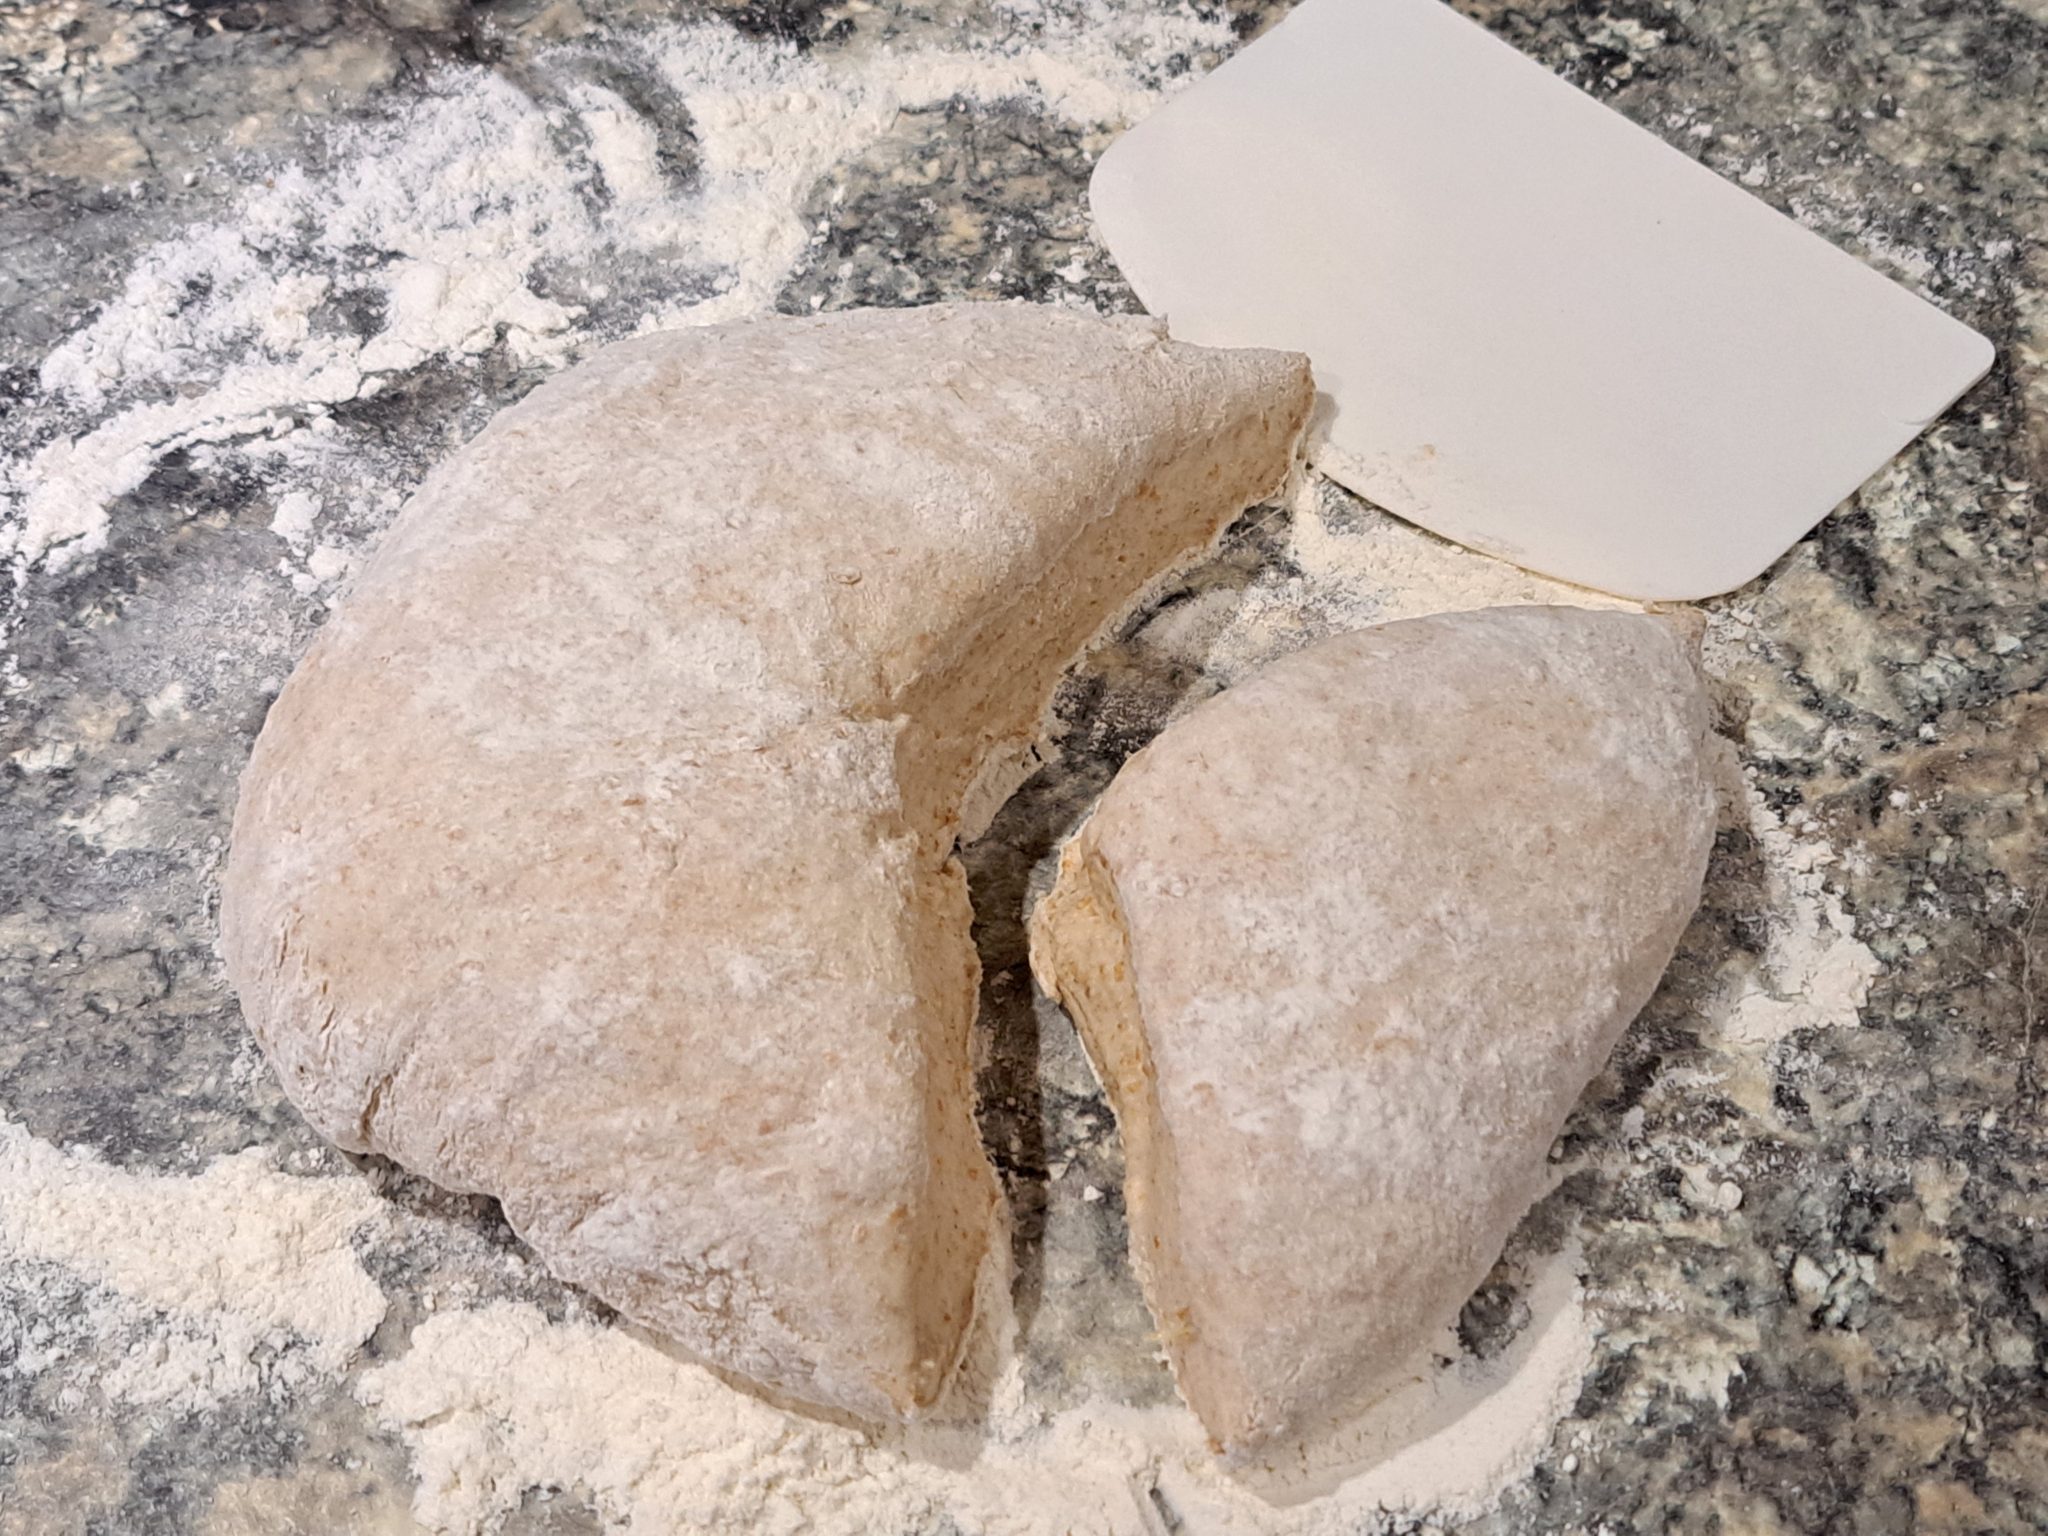
If you don’t know how to make a bread dough with those ingredients, I think I may have explained it in another post, somewhere. Basically, mix it all up, knead it, let it rest, knead it again. That sort of thing, you know, normal bread making… I divided about a third of it off to wrap the cheese in.
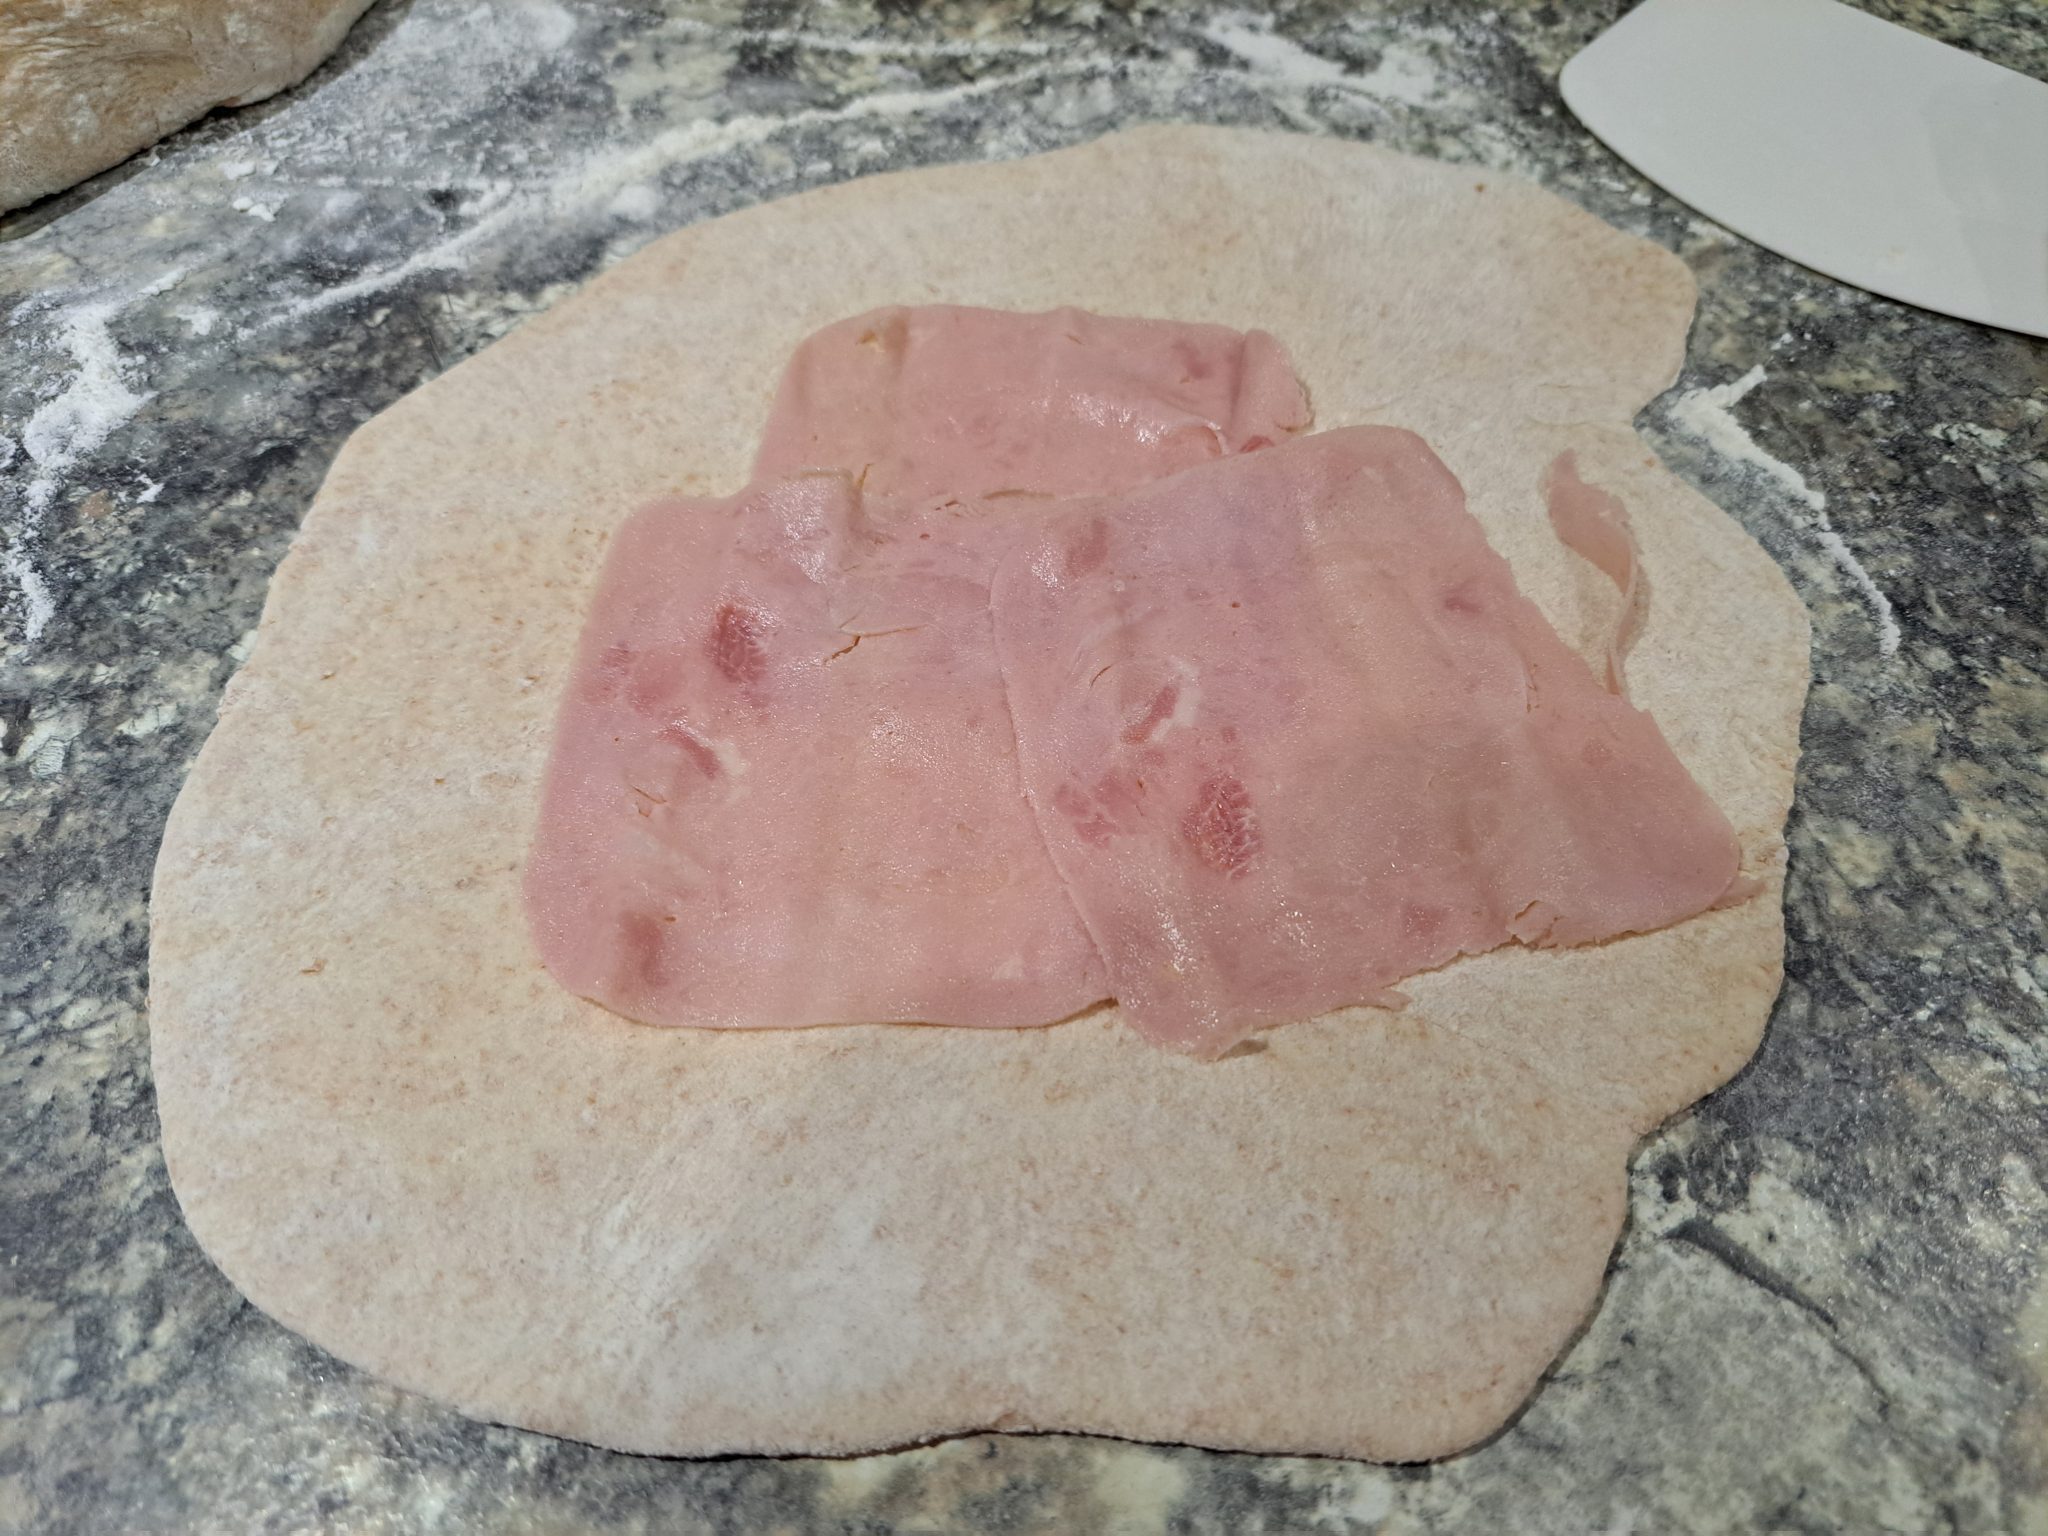
Previous attempts of mine to make this sort of thing went wrong because the molten cheese leaked out, mainly because I had the joins underneath when I baked it, instead of on top. But, to make sure, I added a layer of wafer thin ham slices. I think the leakage may have been made worse because I previously used ordinary, cheap Camembert, which seems more runny than La Rustique, when it’s cooked.
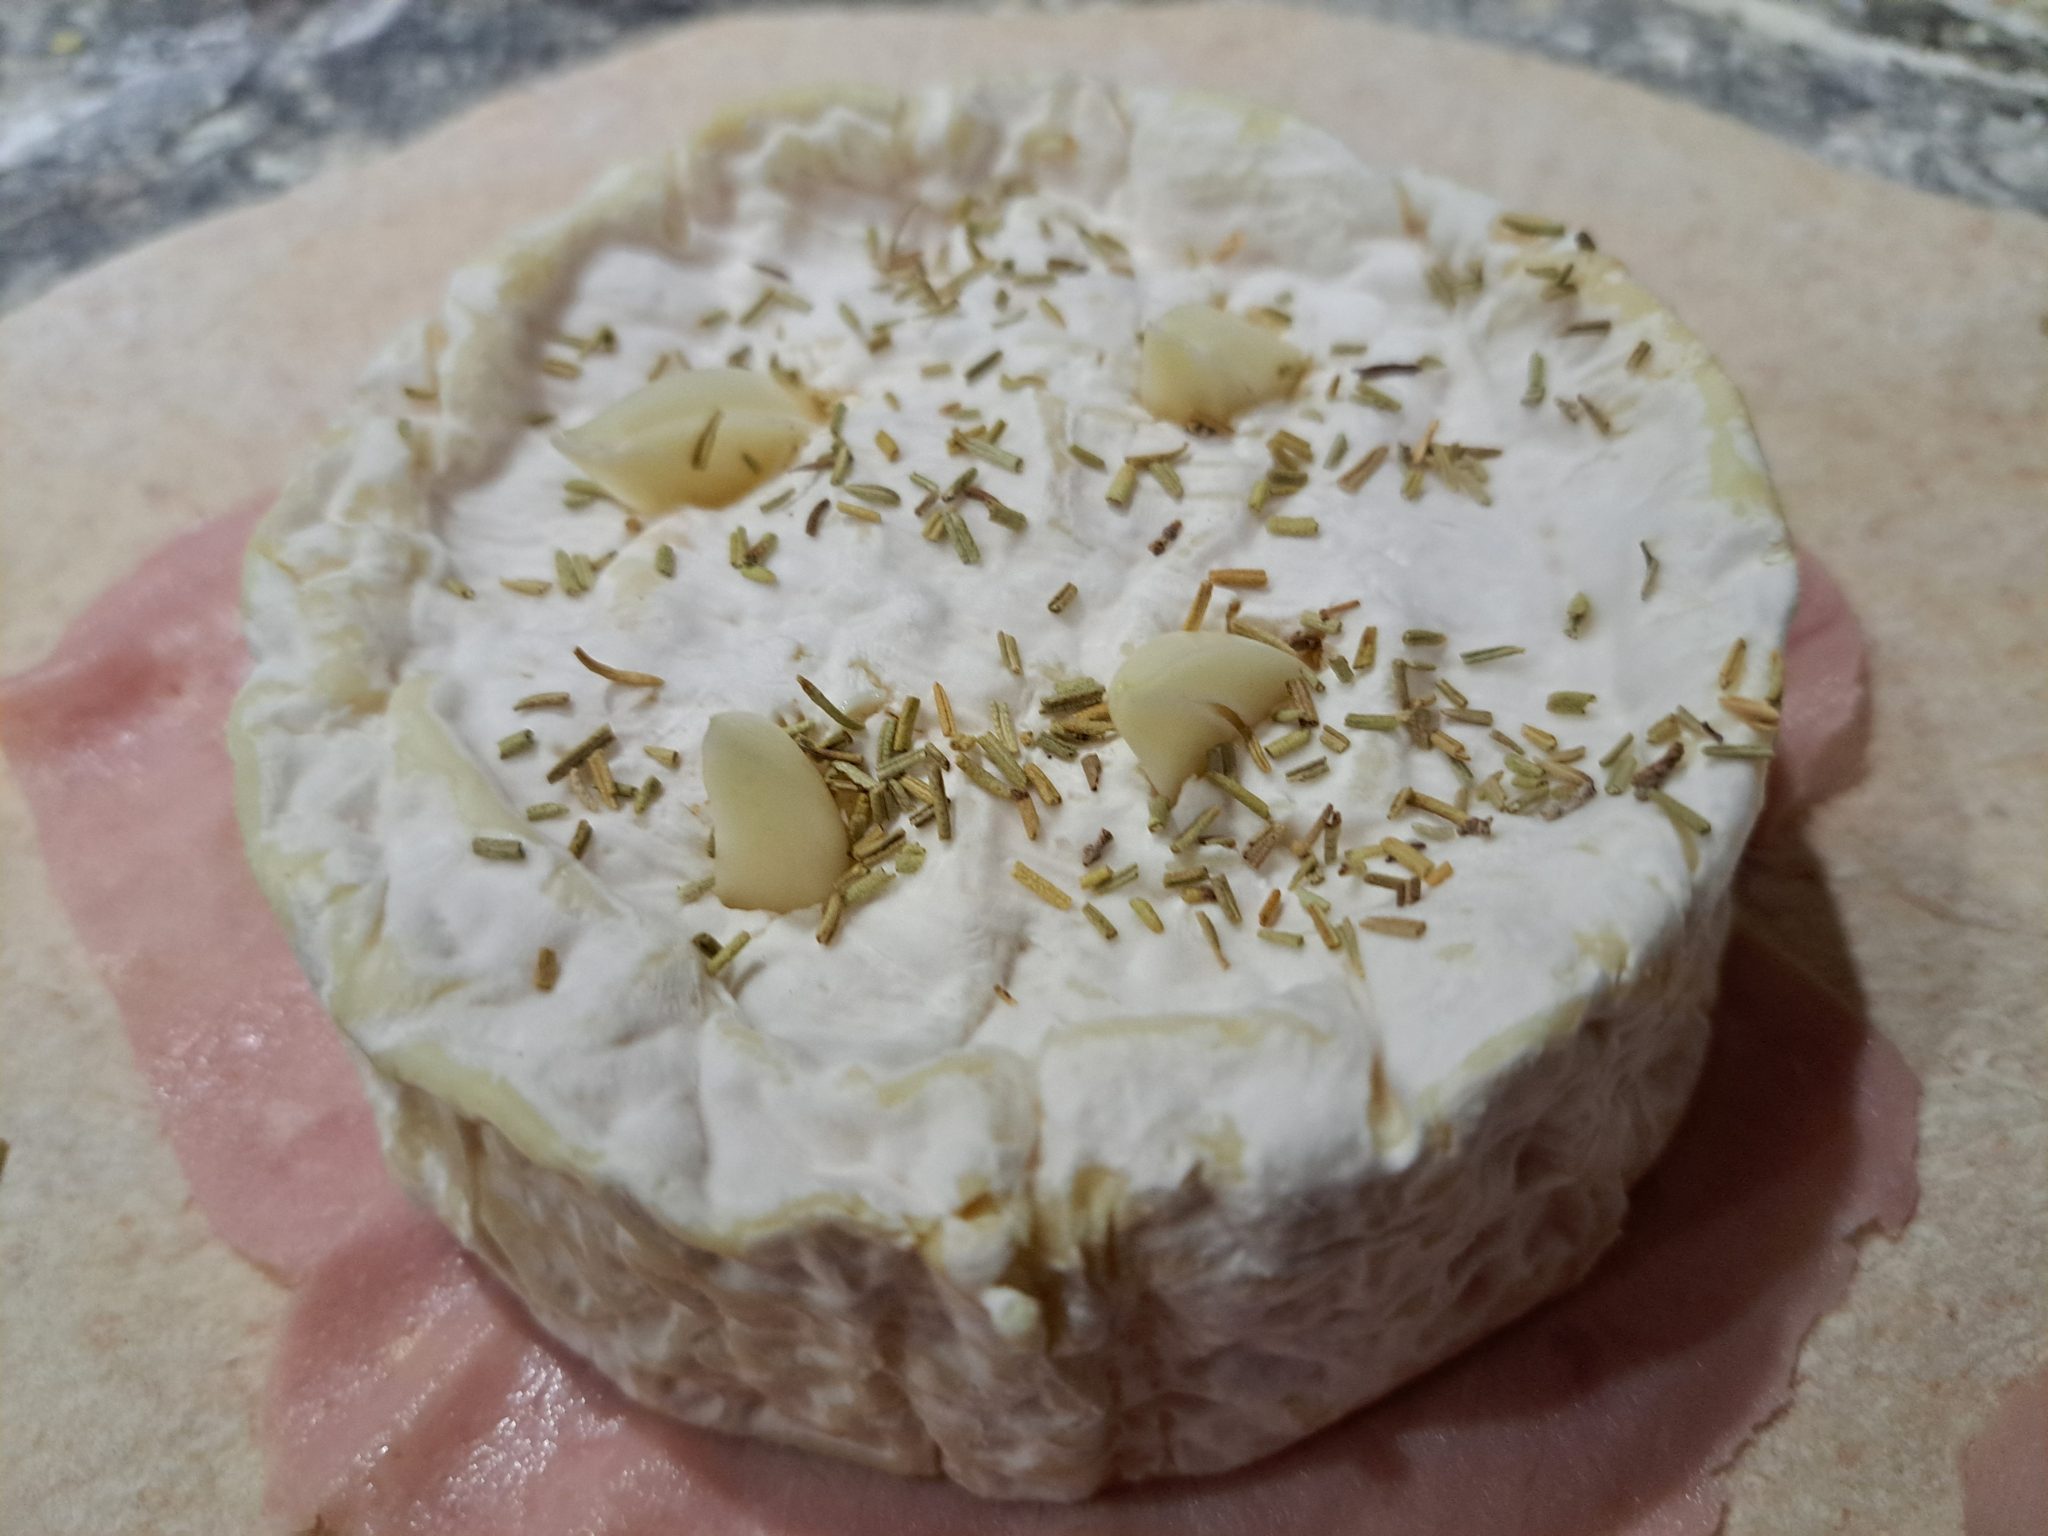
I put the cheese on top of the ham, cut slots in it, pushed garlic pieces into the slots, and sprinkled it with rosemary.
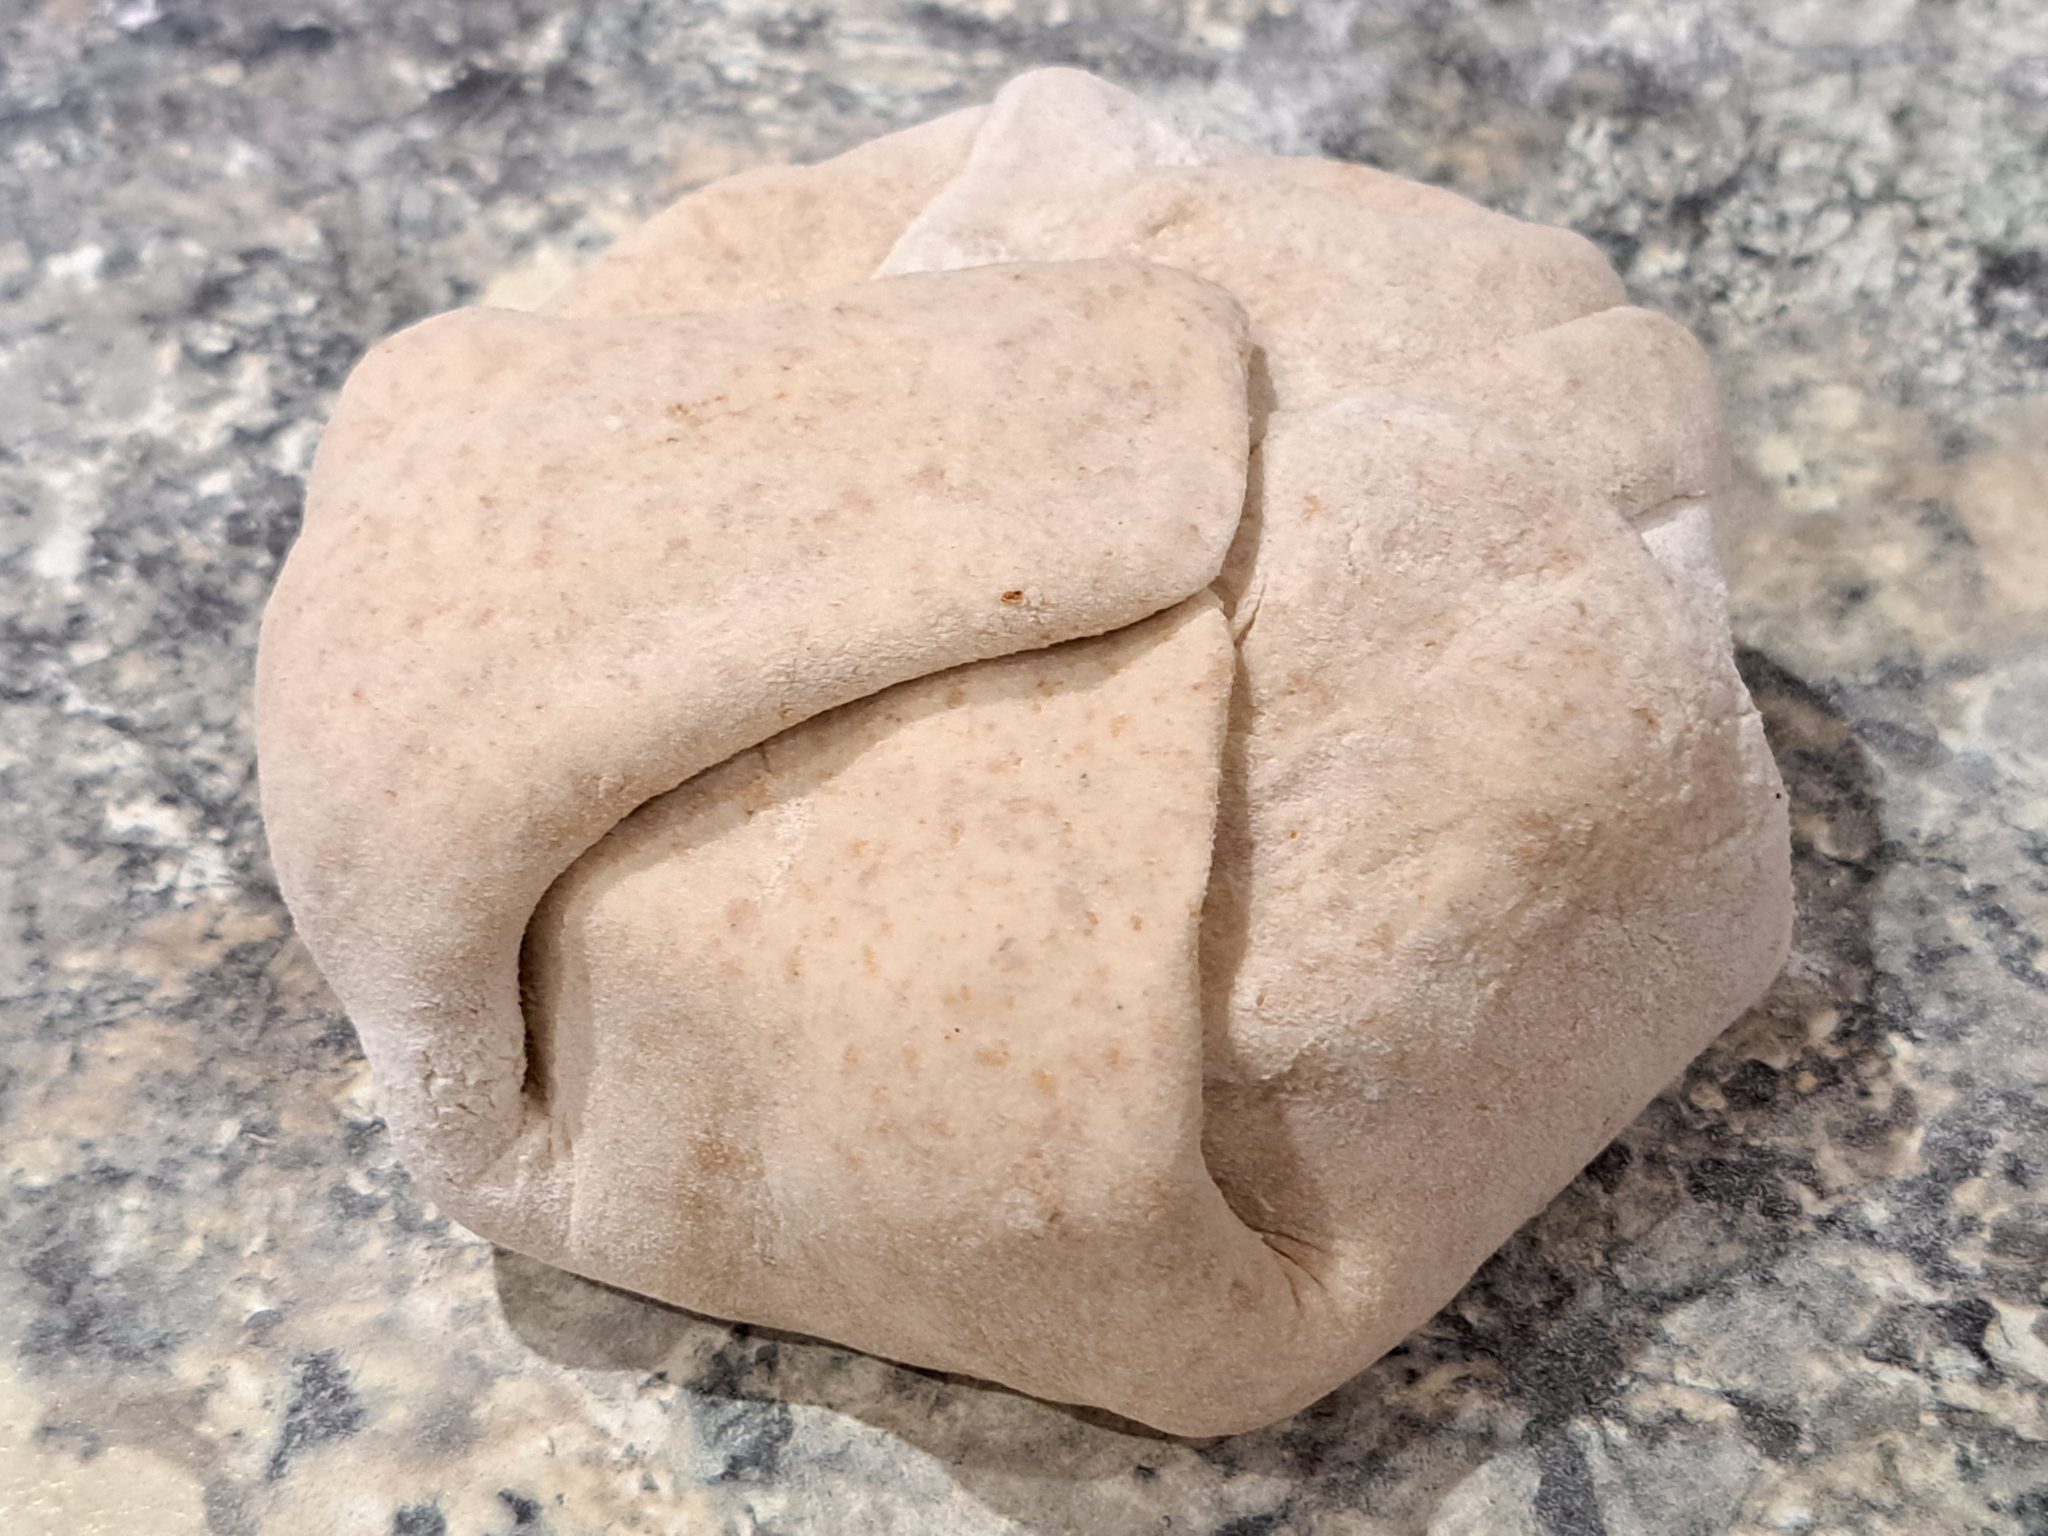
Then, I folded the dough over the top, not particularly tidily, and gently pressed it to seal it together. A lot of recipes leave the top of the cheese exposed, and I may try that another time.
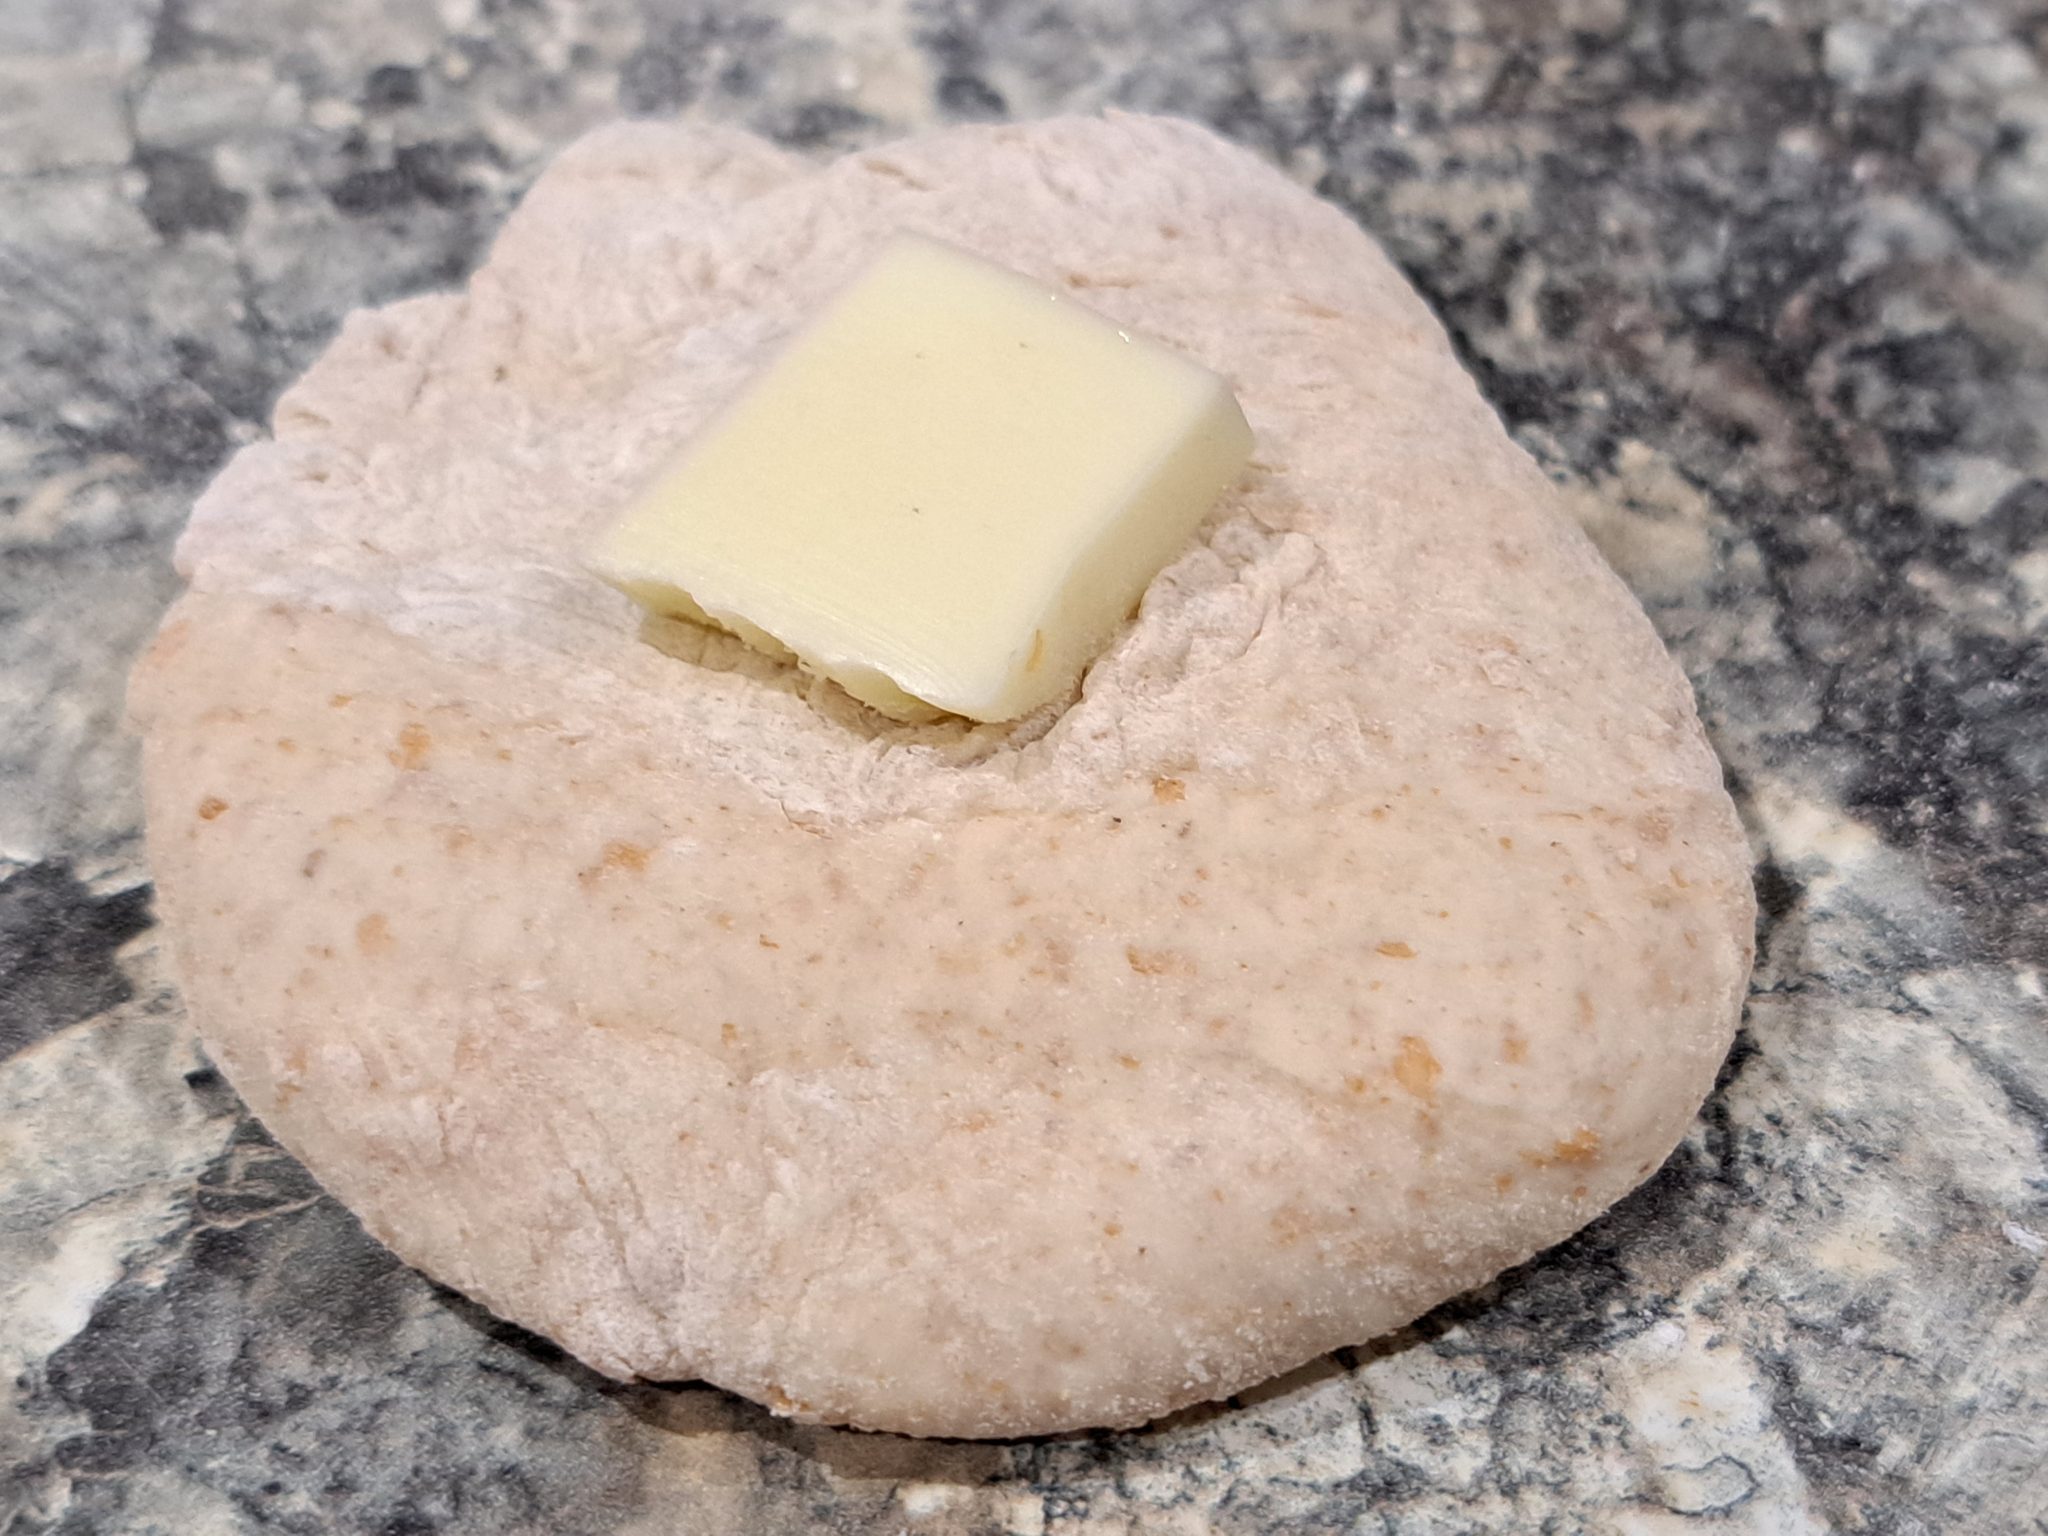
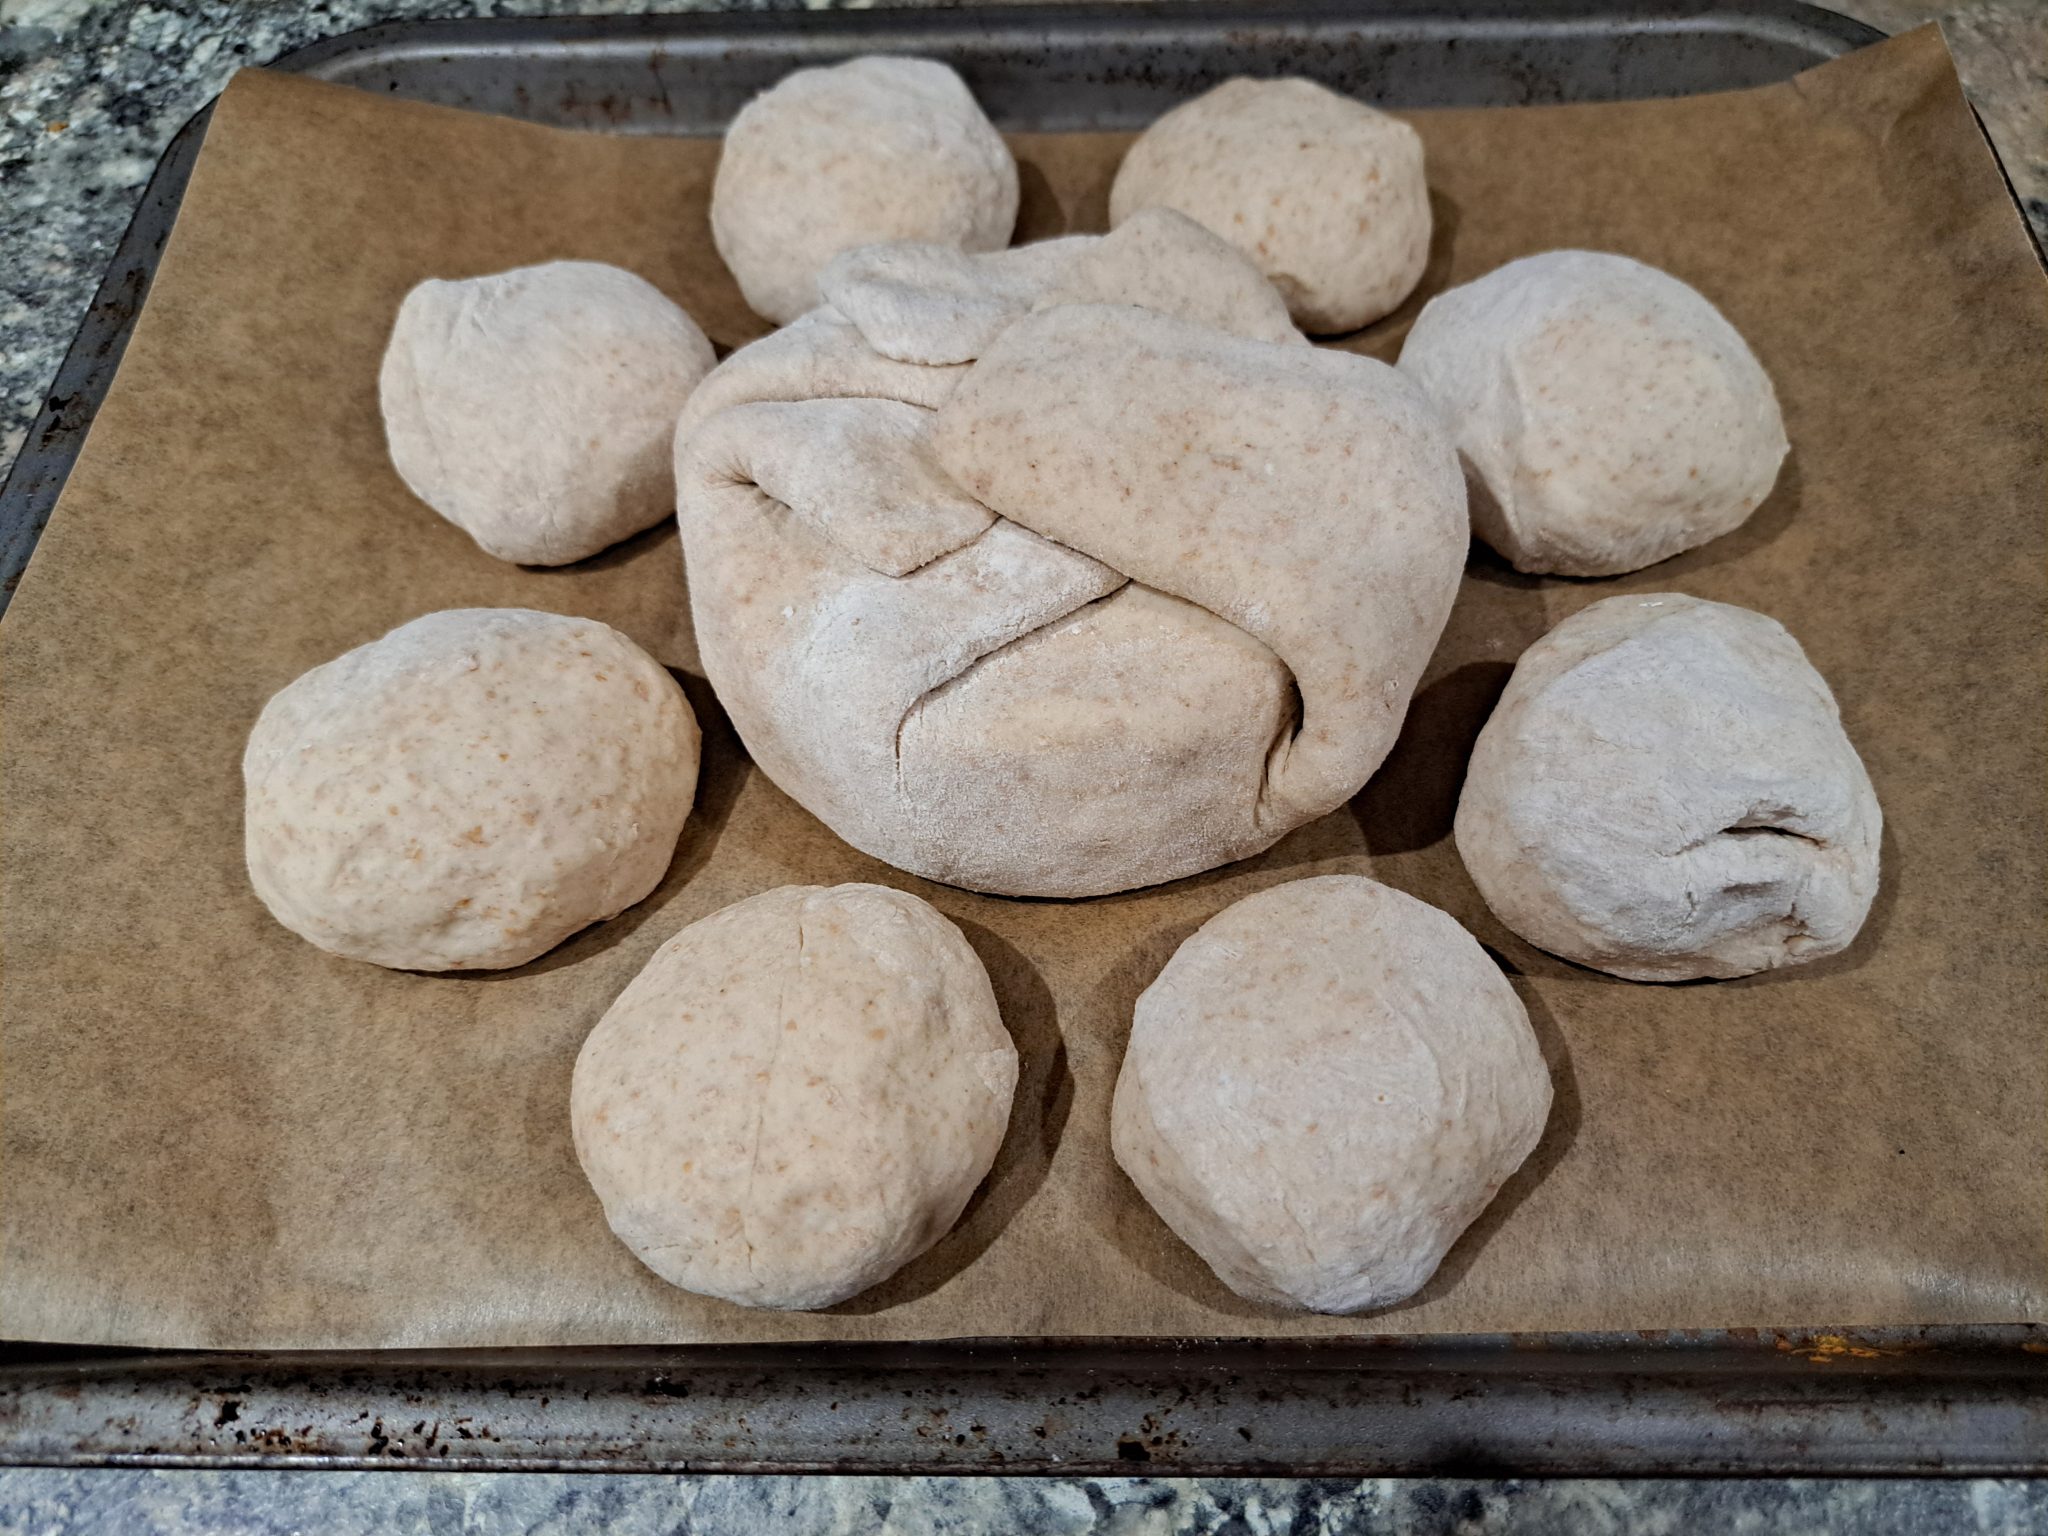
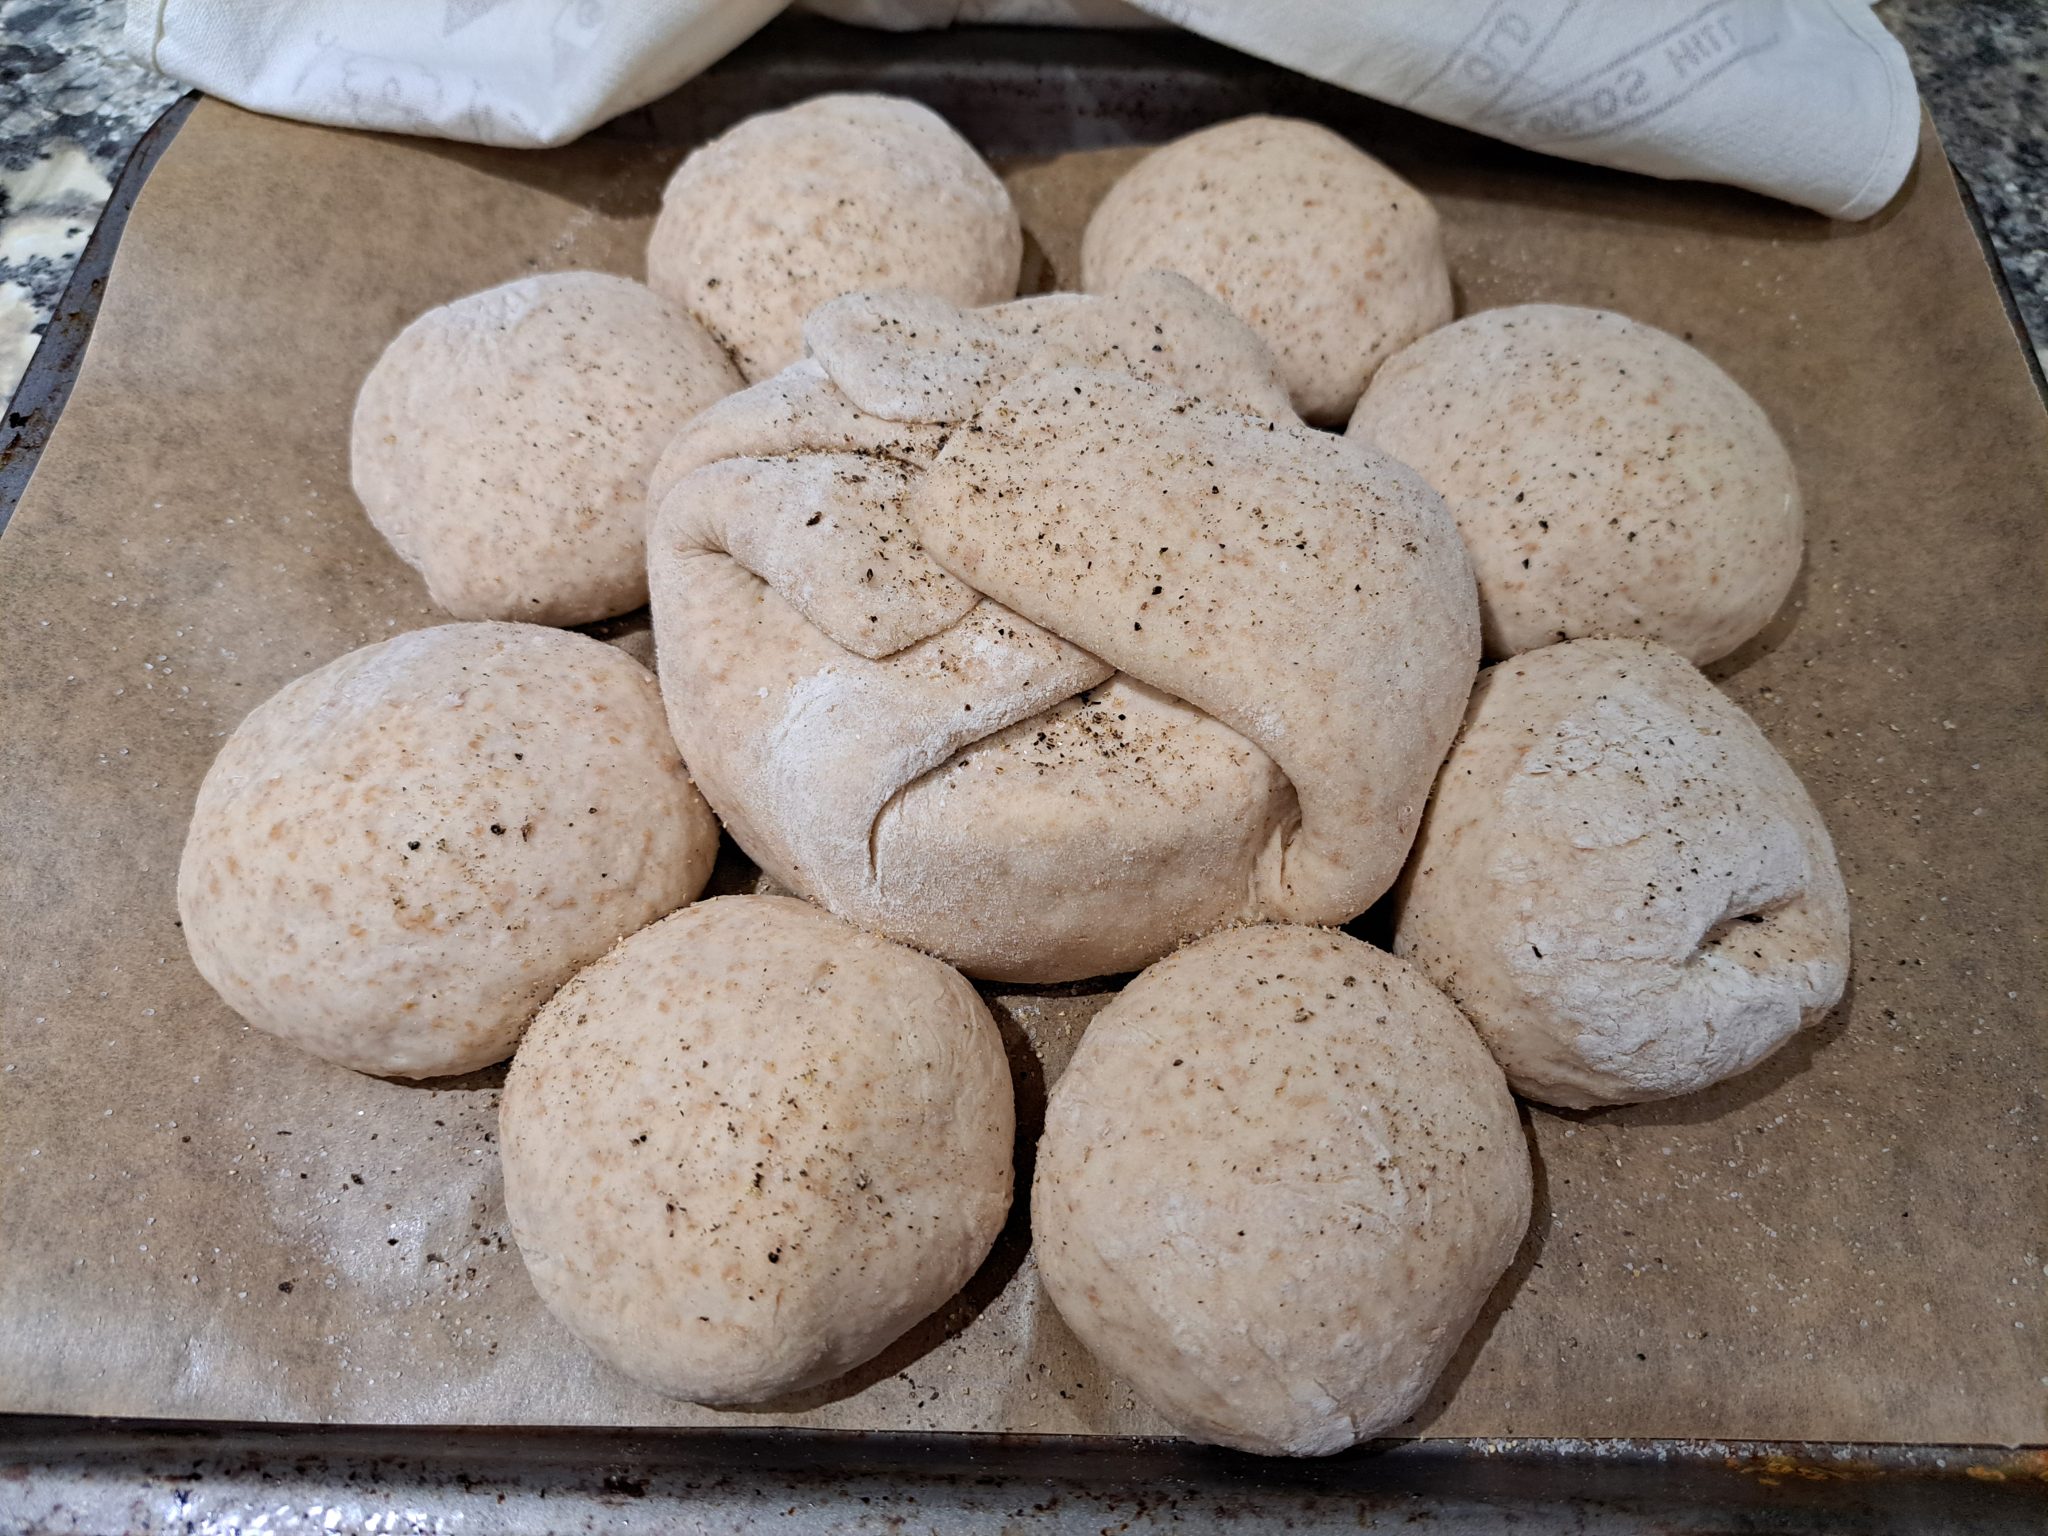
I divided the remaining dough into eight pieces, put a bit of mozzarella that was lurking in the fridge into each one, rolled them into, well, rolls, and arranged them around the main loaf.
Then, I left them in a warm part of the kitchen to rise for a while, until the rolls were starting to merge with the main loaf, like this…
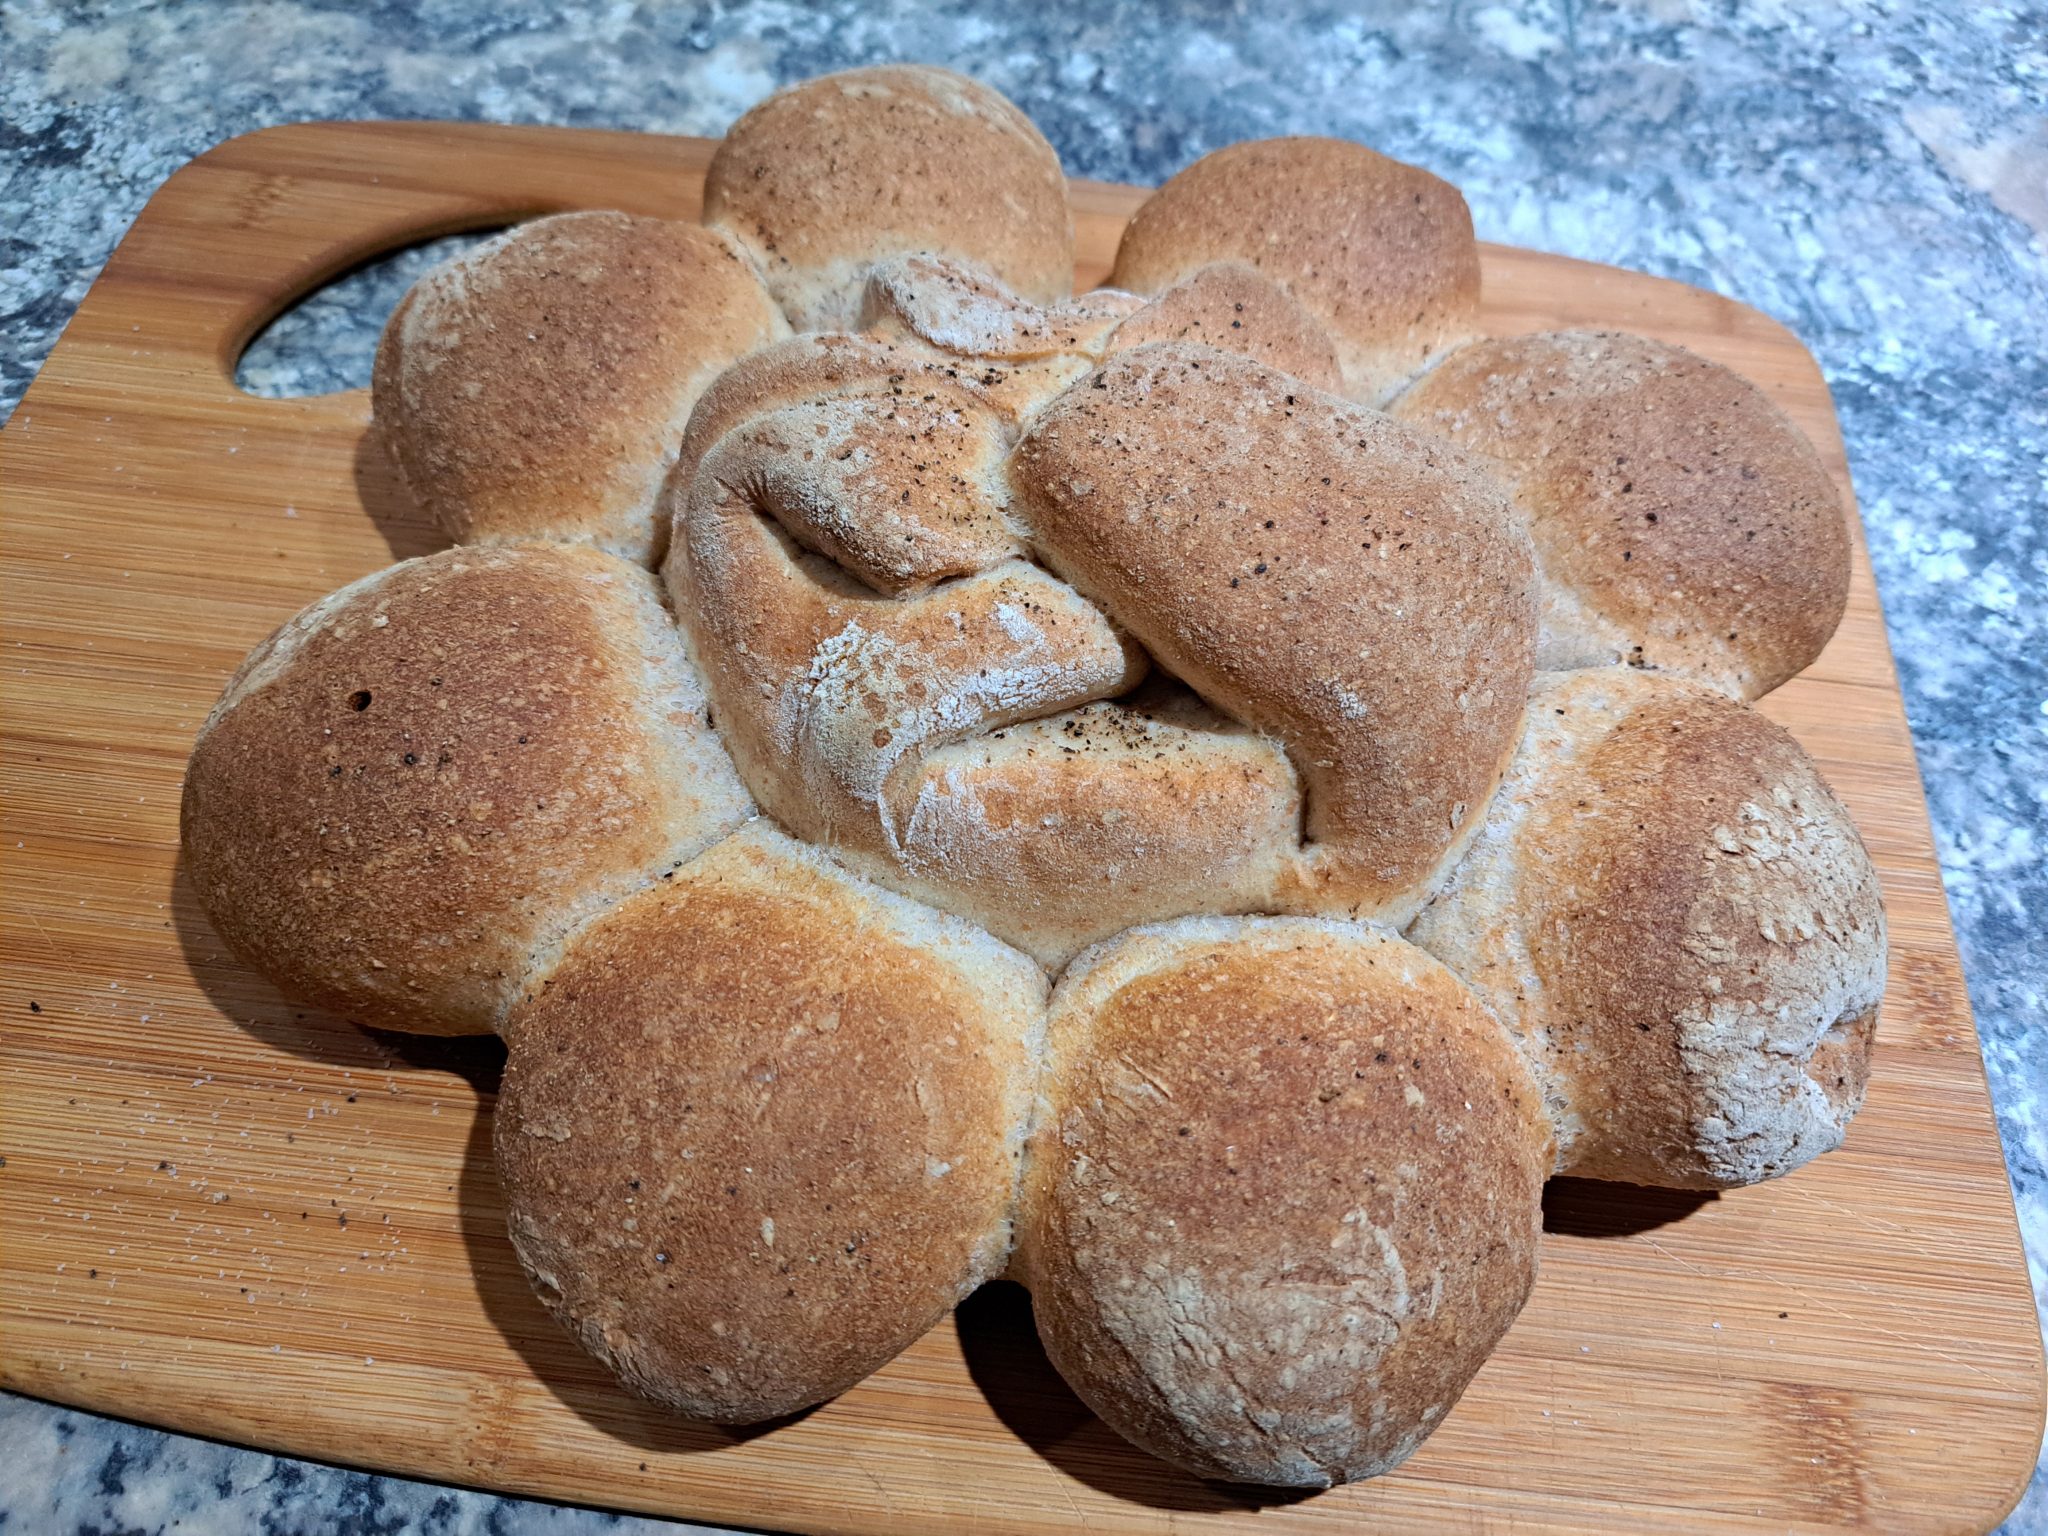
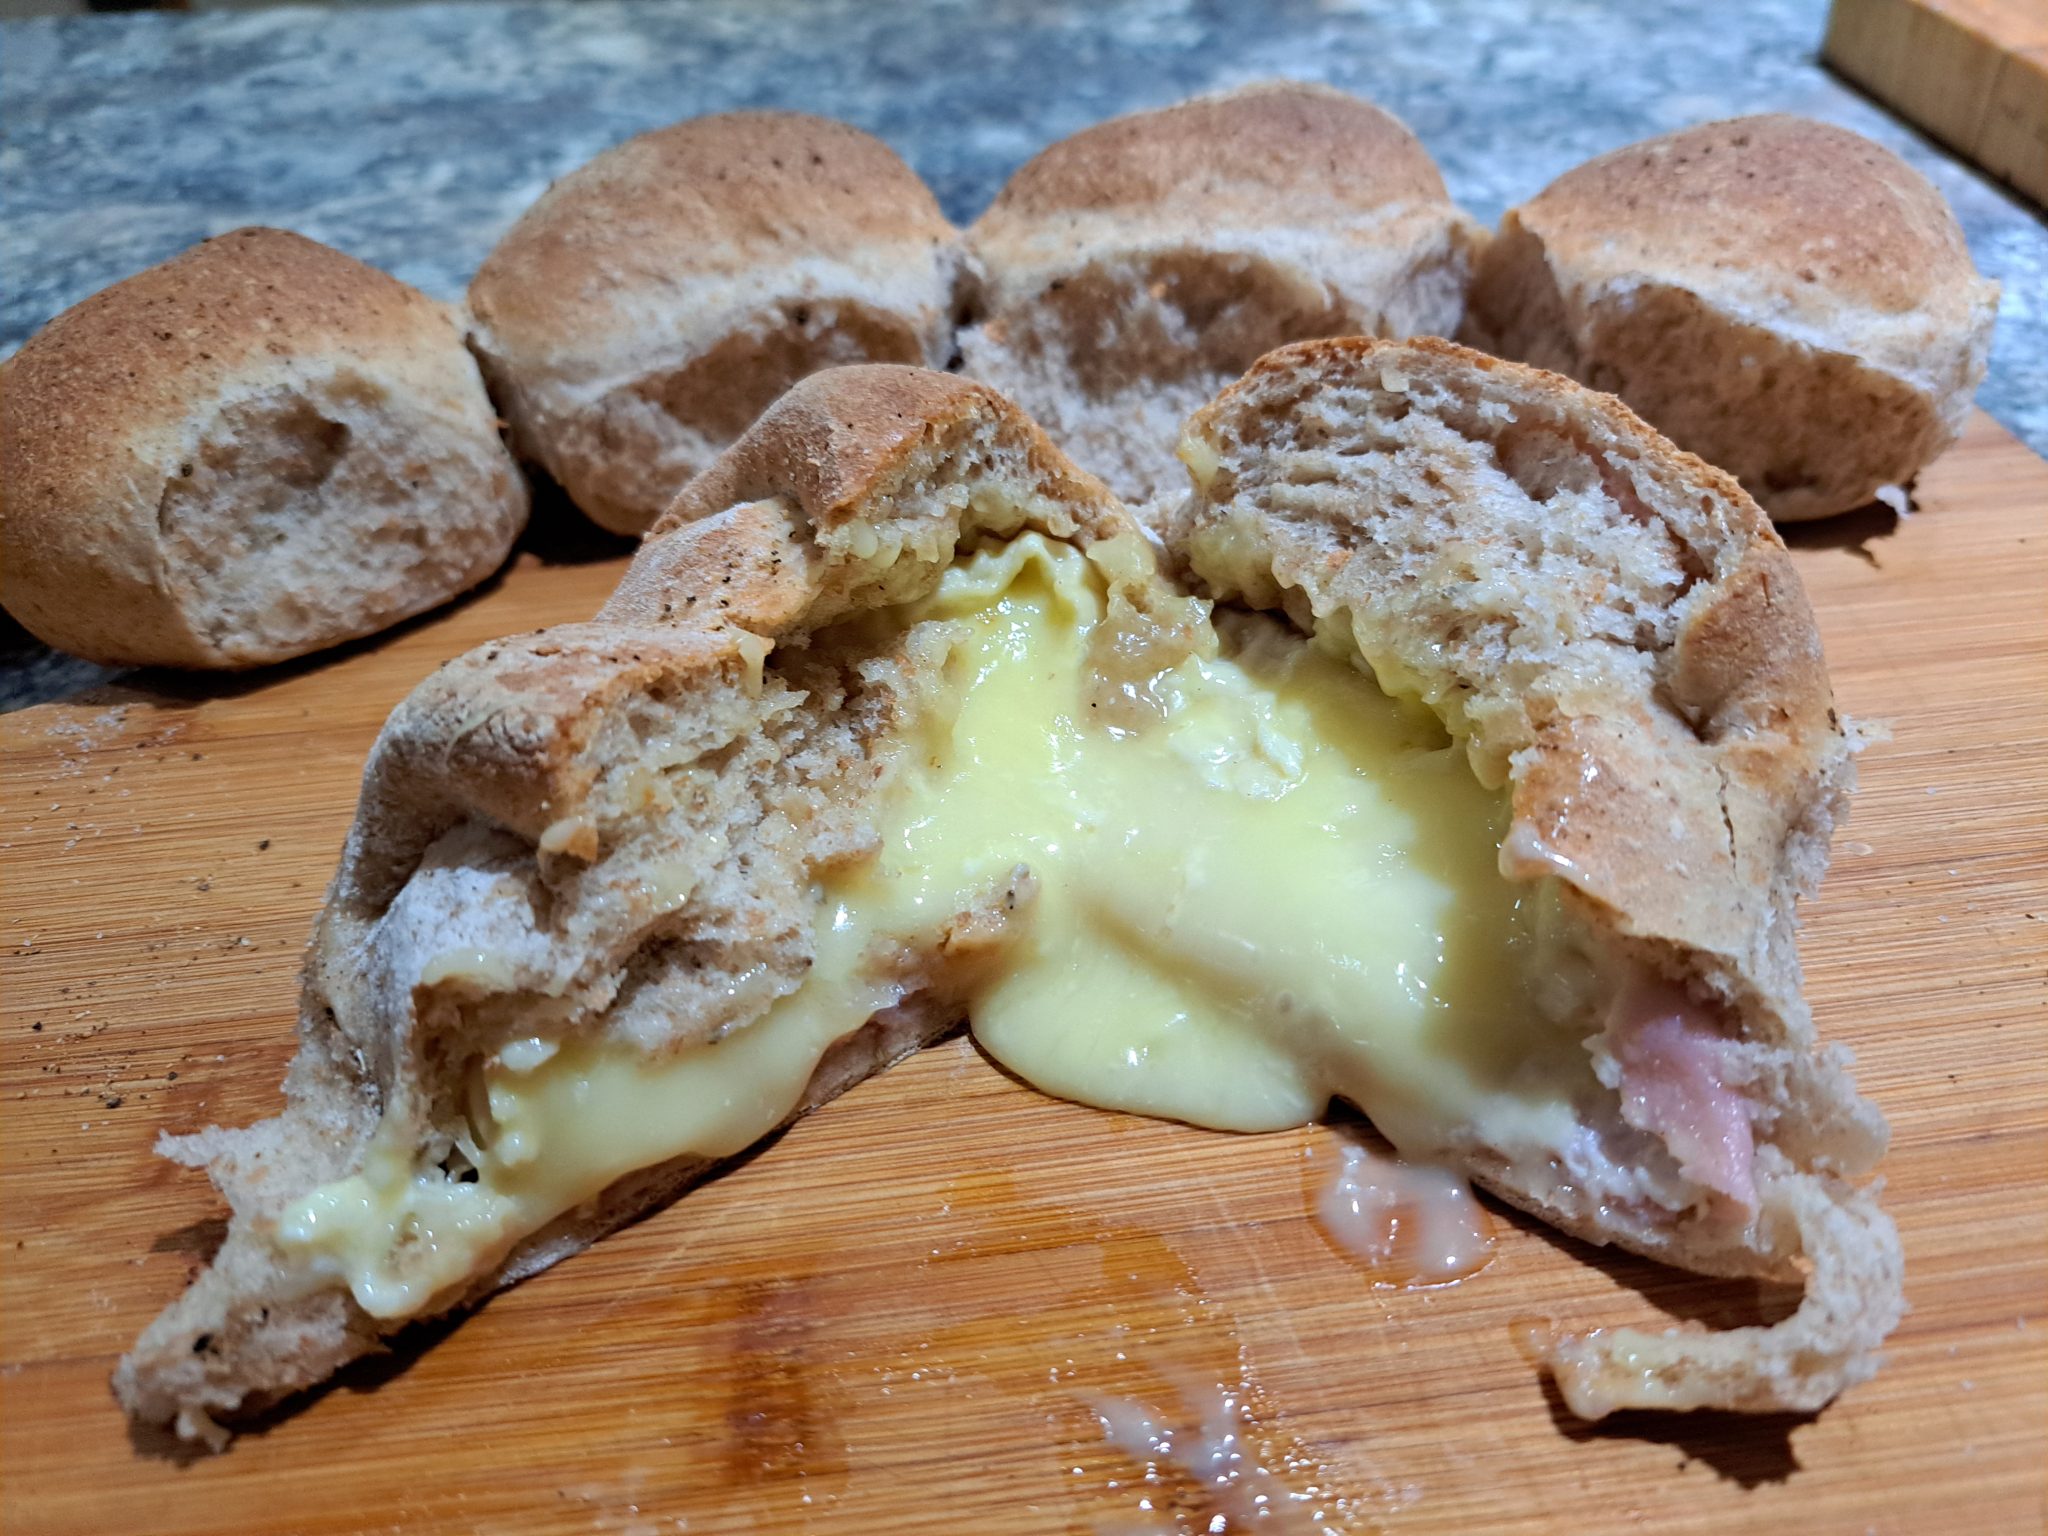
The cooking time at 220°C seemed likely to be about twenty minutes, from my limited experience of cooking bread rolls, and small loaves, which is how long I gave it. I think 25 to 30 minutes would be better, as the main loaf was very slightly underdone in places. That could have been caused by the moisture from the cheese, though. When it was baked, it looked like this…
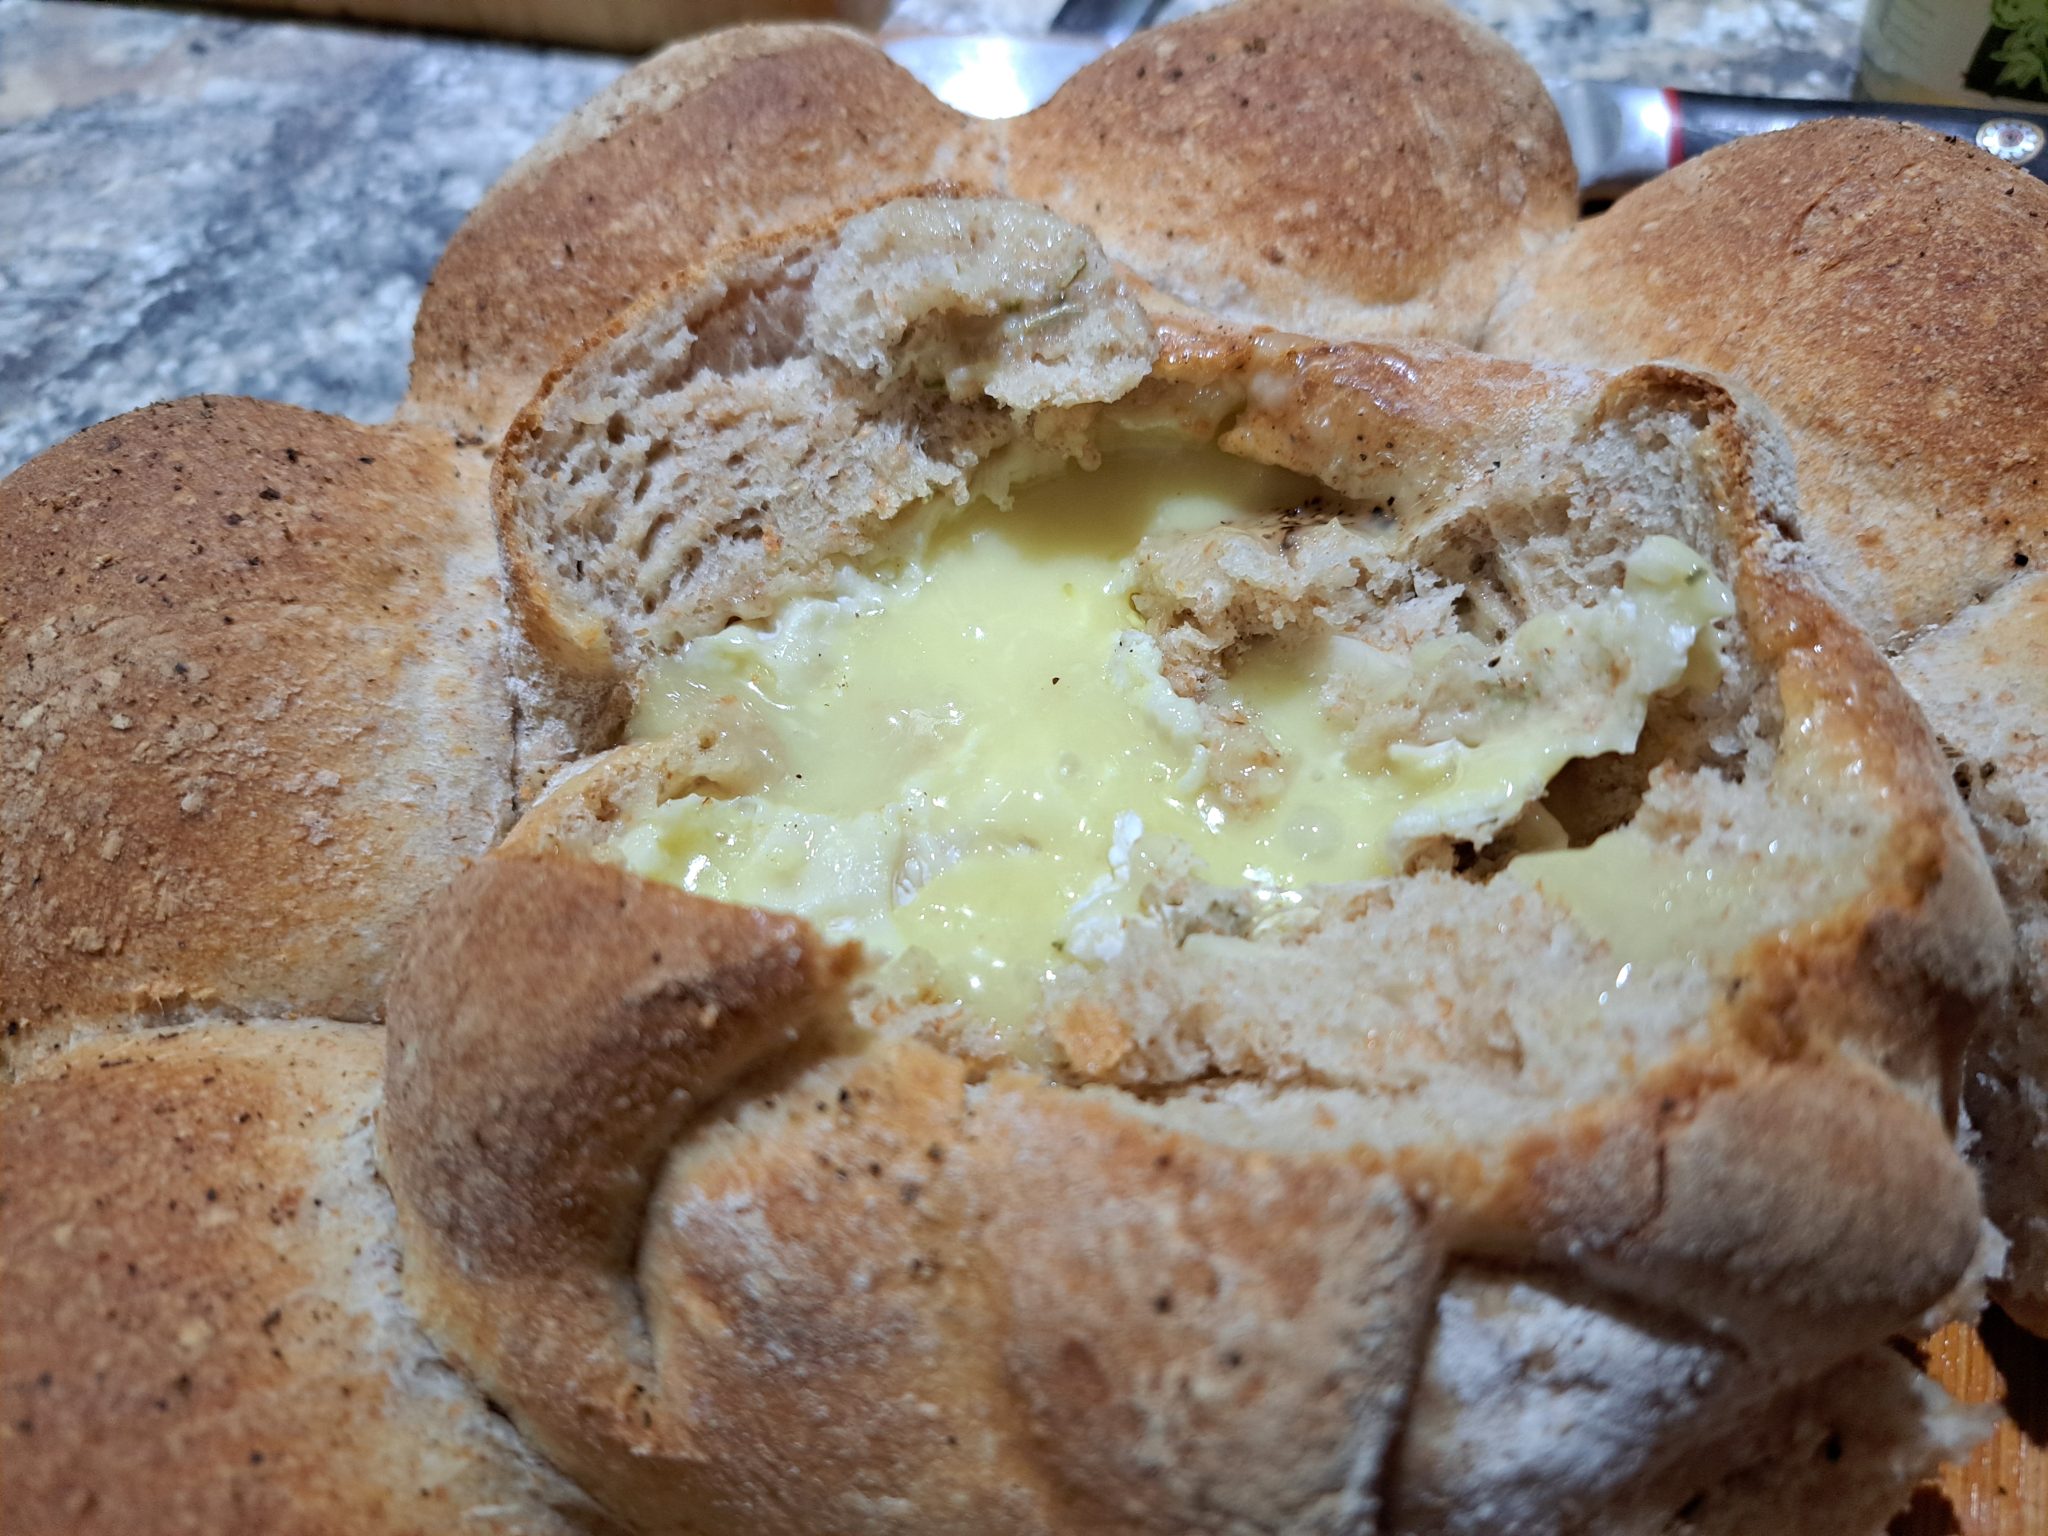
It was pretty crusty, which was what I wanted, and I cut the top off with a knife, so we could start dipping…
Yes, it was very nice!
I was particularly pleased that the cheap deli ham had prevented the cheese from giving the loaf a soggy bottom. There was more that enough for two people, meaning those rolls will come in handy for lunch!
Because, why not? Basically, I wondered if a seitan mix would work in a waffle maker, and I decided a savoury flavour would be interesting.
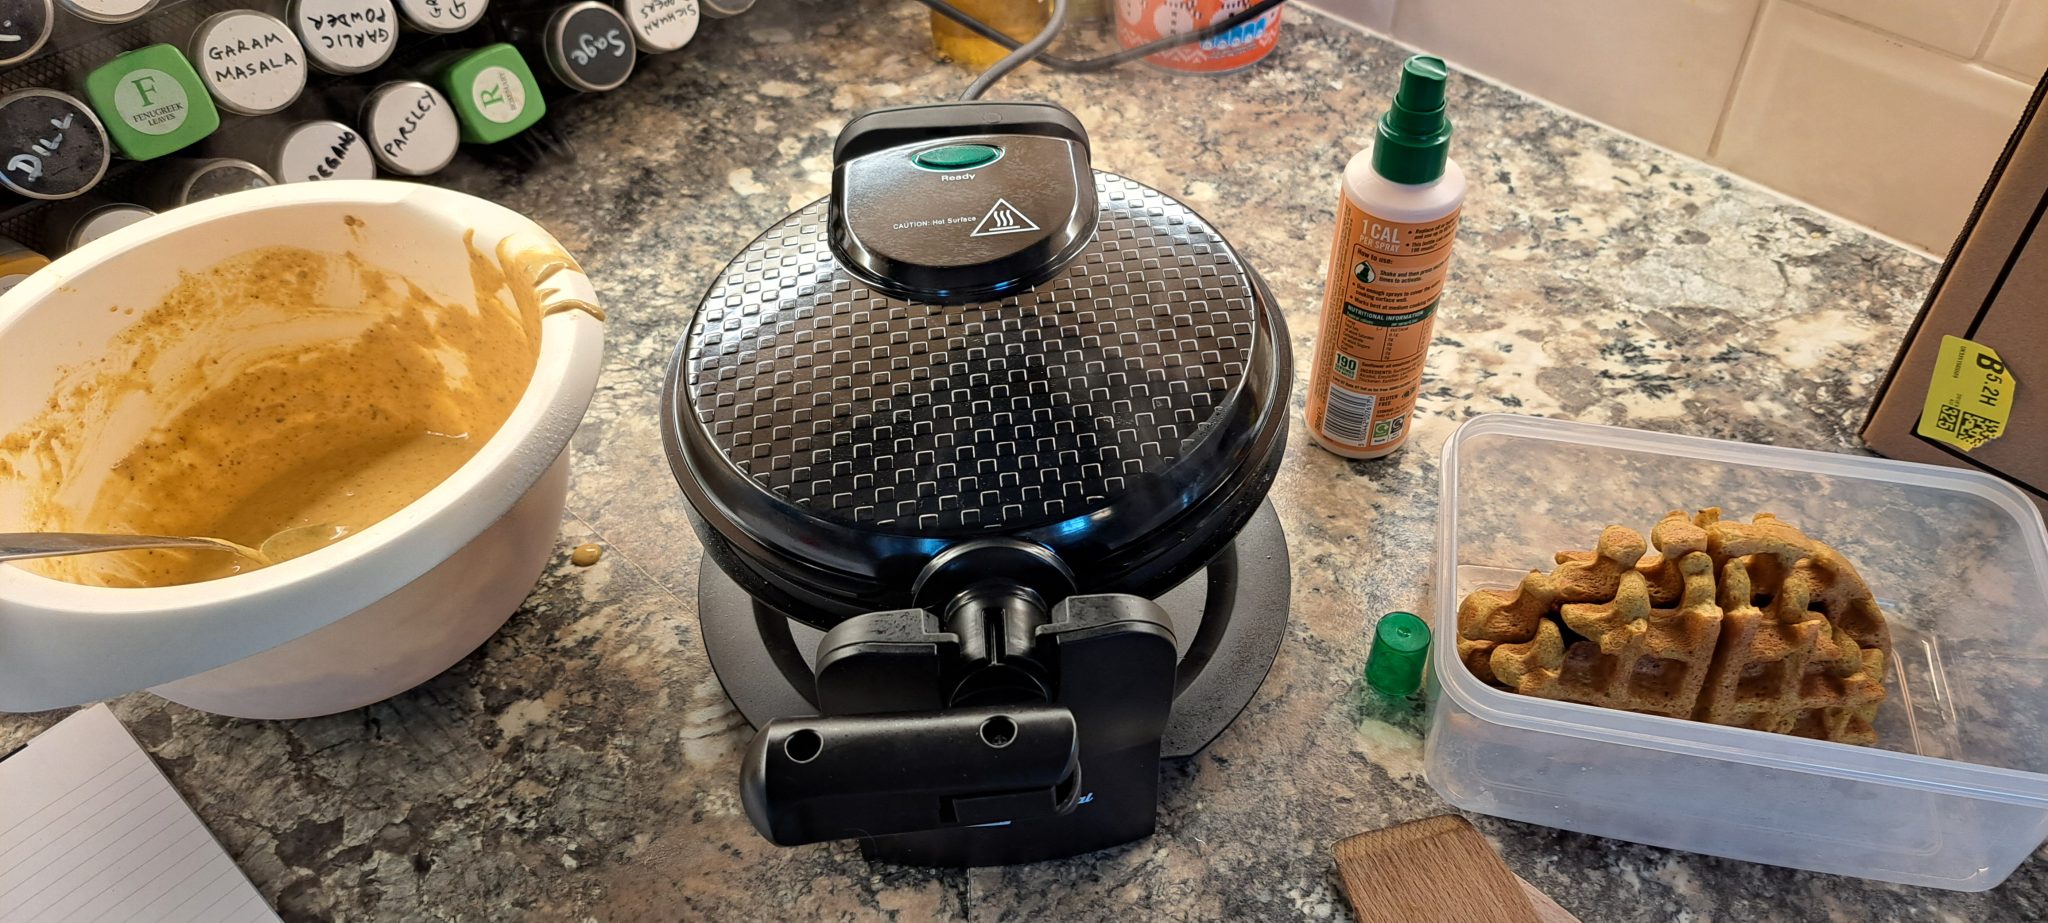
Batter, the waffle maker, and the first waffle…
70g Vital wheat gluten
70g Gram flour
10g Nutritional yeast
20g Curry powder
7g EasyBake yeast
300ml Water
It needs something to make bubbles in the batter, and I decided to use yeast instead of baking powder. I don’t remember why I decided not to use eggs, but the absence of salt is explained by high blood pressure… It’s all just mixed together, and left to ferment for half an hour.
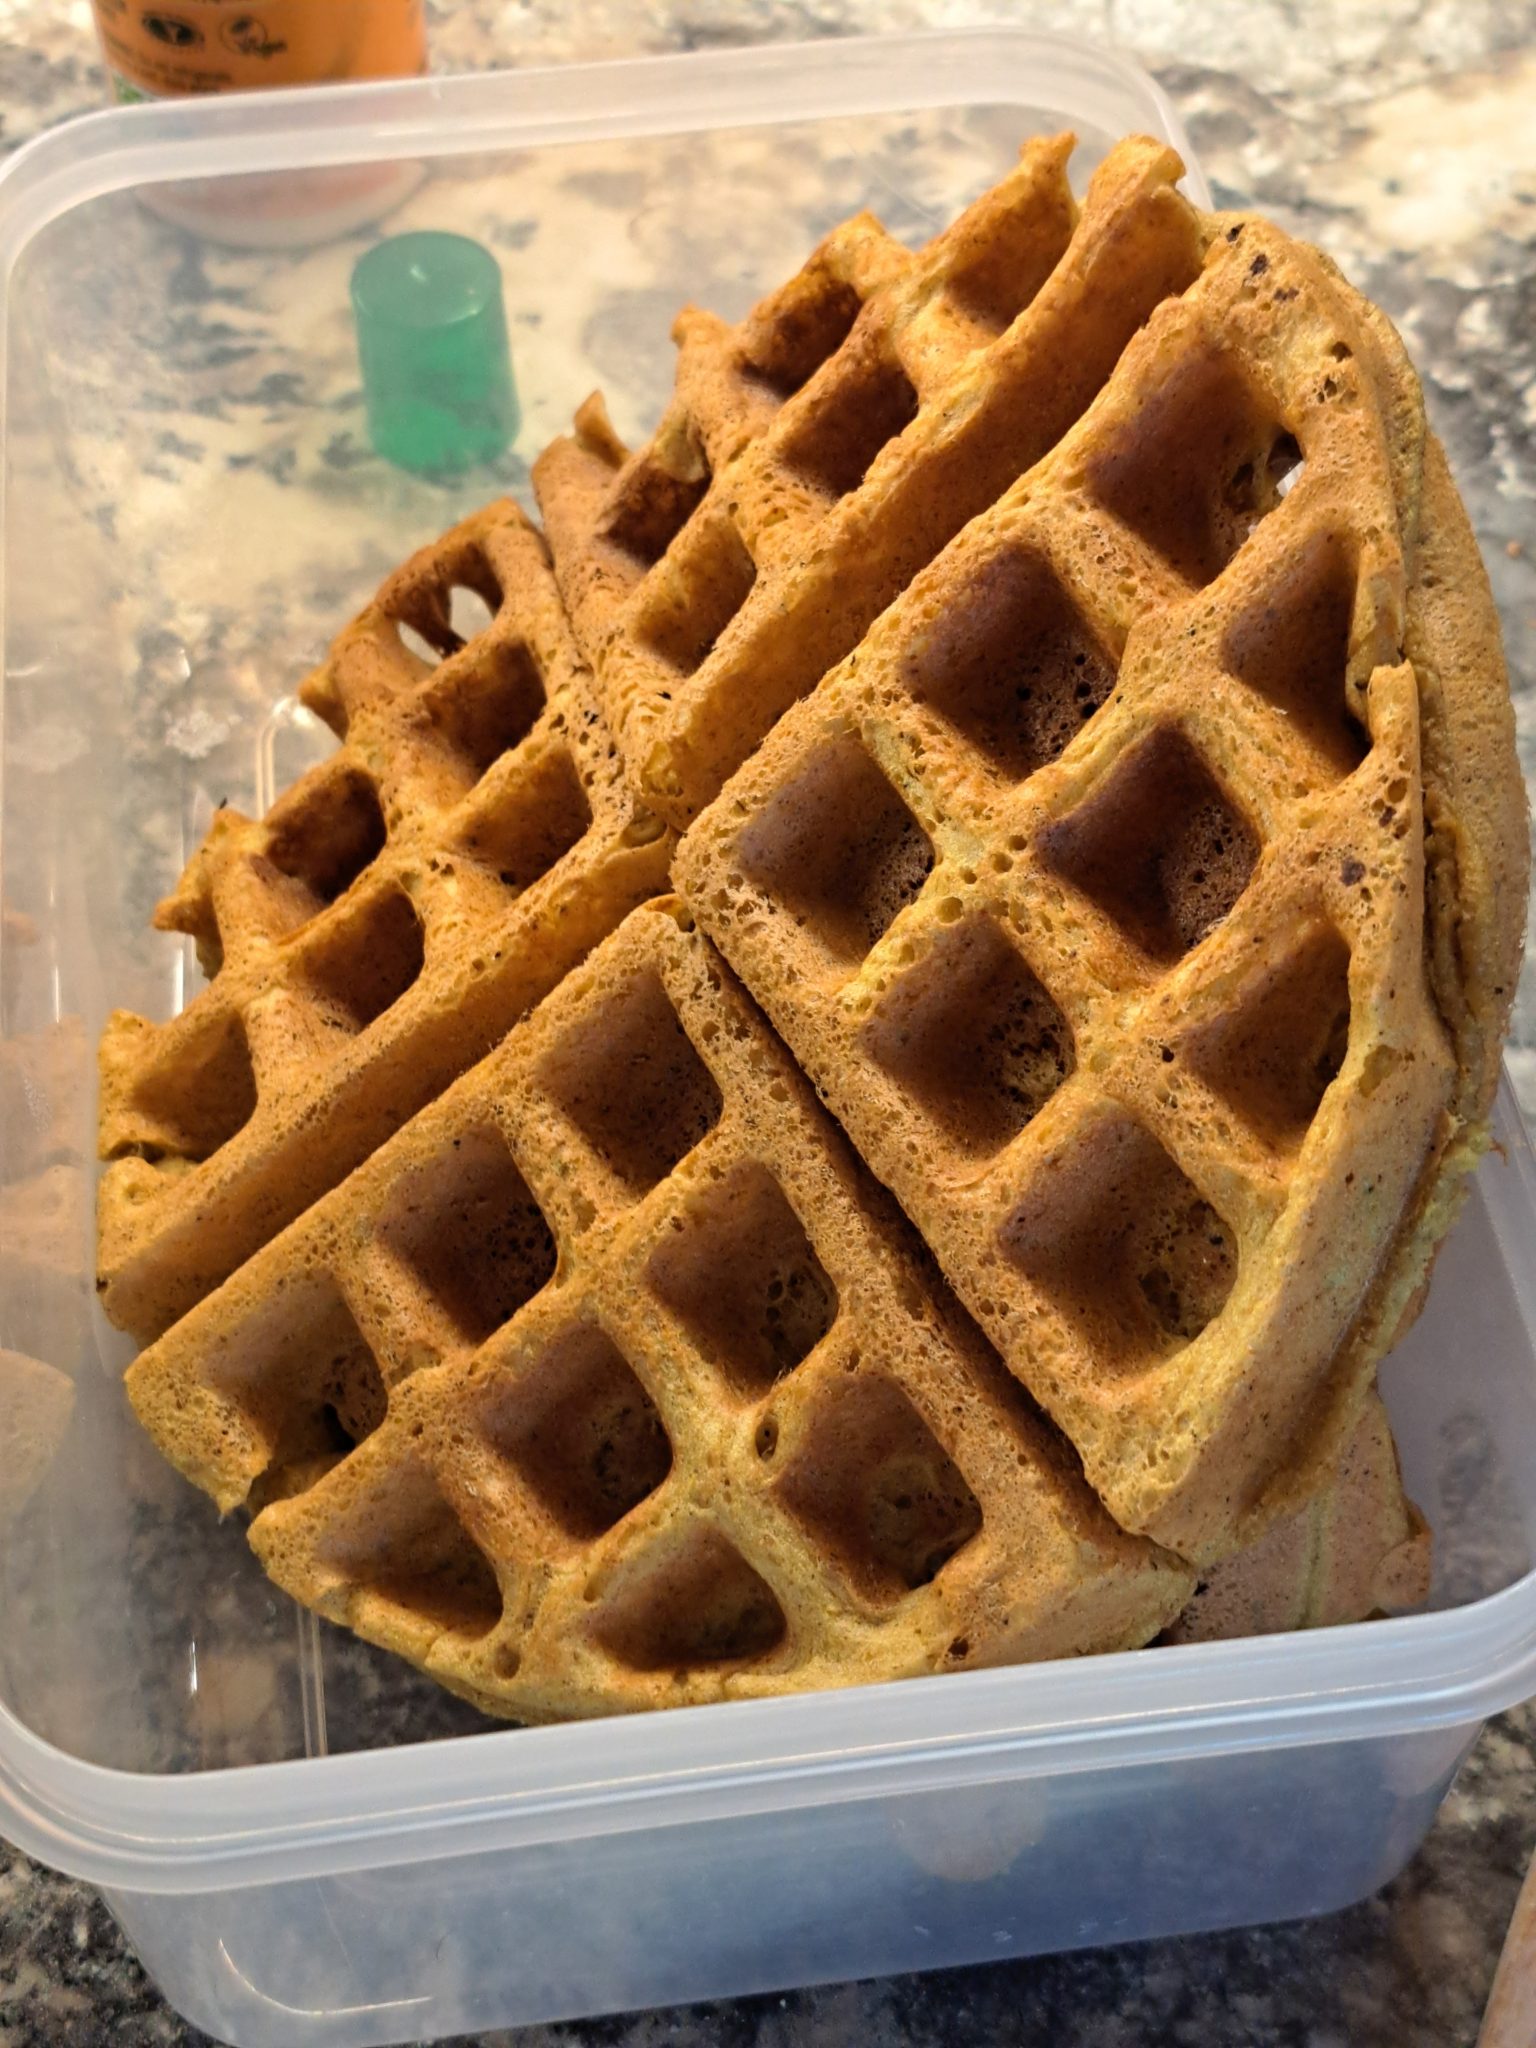
The result of the experiment.
The amounts in the list above give just under three waffles. I expect adding a couple of beaten eggs would have made just the right amount of batter. The result is chewy, like seitan, but more airy, and the flavour depends on your curry powder. I used the mild curry powder recipe from Pat Chapman’s “250 Curry Recipes and Accompaniments”.
What on Earth is that? Indonesian chicken fried rice, with accompaniments.
In 1970, Nasi Goreng was my favourite dinner in the canteen. It was wonderful, and all I can remember about it was that it was chicken fried rice with a fried egg on top. But we had very good Asian cooks in the canteen, so it must have been OK.
To recreate it, I referred extensively to “Sambal and Coconut“, yet another of the cookbooks I really like.
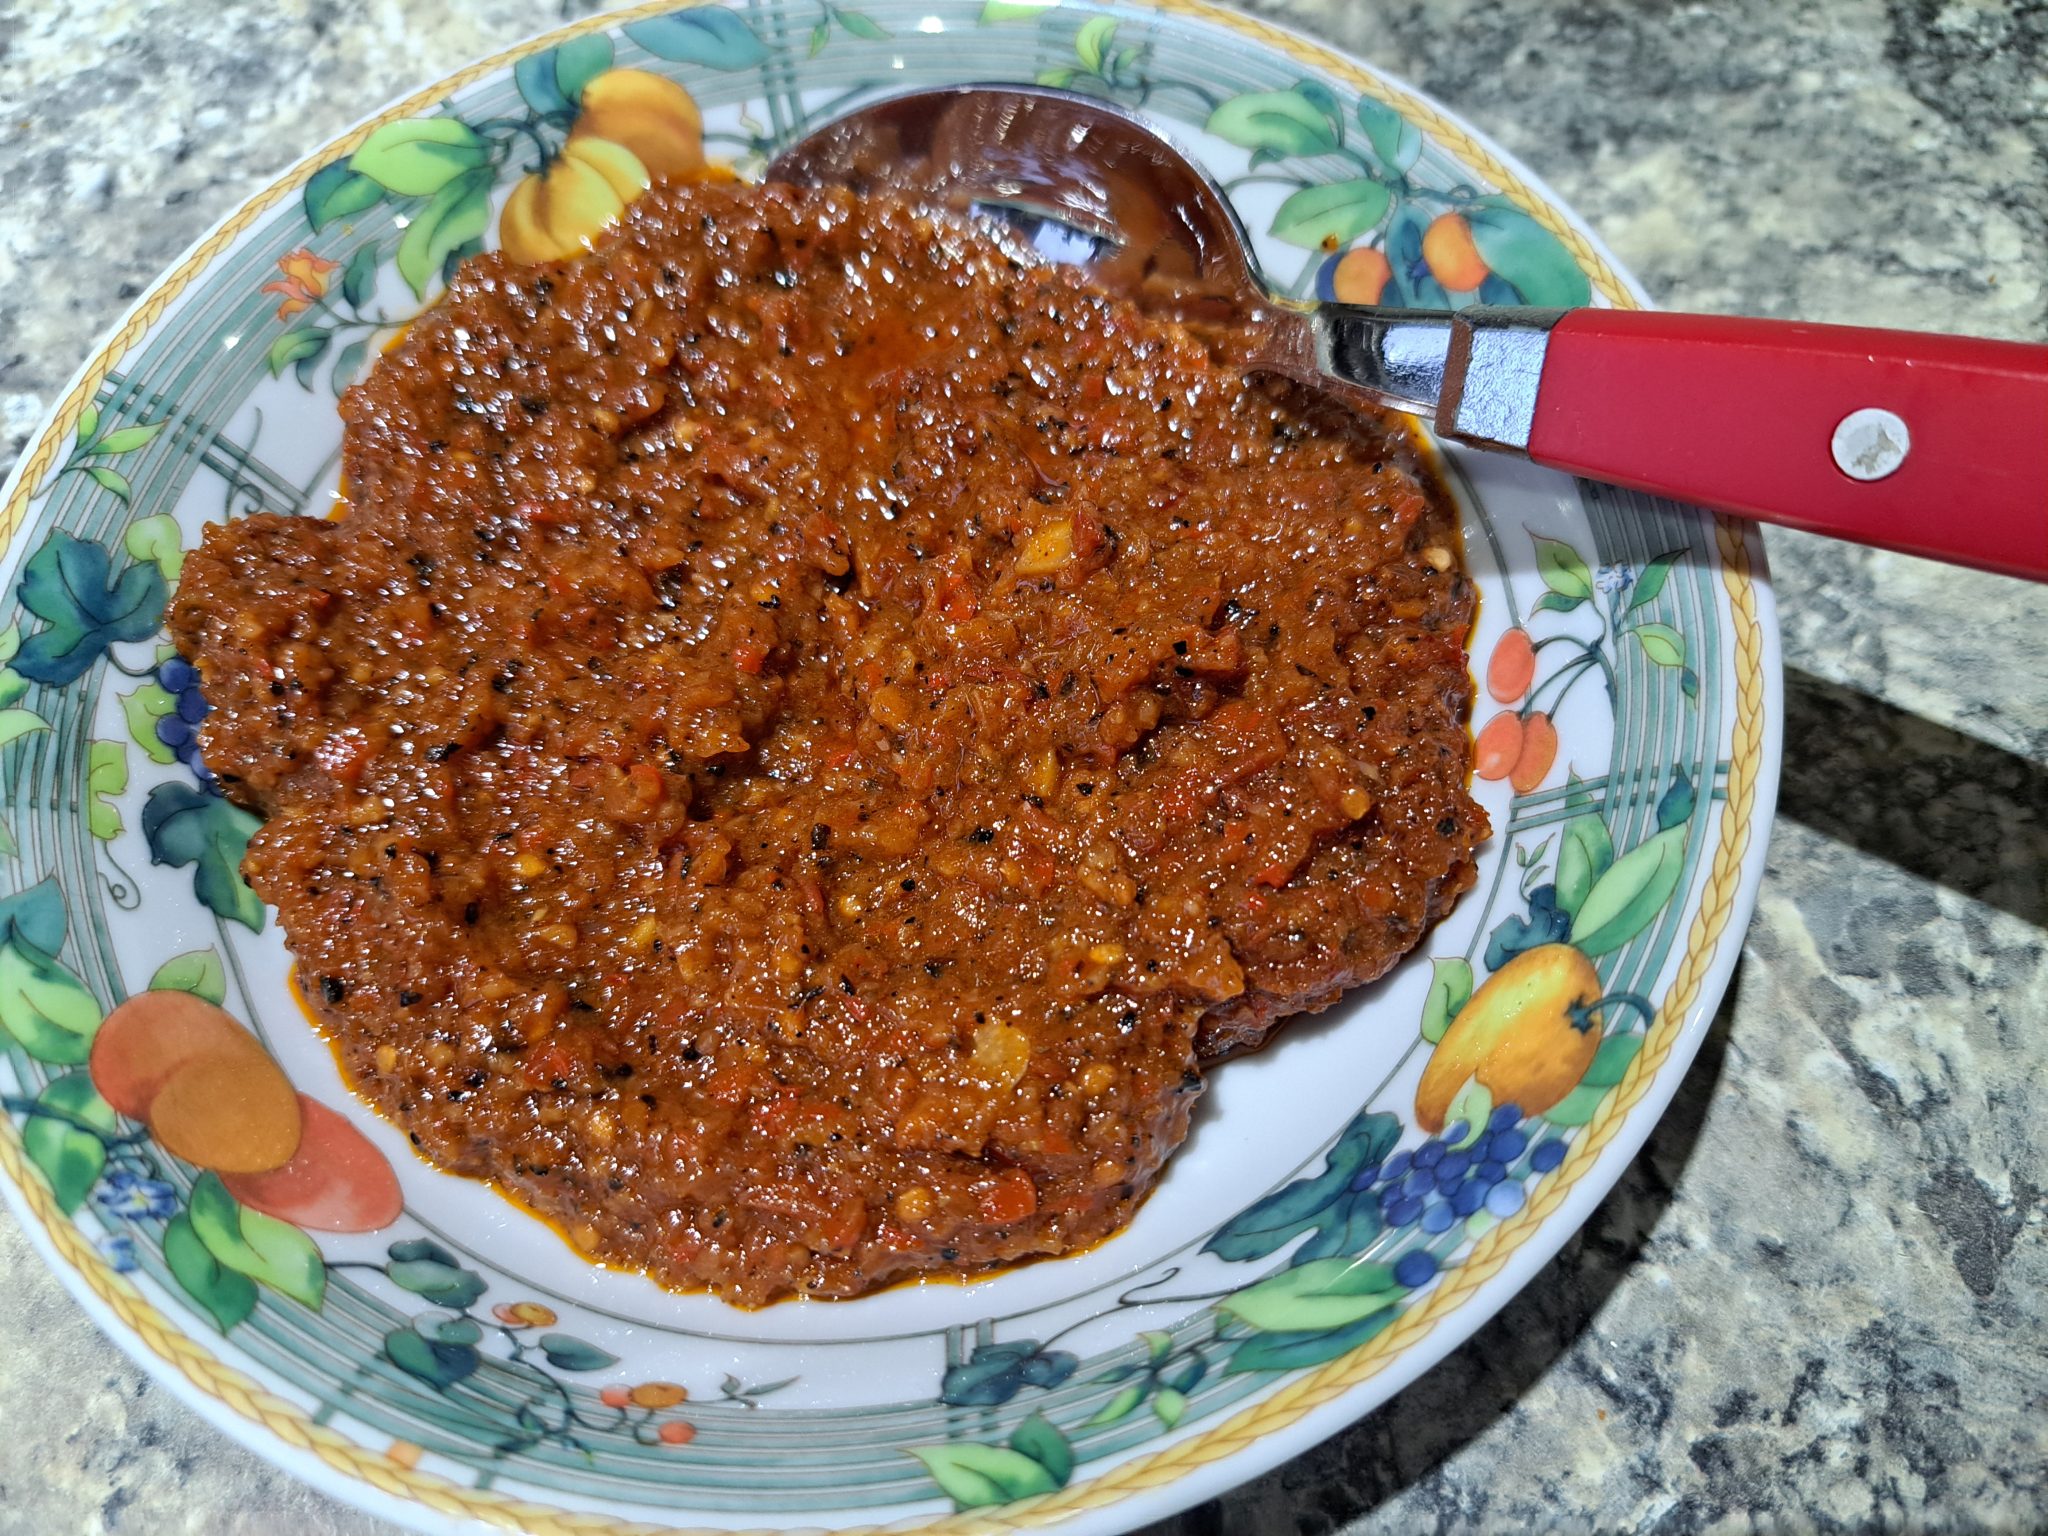
This is a tomato and chilli sambal, which I think could have done with quite a lot more chilli. Home grown tomatoes made it very tasty, though.
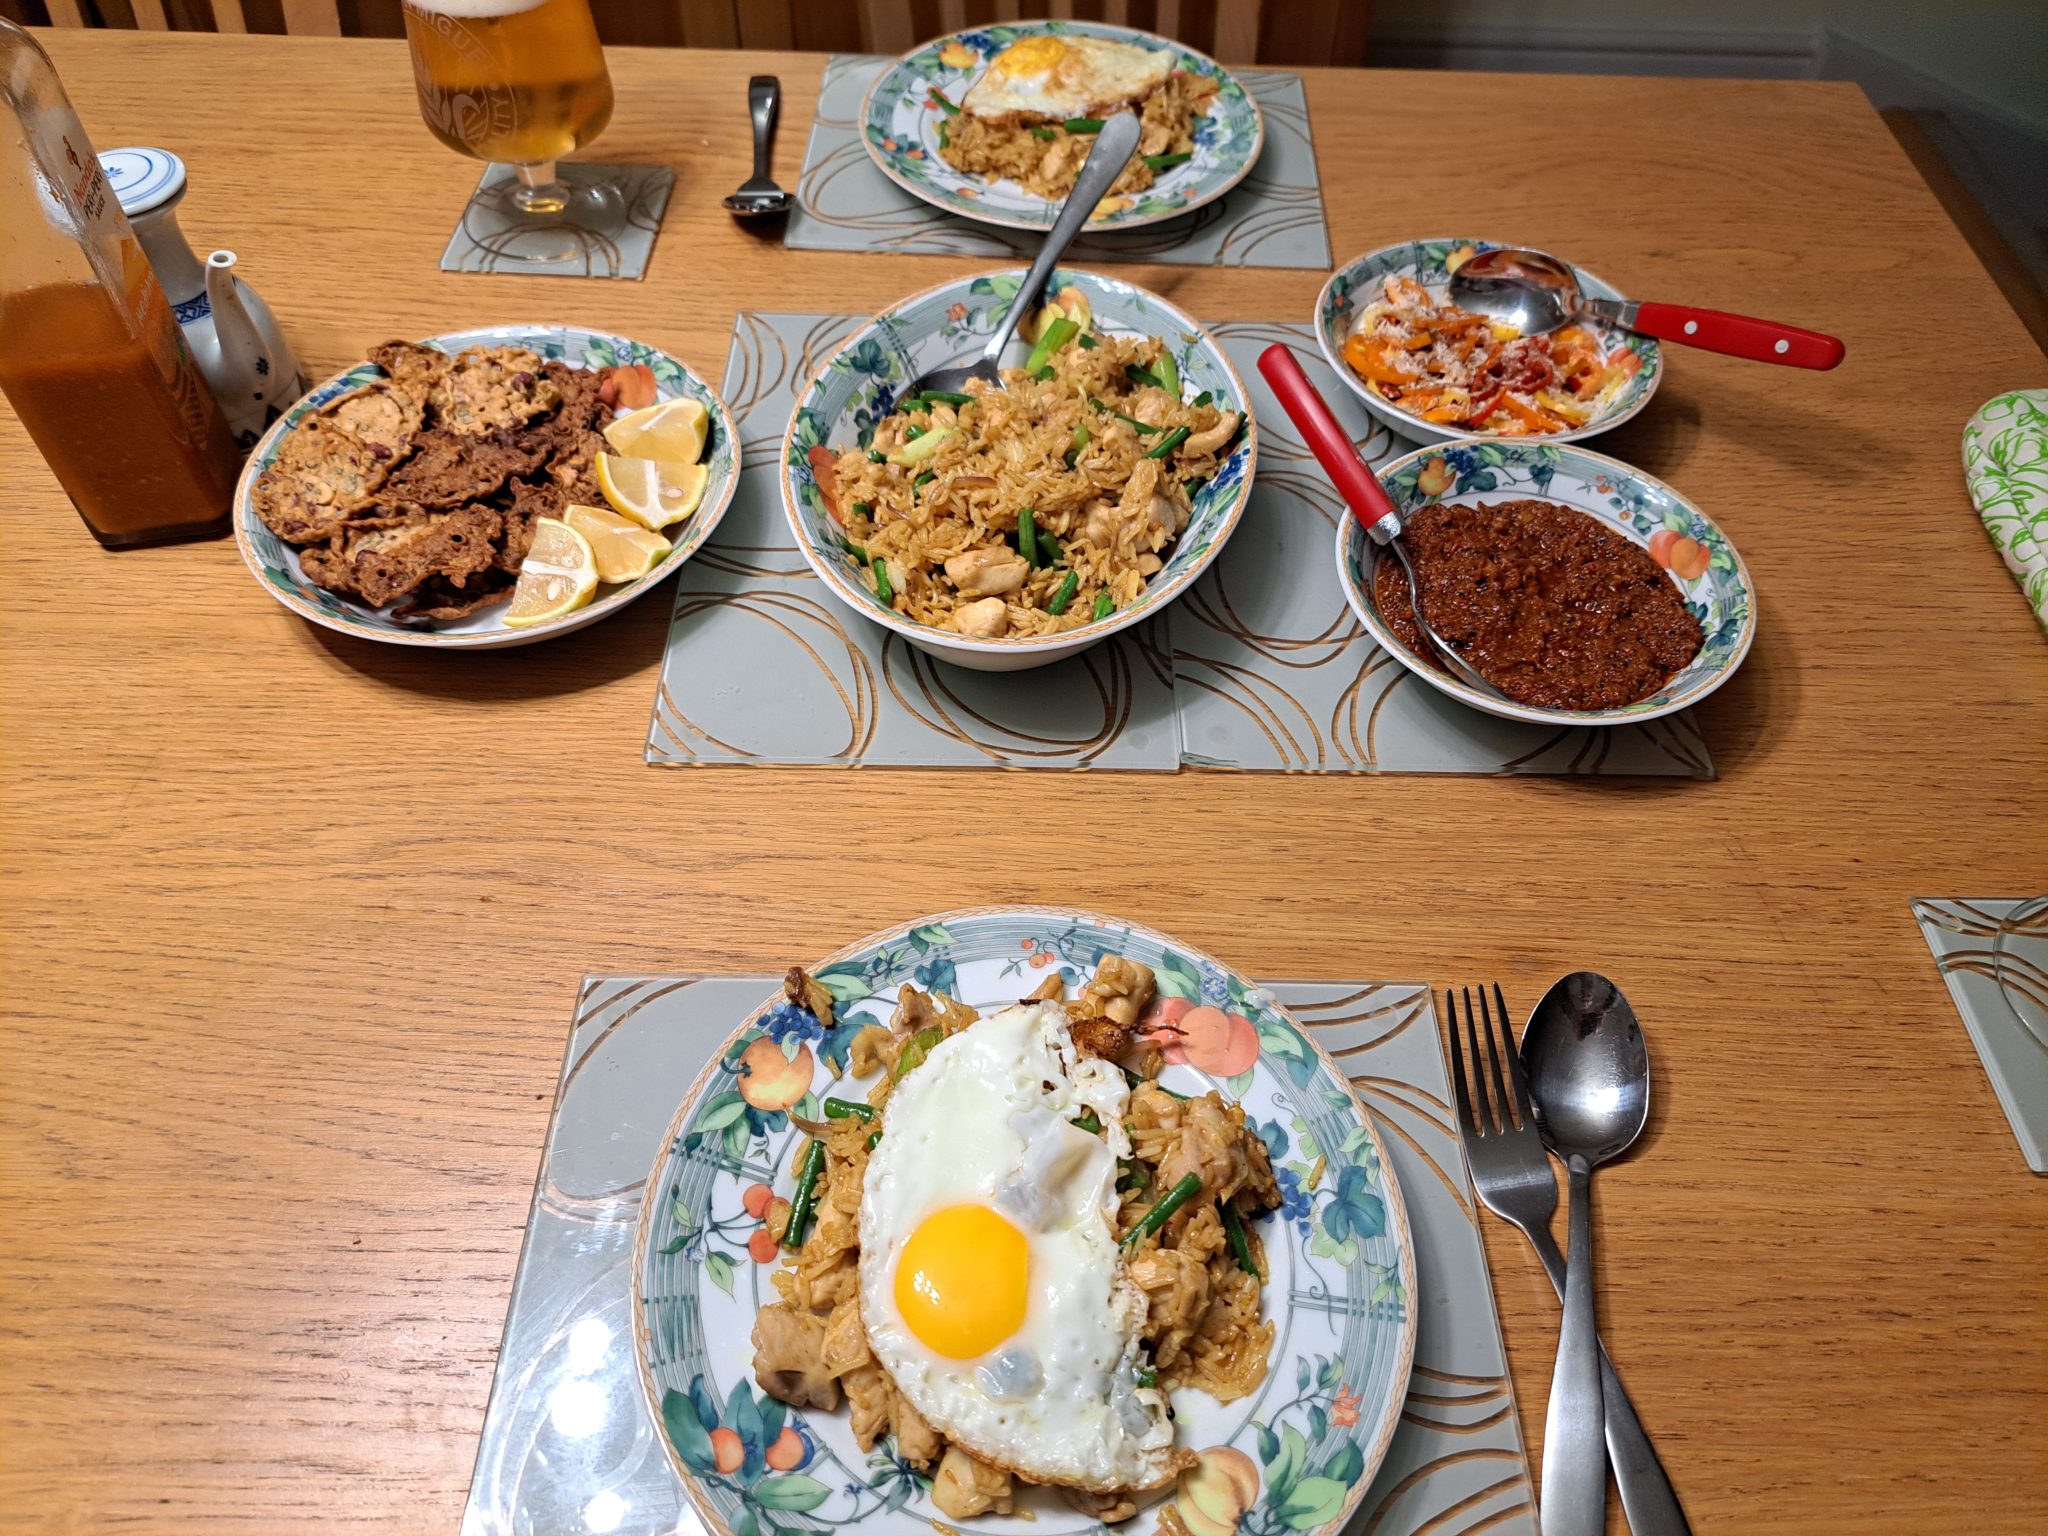
To the left, peanut and lime leaf kerupuk. Centre is the nasi goreng that was not yet on the plates. Right side, a mild pepper and coconut salad, and the sambal.
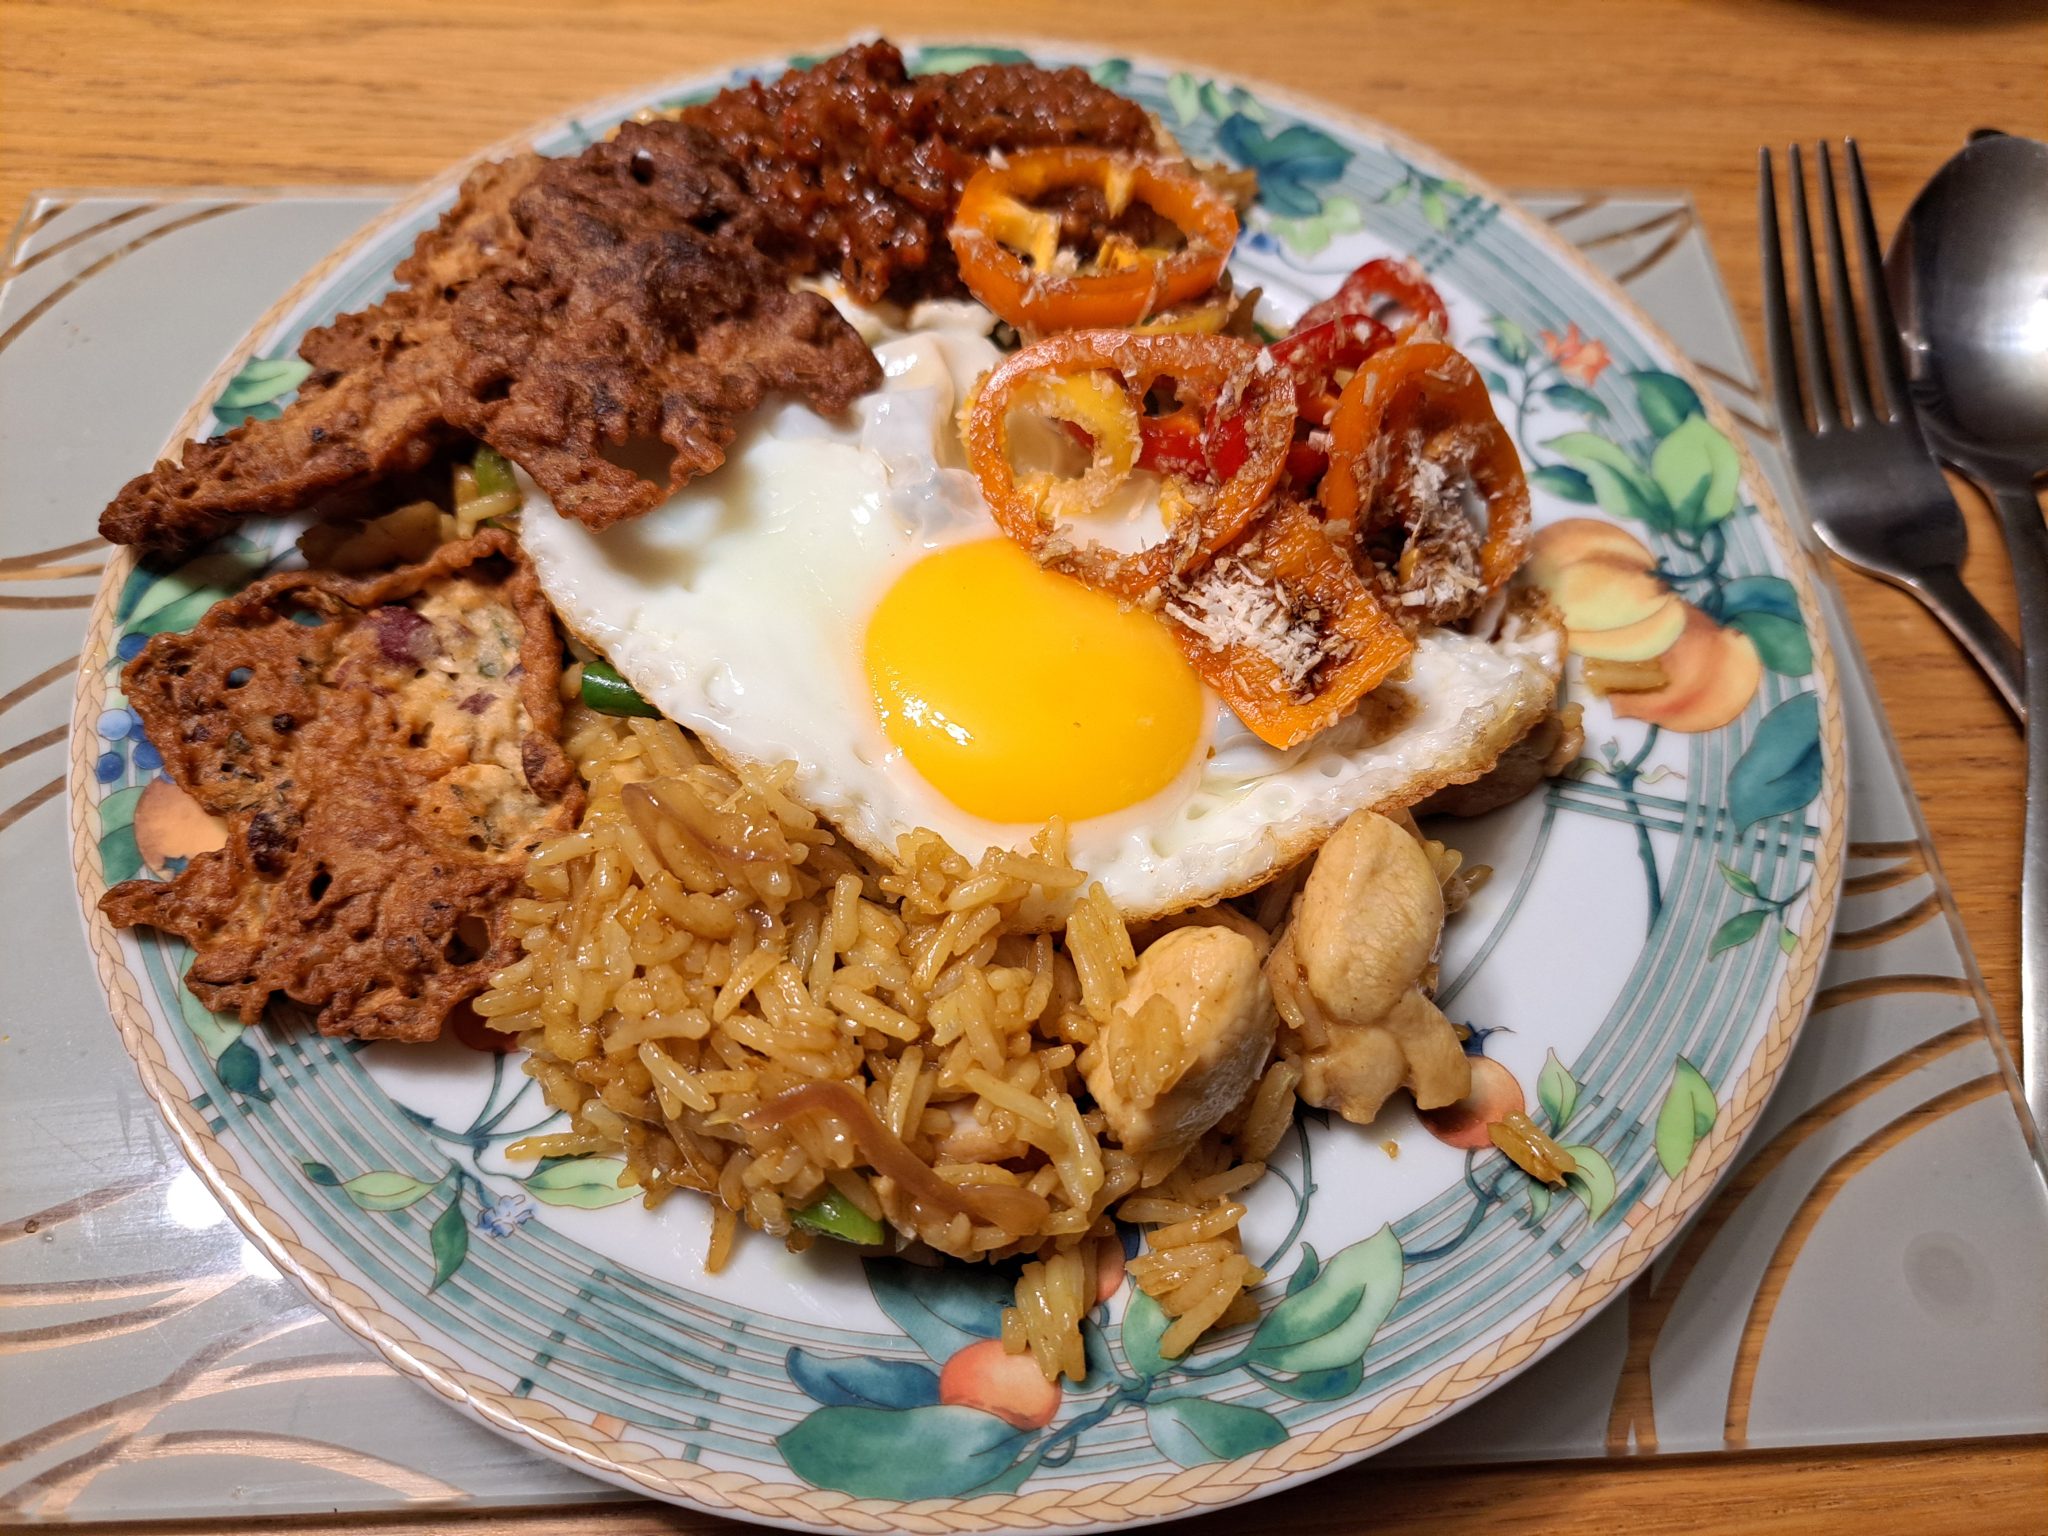
Here’s my plate, after I had added the accompaniments. It was all tasty, with good contrast between the crunchy kerupuk and the tender chicken. Will make again, with more chillis…
The main problem I have had with Gressingham duck breasts, when cooked in the way described on the package – fry the fat off, bake to cook through – is that the duck breasts always came out much smaller when they were cooked, even though I baked them for the absolute minimum time in the recipe. They also tended to be a little tougher than I wanted, and cooked part way through, rather than nice and medium-rare almost to the edge. The answer to these problems is mentioned in the heading…
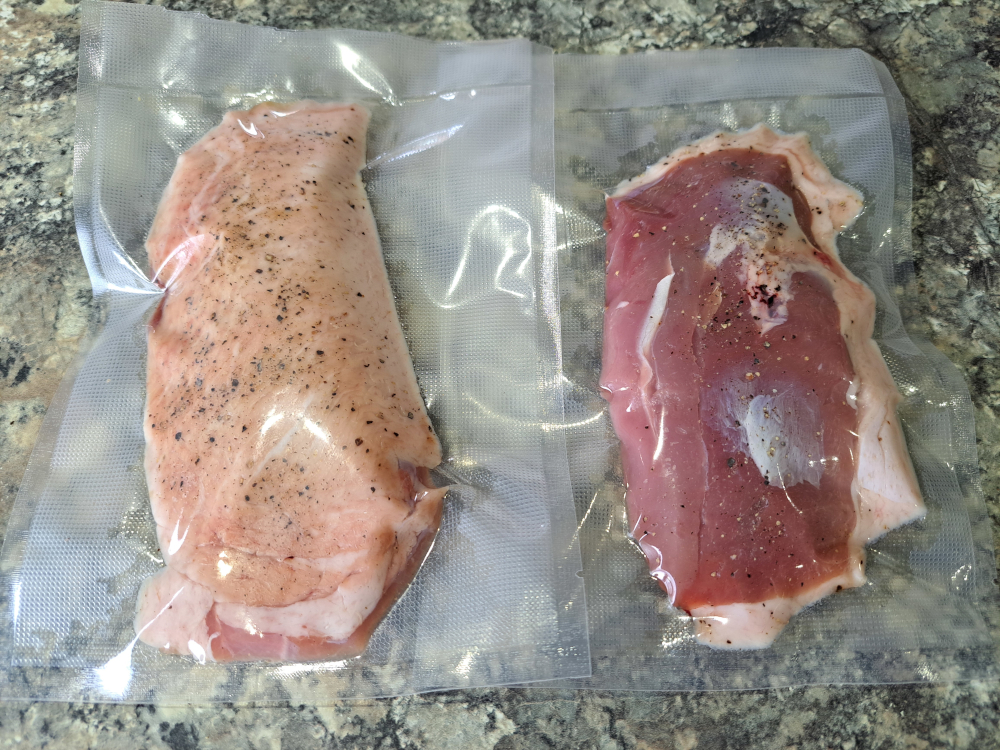
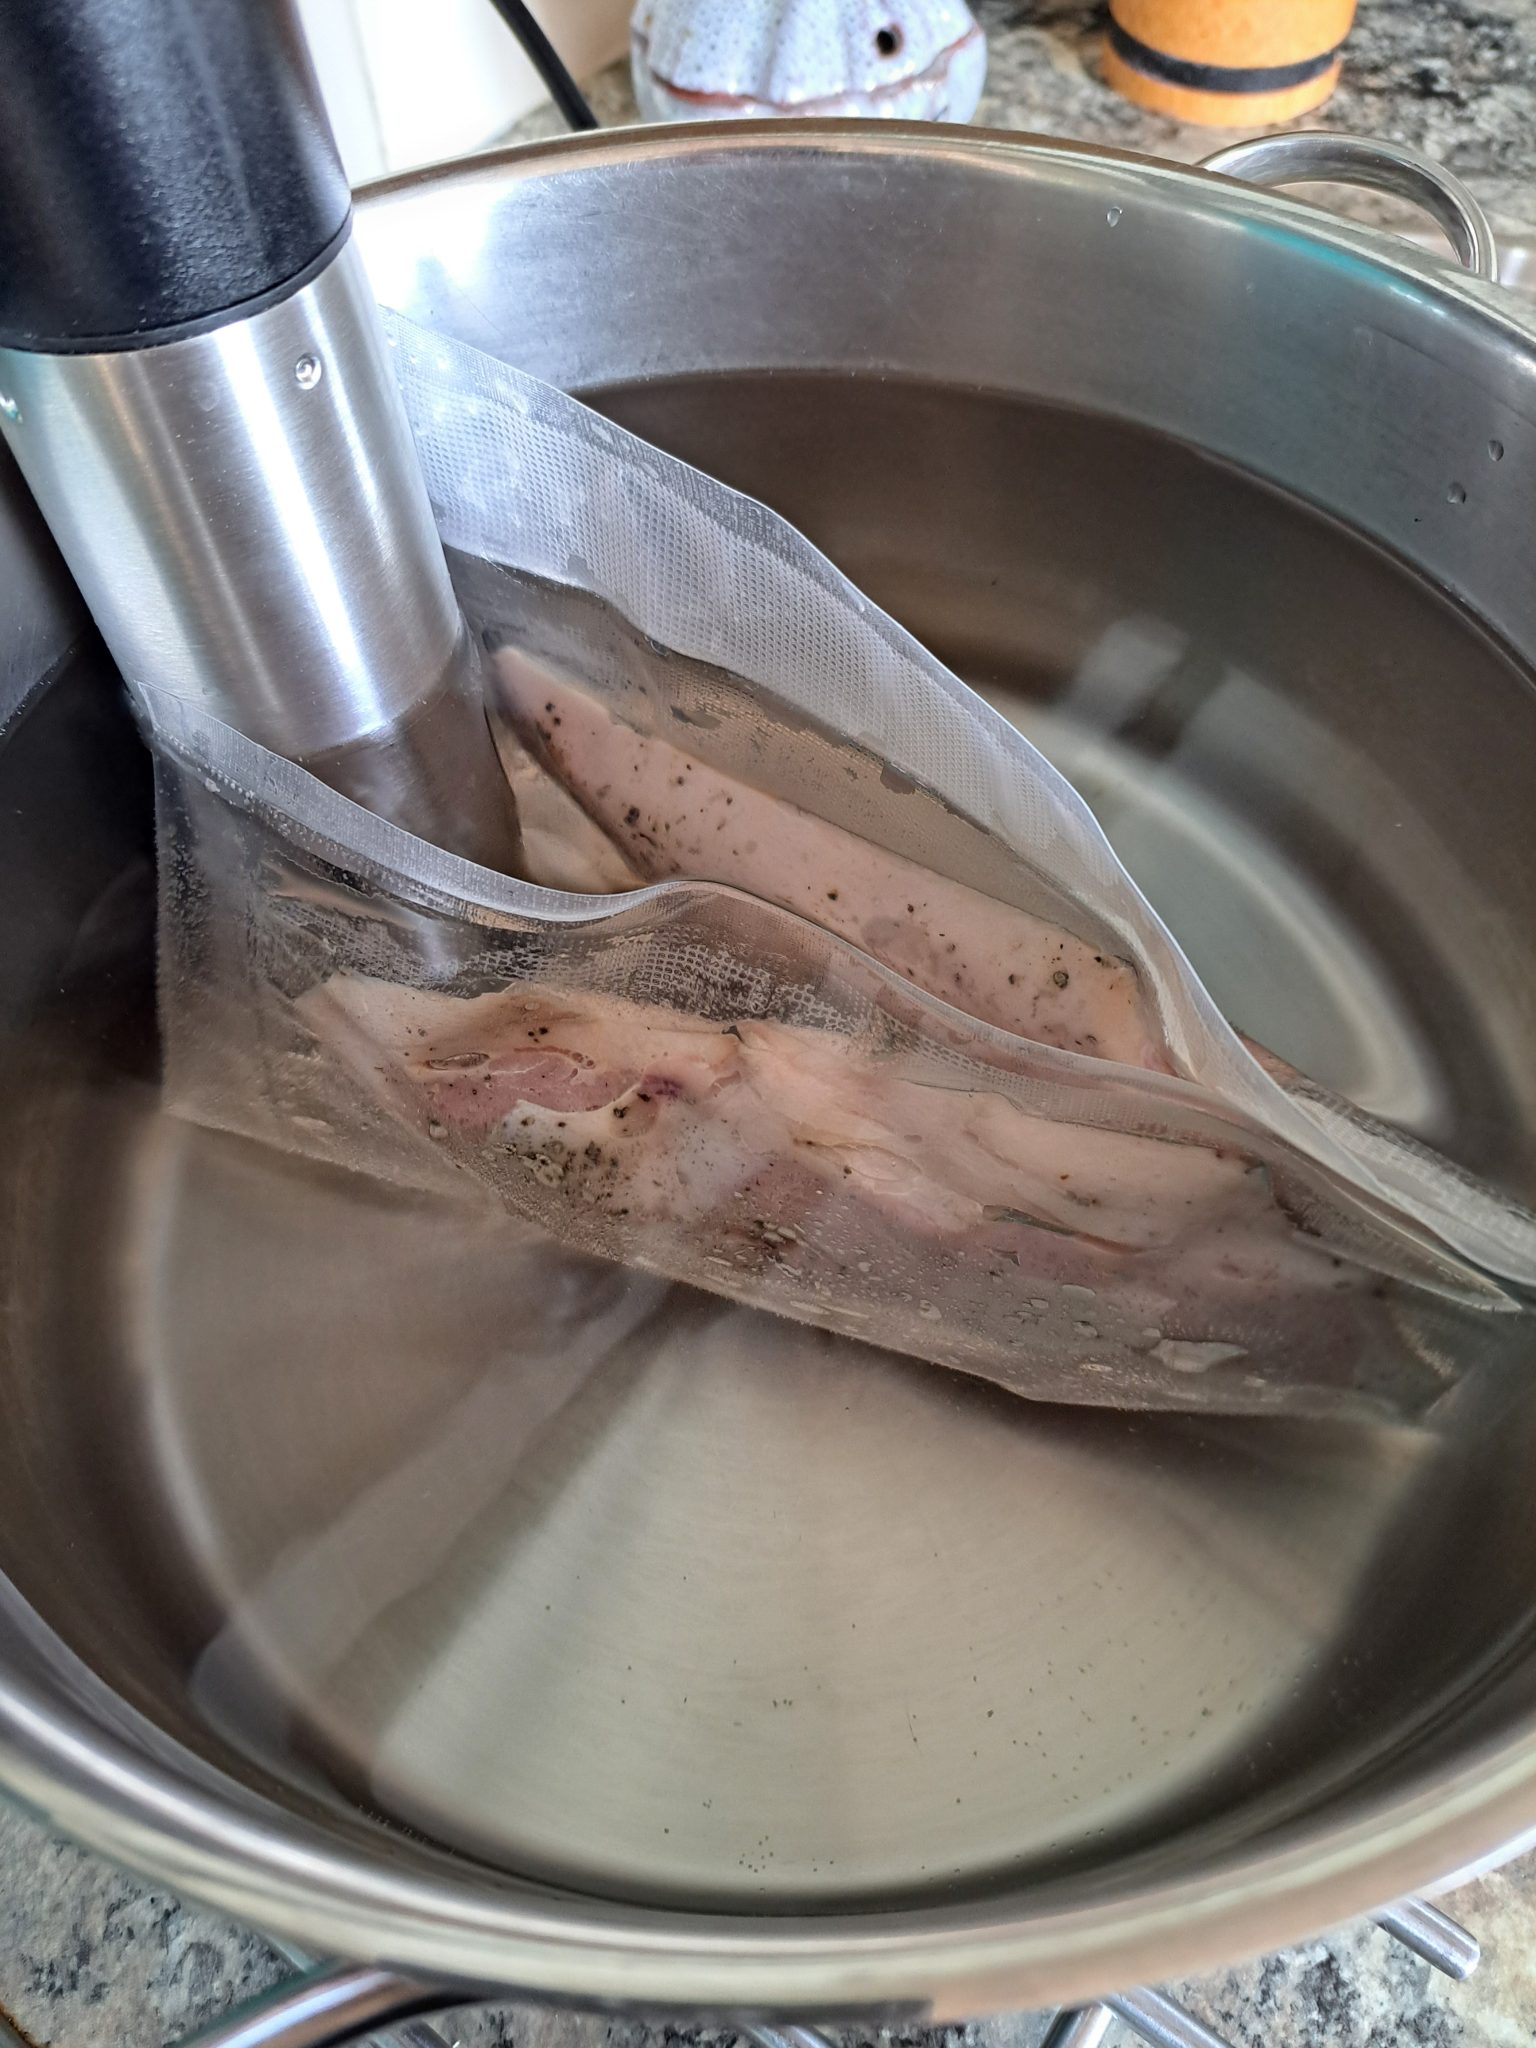
Two vacuum packed, seasoned duck breasts.Two duck breasts in the sous vide pan.
The thing about ducks, you know, is that they float. I nearly included a Monty Python clip at this point, but you either know which one I mean, or you won’t understand at all, so I left it out. Anyway. Three hours at 55°C, pushing them away from the heater every once in a while. Then I heated a cast iron pan to what is technically known as bloody hot, gave them enough of a frying to crisp the fat up (yes, I know, a few seconds more would have been even better…) and served them.
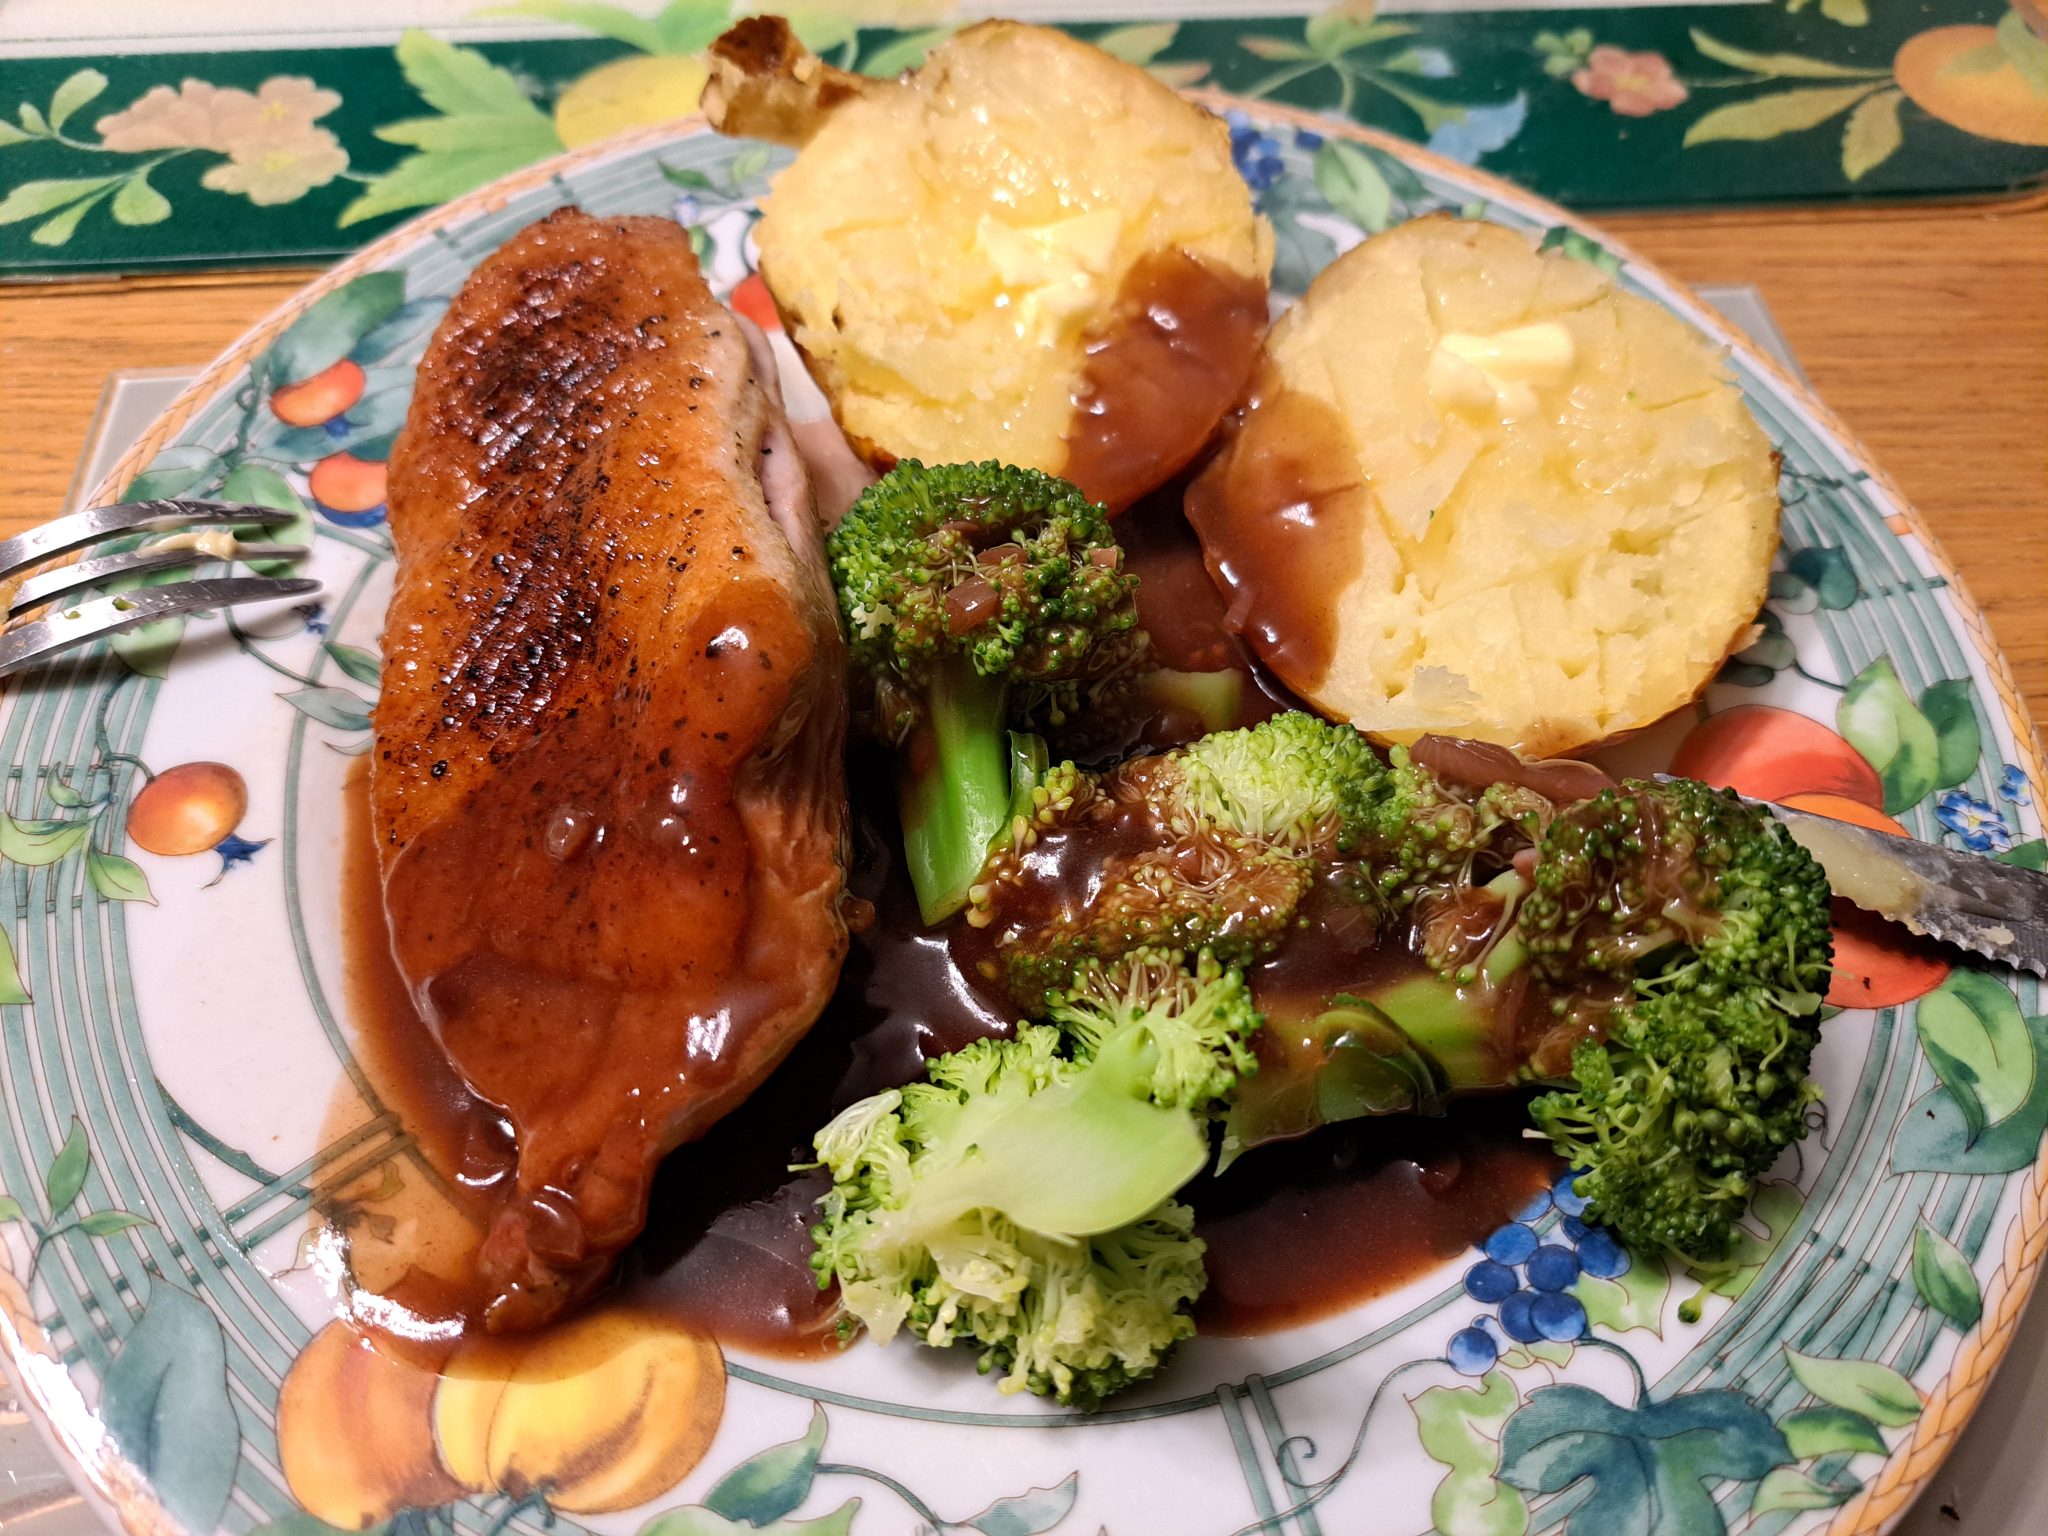
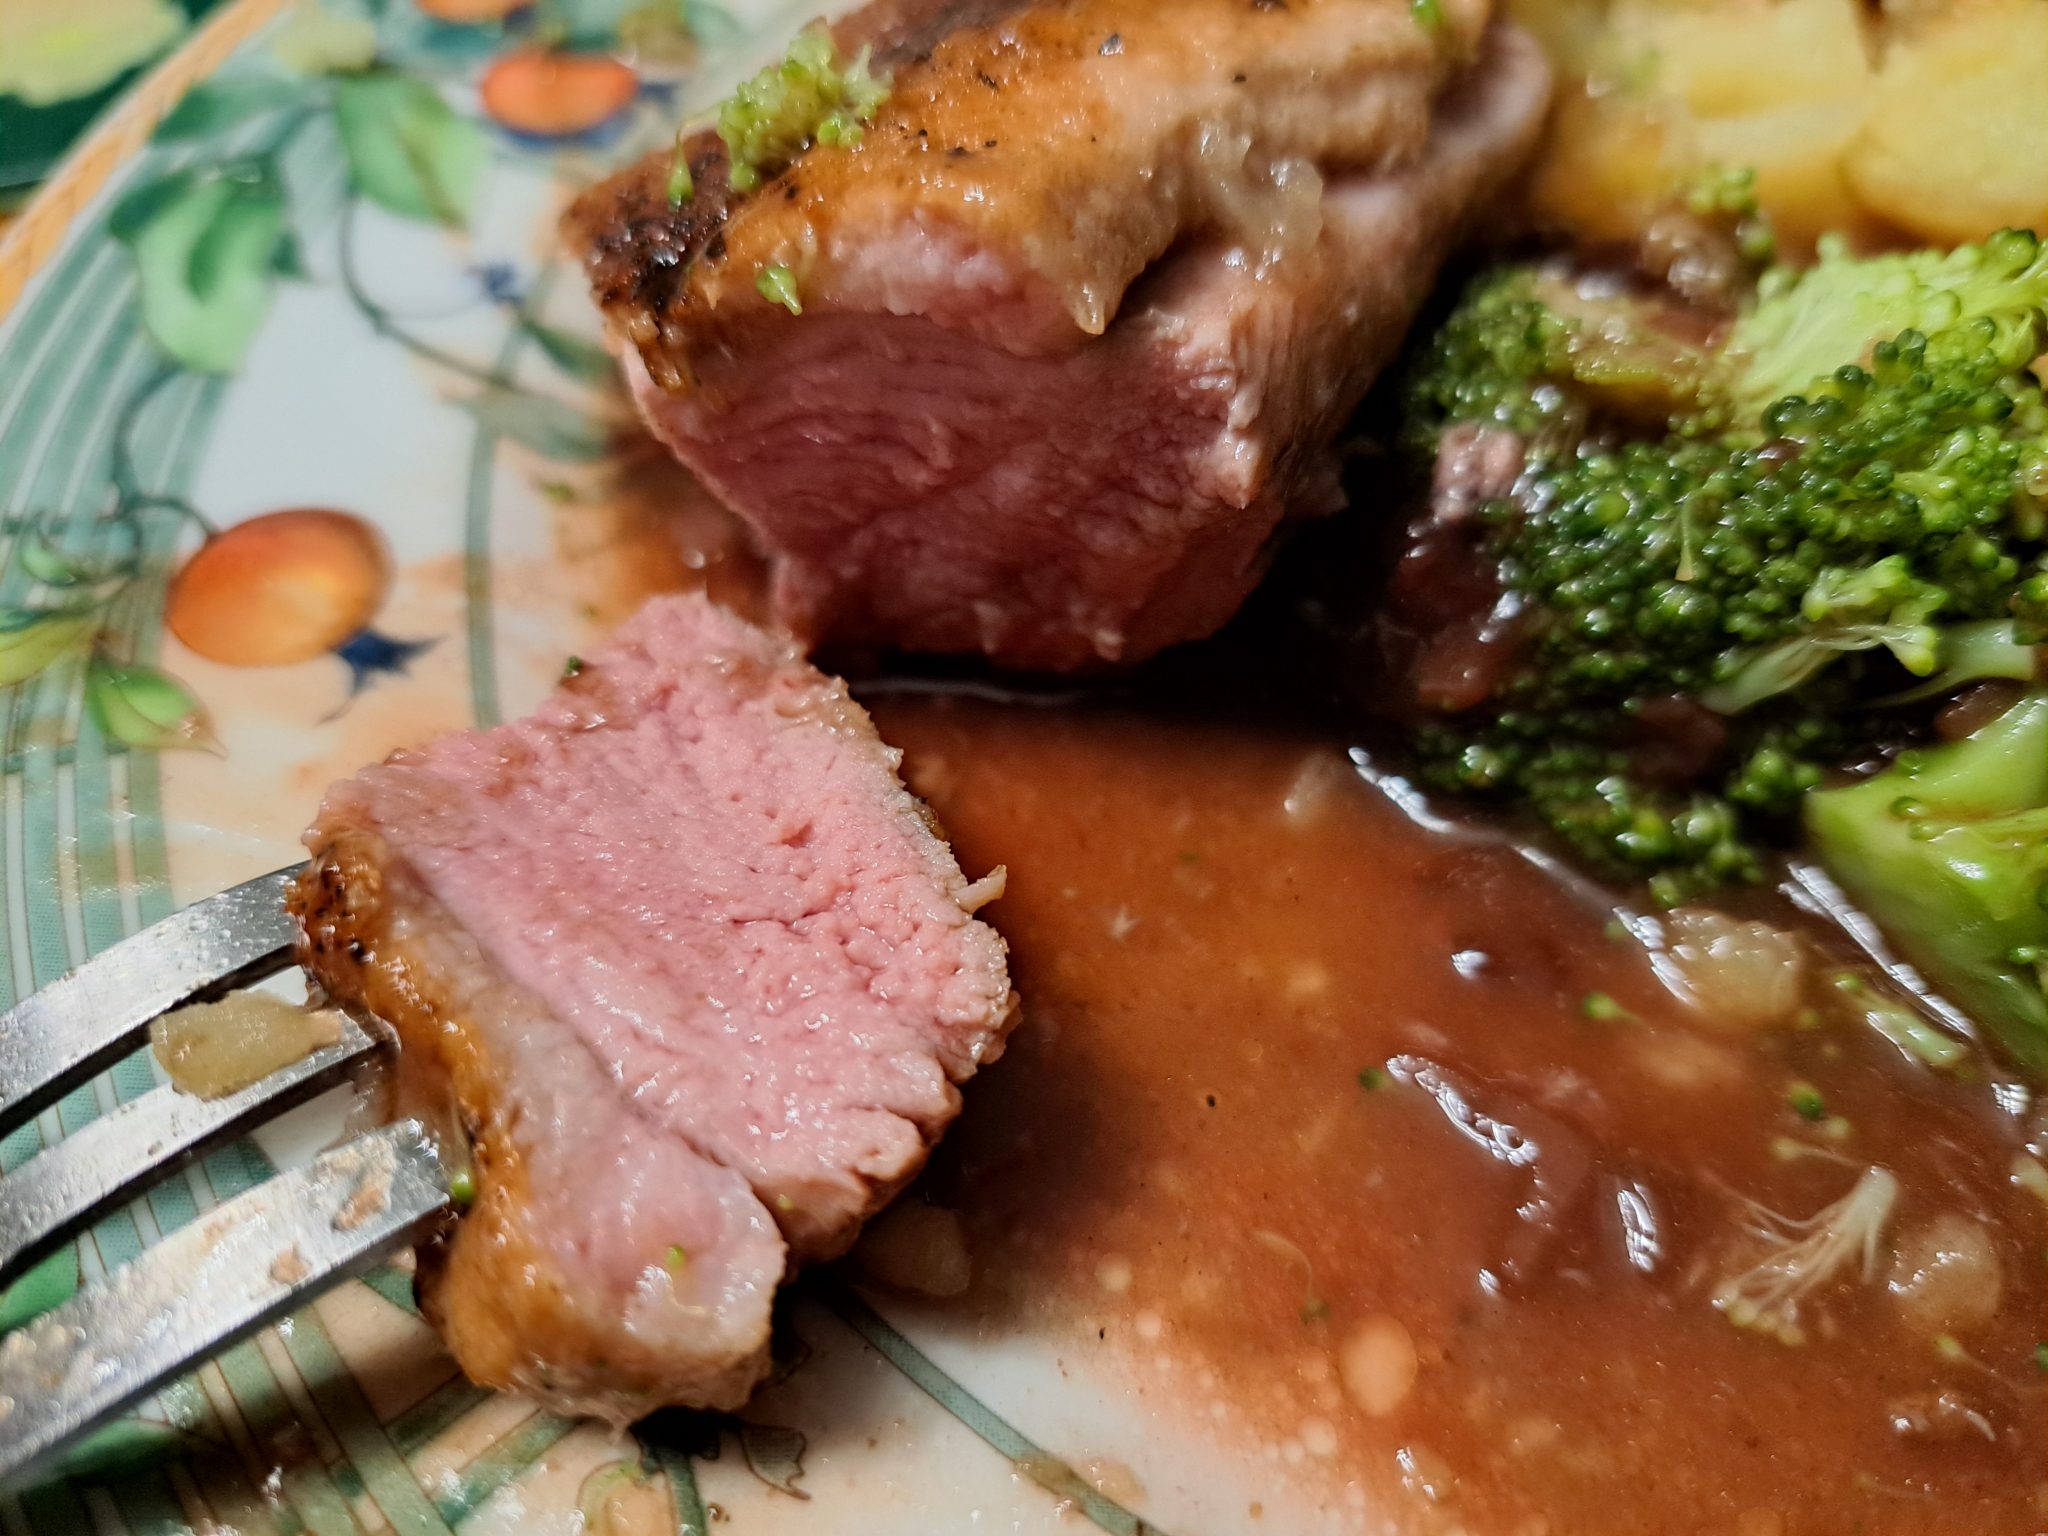
Unshrunken duck breast, baked potato, steamed broccoli, and sauce.The shot that shows it was worth the faff…
This is definitely the way I will do those lovely Gressingham duck breasts (can I have some freebies, please, Gressingham?) from now on, only I will flash fry the skin a little more, to render the remaining fat you can see. The meat did not shrink, and it was not overdone at the edges. And the tenderness was noticeable, compared to the traditional method.
Update: The Gressingham web site has more detail than I have given, about how to make both sous vide duck breasts, and confit duck legs.
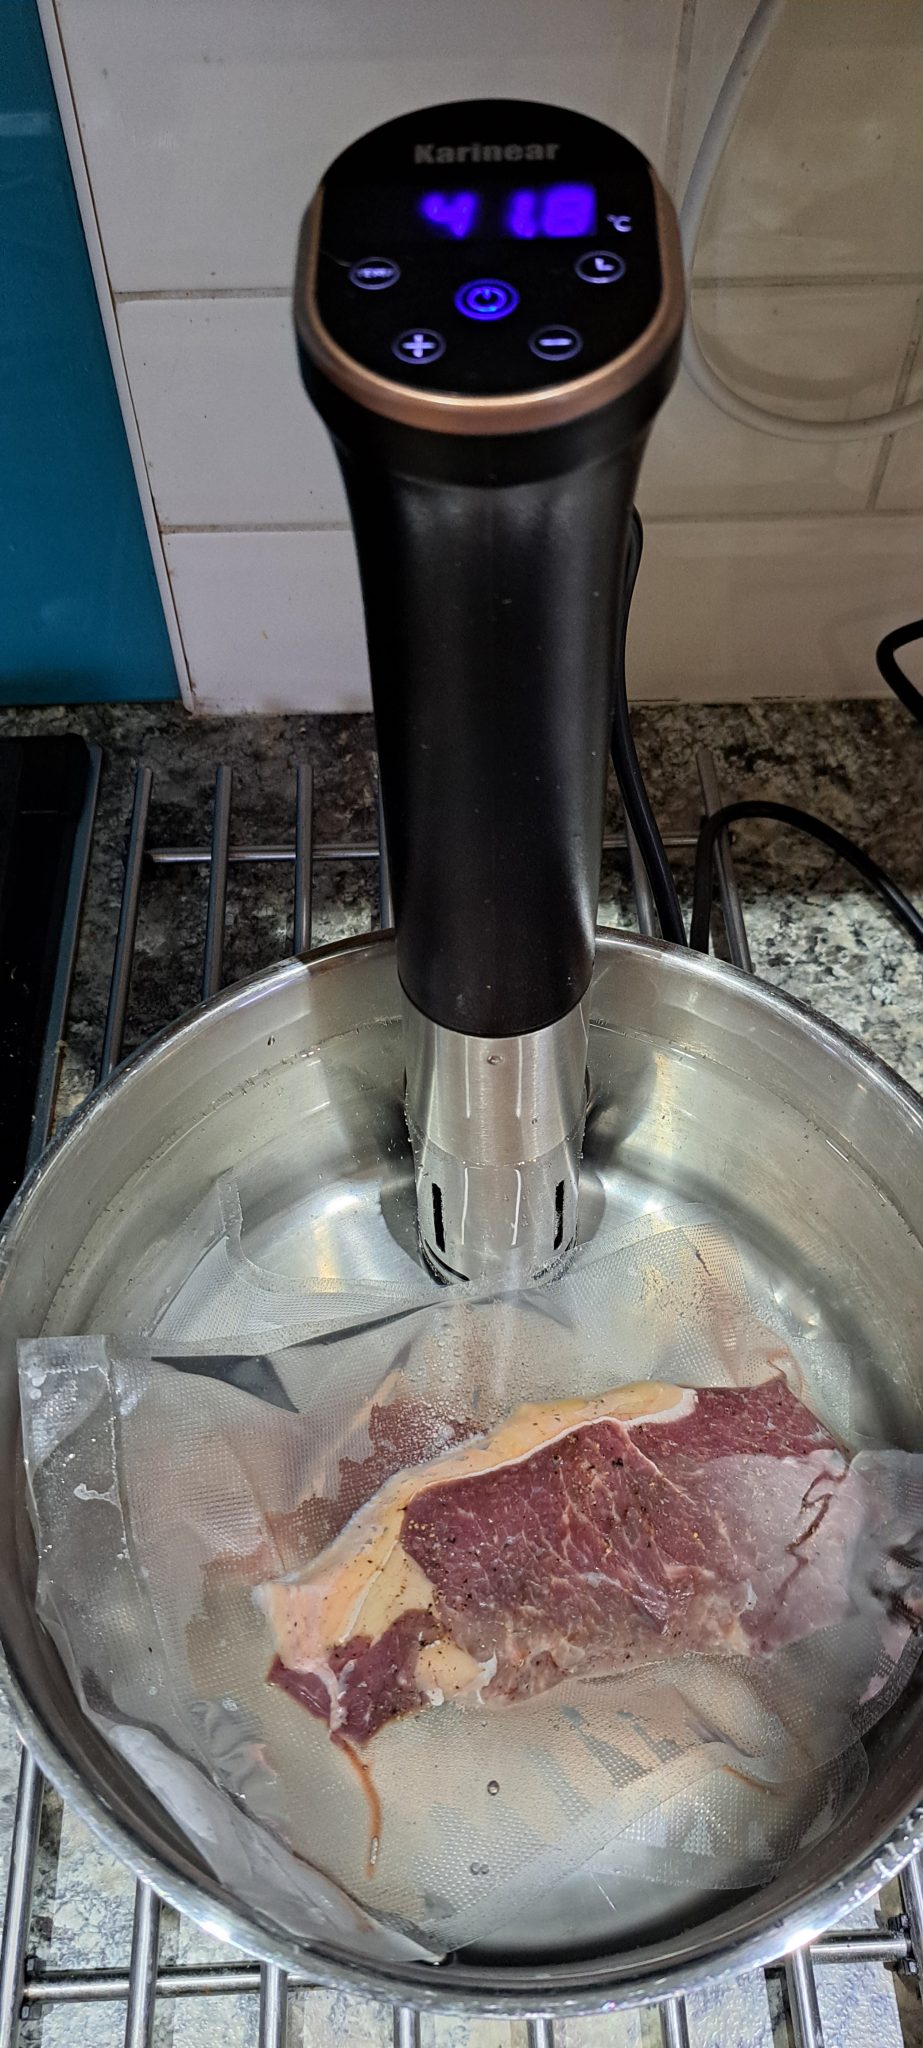
I recently bought a new foodie toy, a sous vide cooker, which I hope will be useful to prevent duck breasts from shrinking when I cook them. It should also enable me to cook medium-rare steaks, without the risk of over or under cooking them. I found it on eBay, for £30. Apparently, I could connect to it with my phone, and control it that way, but there’s nothing wrong with the control panel on top, which is what I shall use instead.
As a very safety conscious Walrus, naturally, I have read the instructions carefully. It’s the usual stuff, you know, don’t use this in your sword swallowing act, etc… Later on, I shall be heading out into the World, in order to Read all instructions.
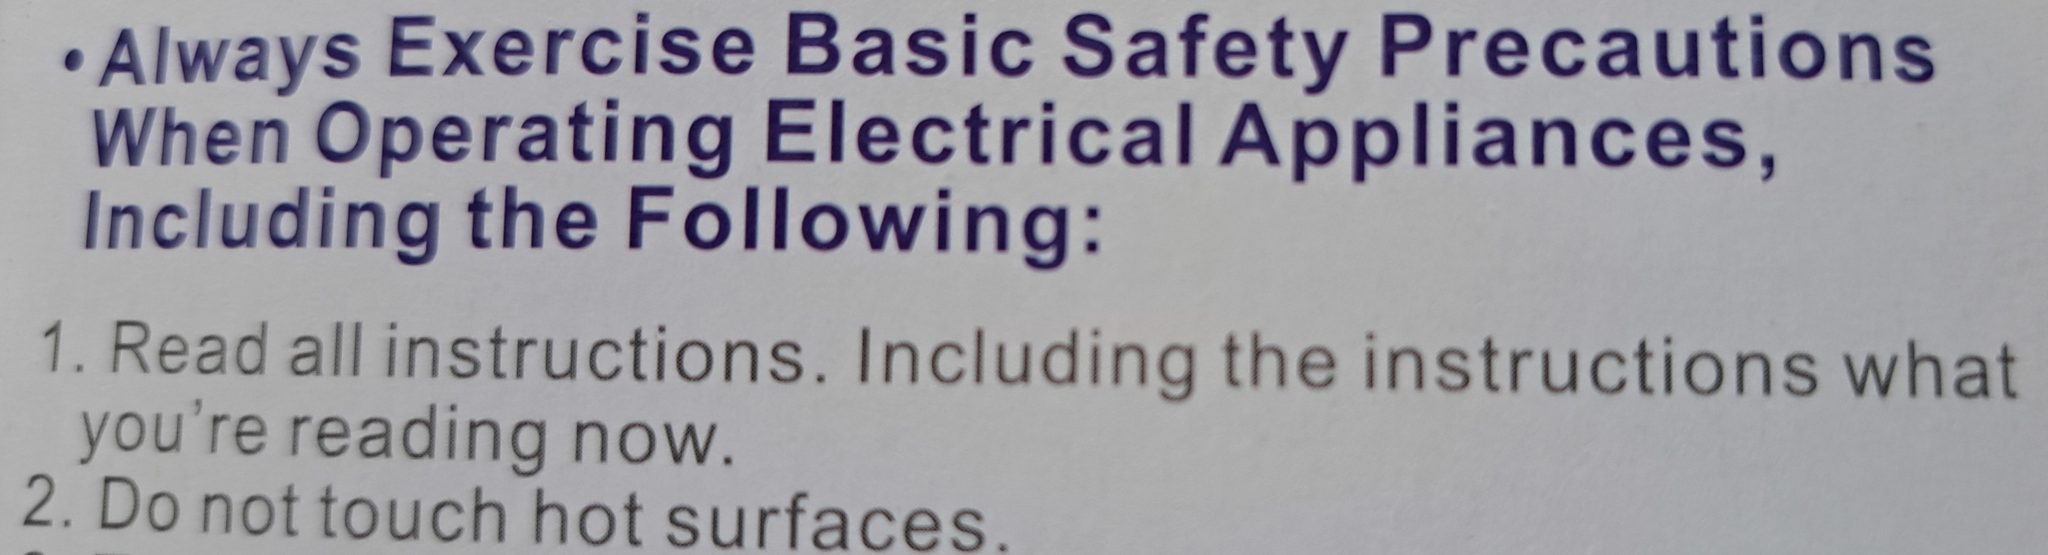
This is part of the instructions what I read.
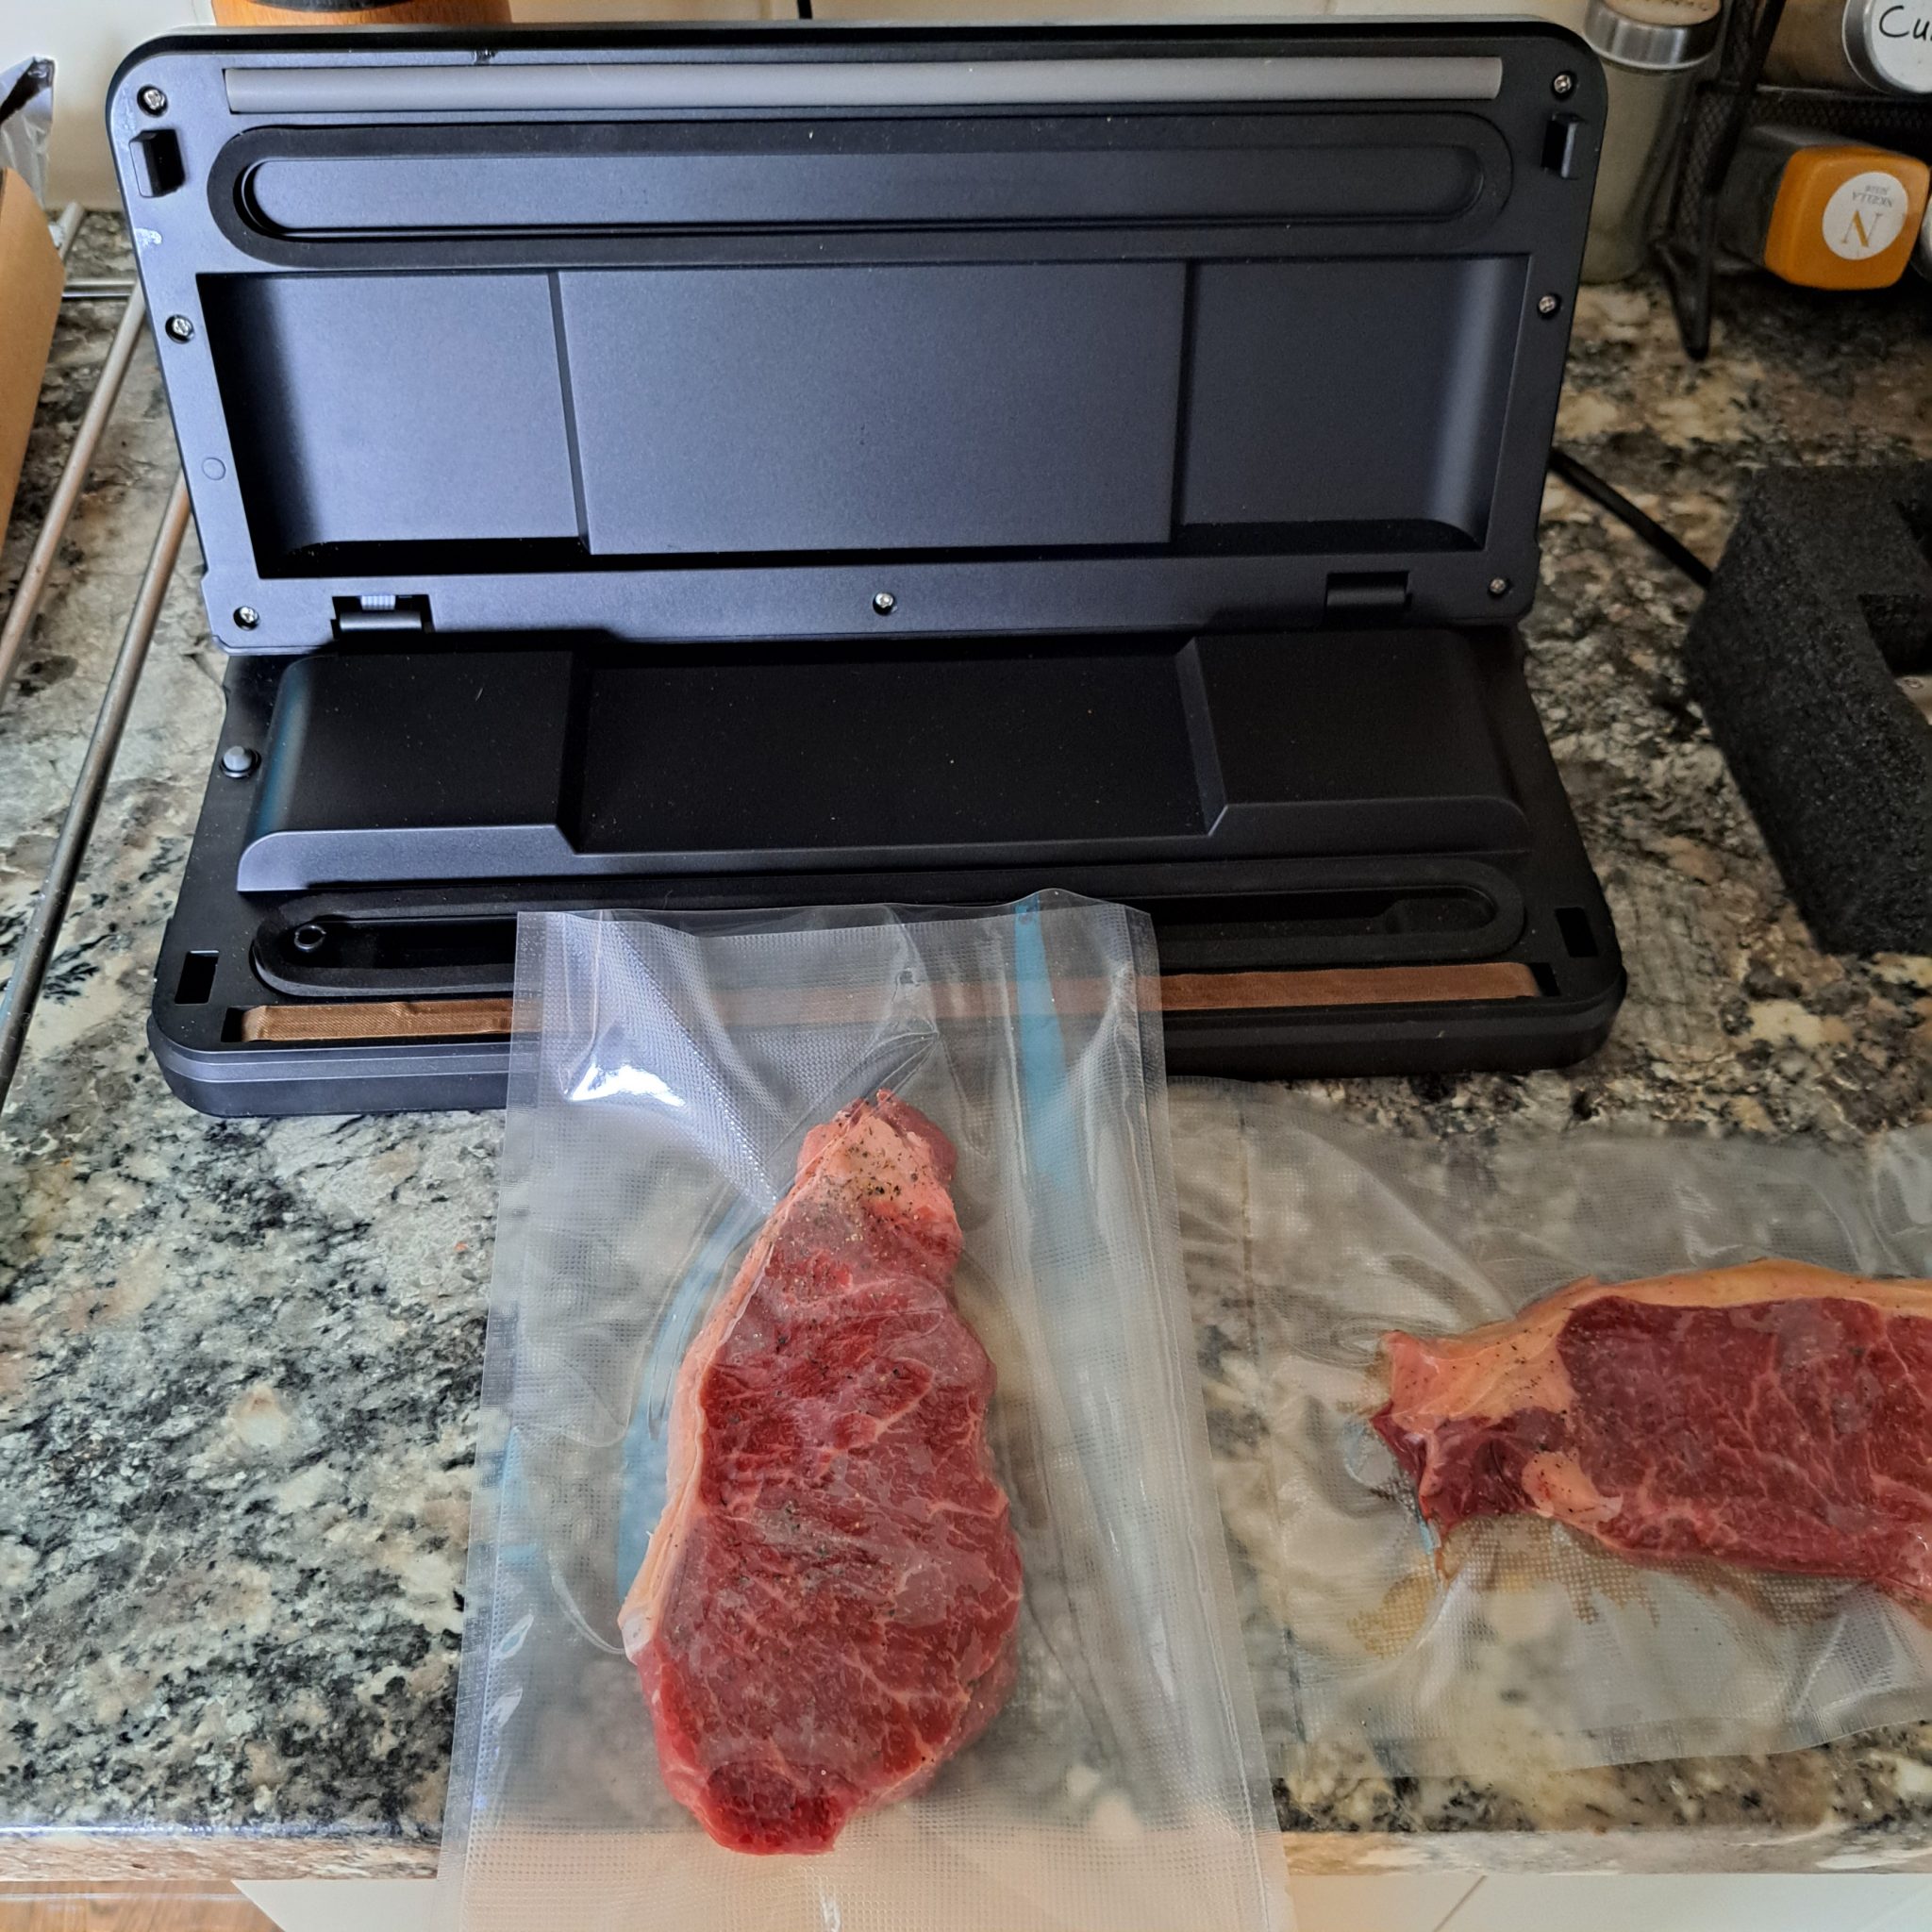
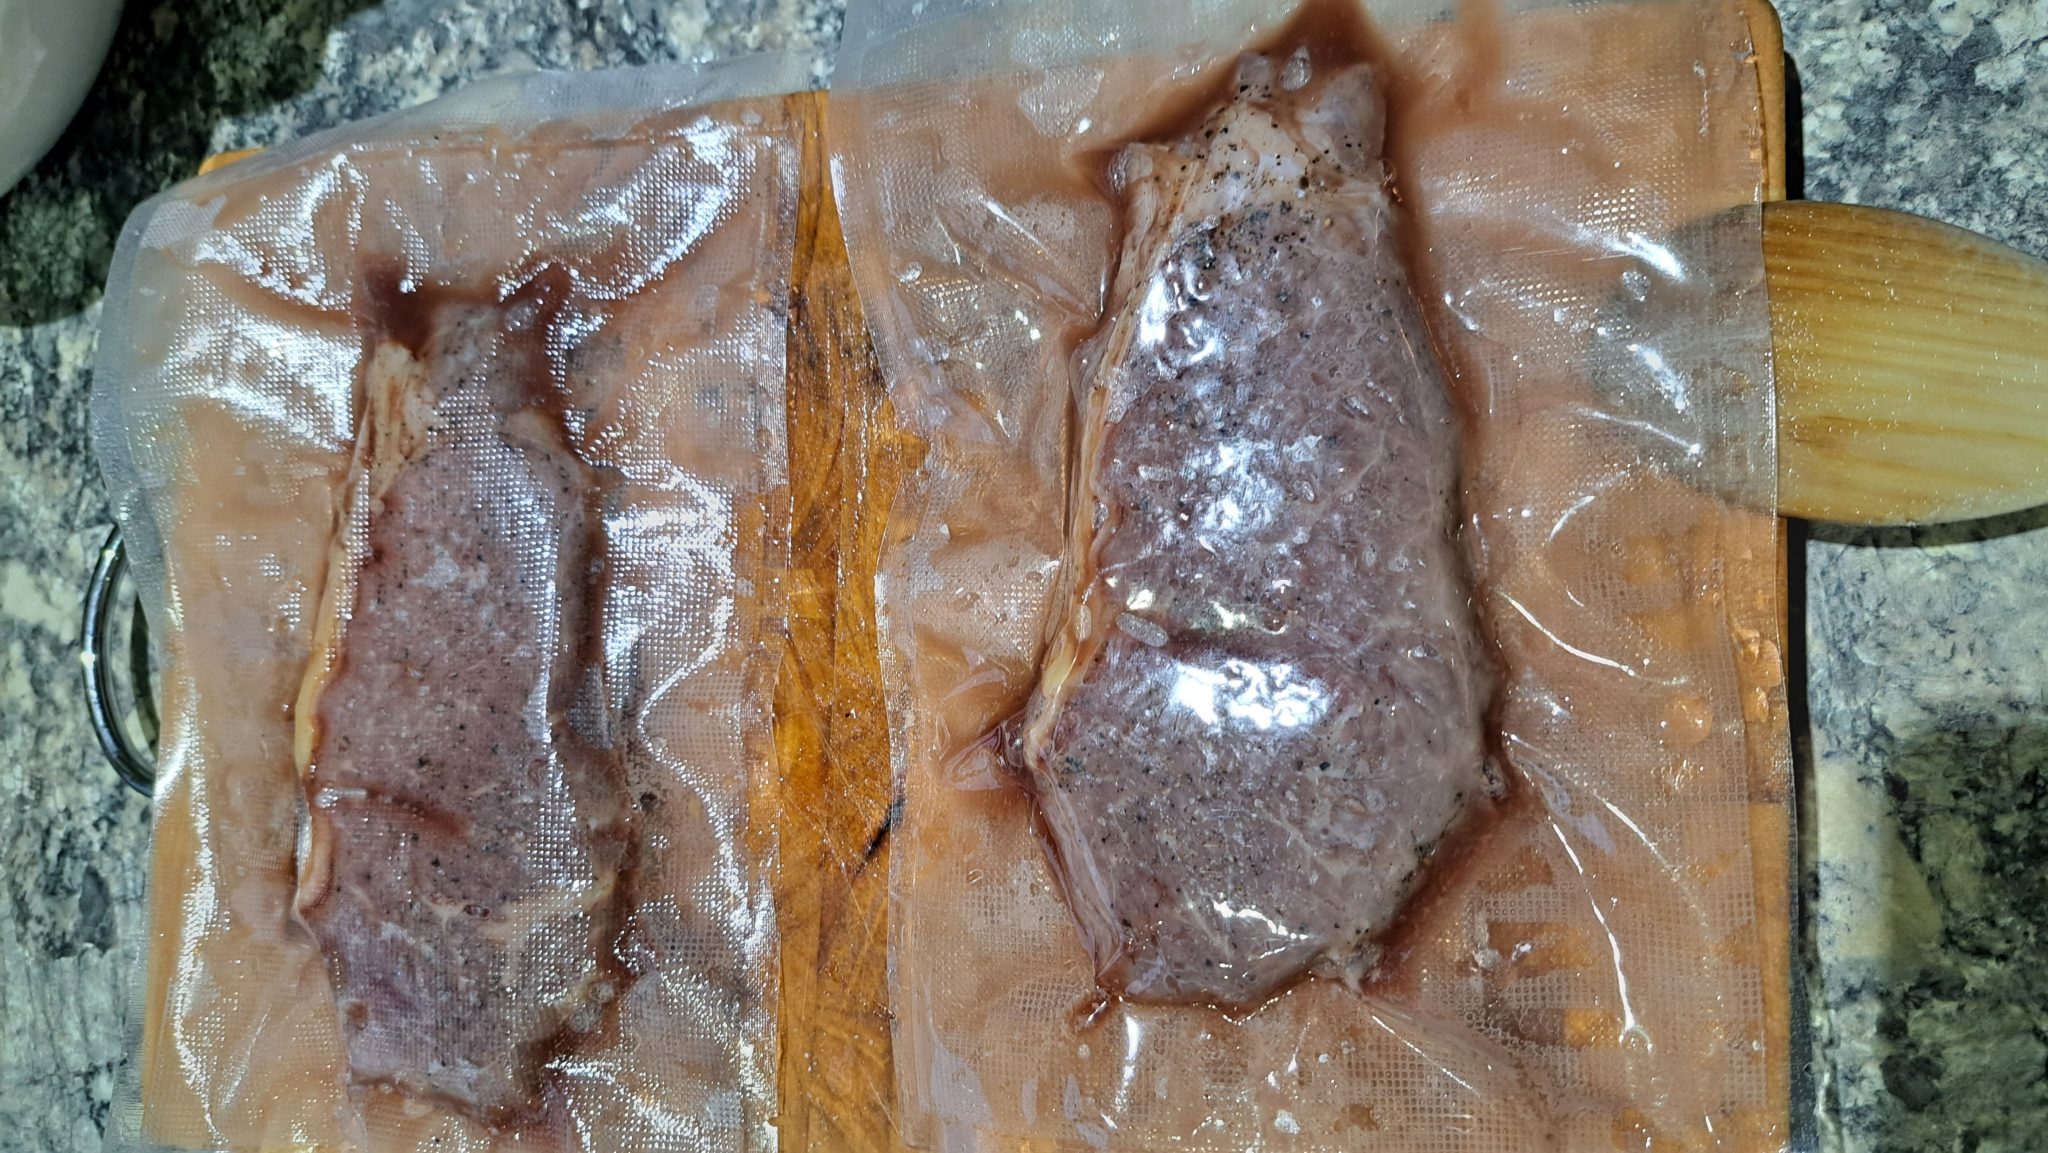
I already had a nifty device for vacuum packing the steaks, so I seasoned them, and got the air sucked out of the bags. You don’t need this device, really. It’s entirely possible to use Zip Lock bags, and get as much air out as you can, though they may tend to float if you don’t get it all out. But it’s a cooking toy, so I love it. Made by Tayuugo, if you want one like it…
The second steak, about to be suffocated. To the right, one I did earlier.
Next step: fill a big pan with water, clip the sous vide device on, and set it going. The temperature should be 55°C, and up to two hours is plenty of time. It doesn’t take long to get up to the right temperature. Meanwhile, I baked a couple of potatoes, and then fried some mushrooms in butter.
After almost two hours in the water bath, the steaks are cooked, but they don’t look like it. They need a quick flash fry in a very hot pan.
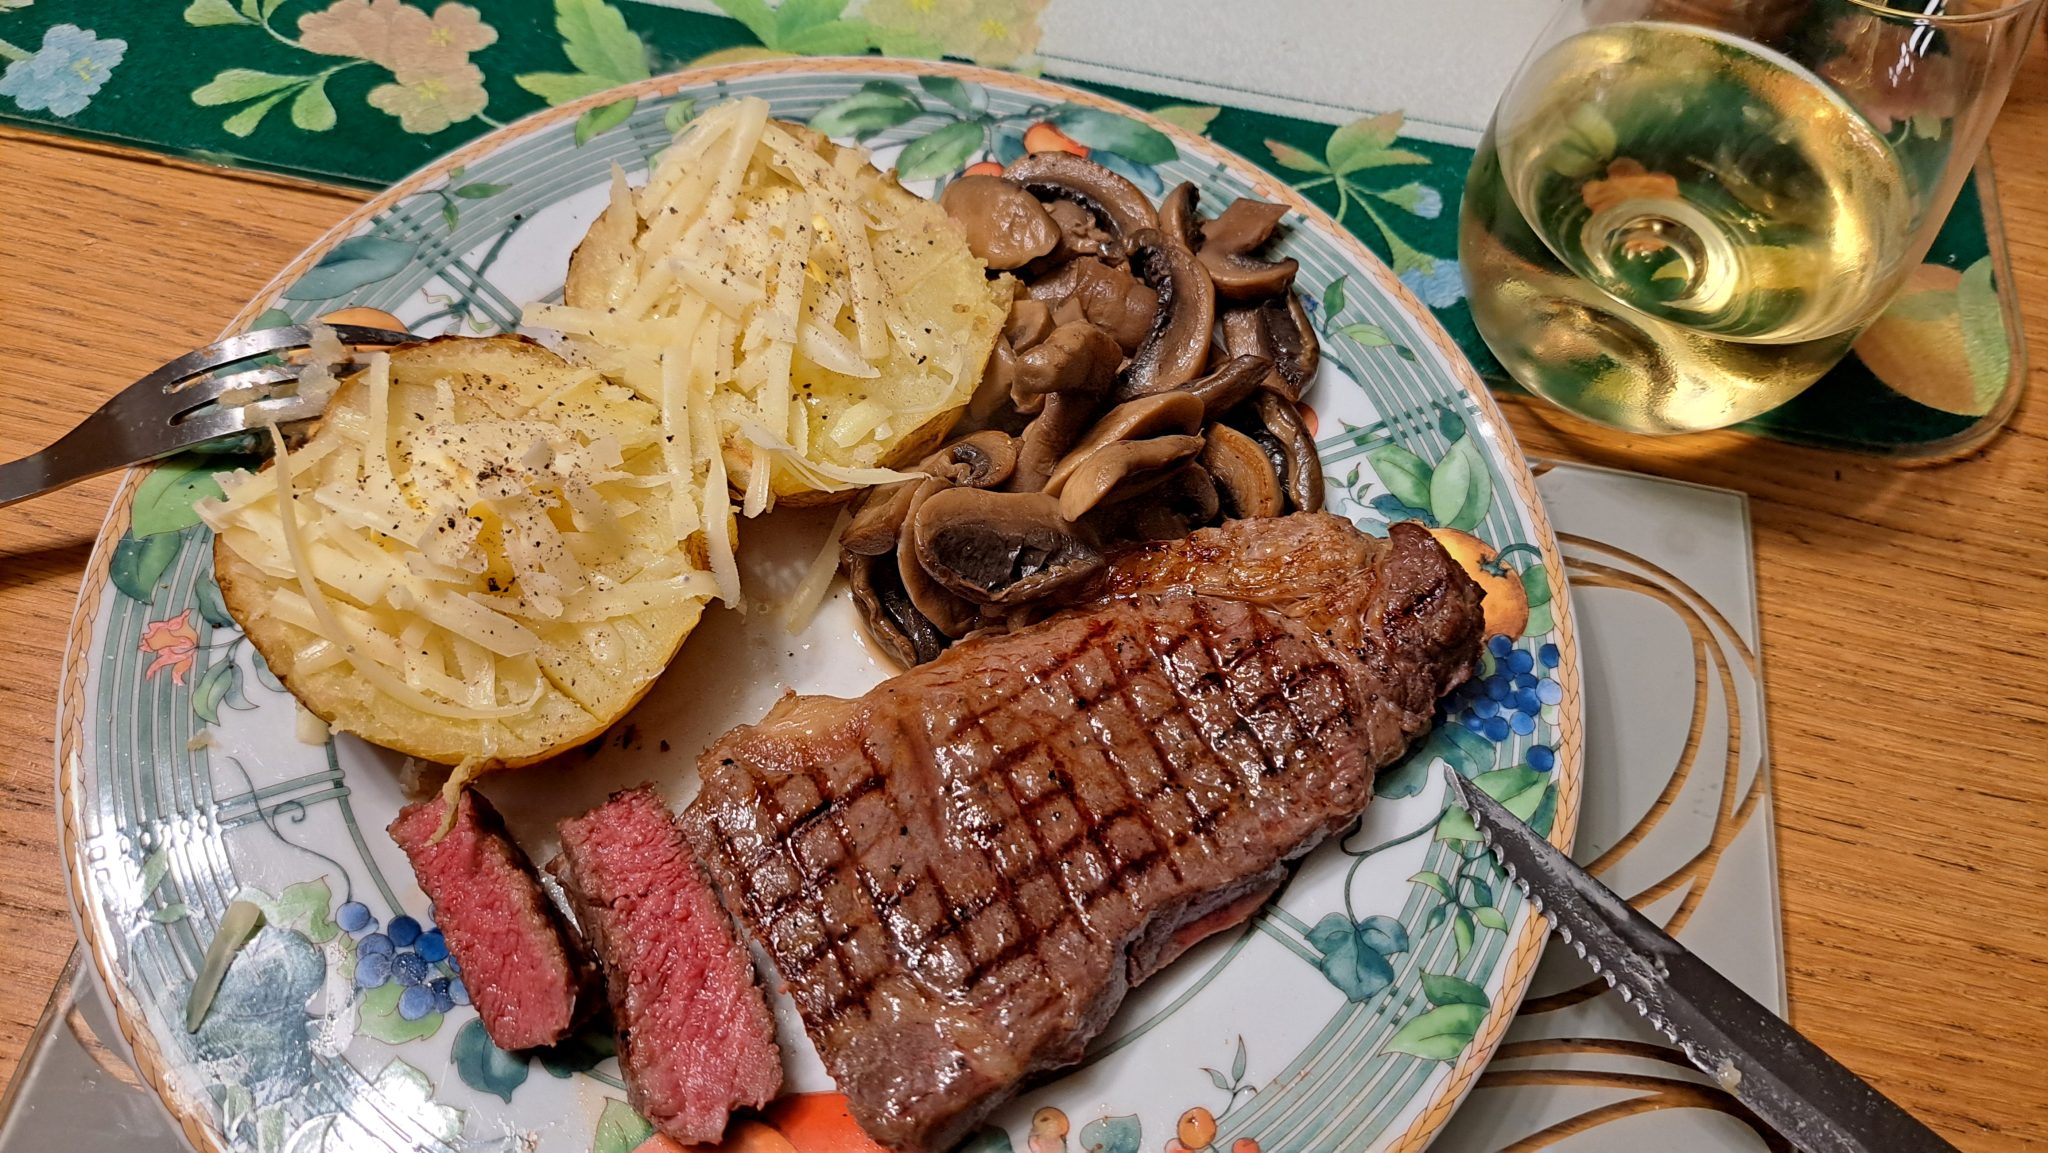
It was a very quick flash fry, and I didn’t take any pictures while I was doing it… but here’s the plated result…
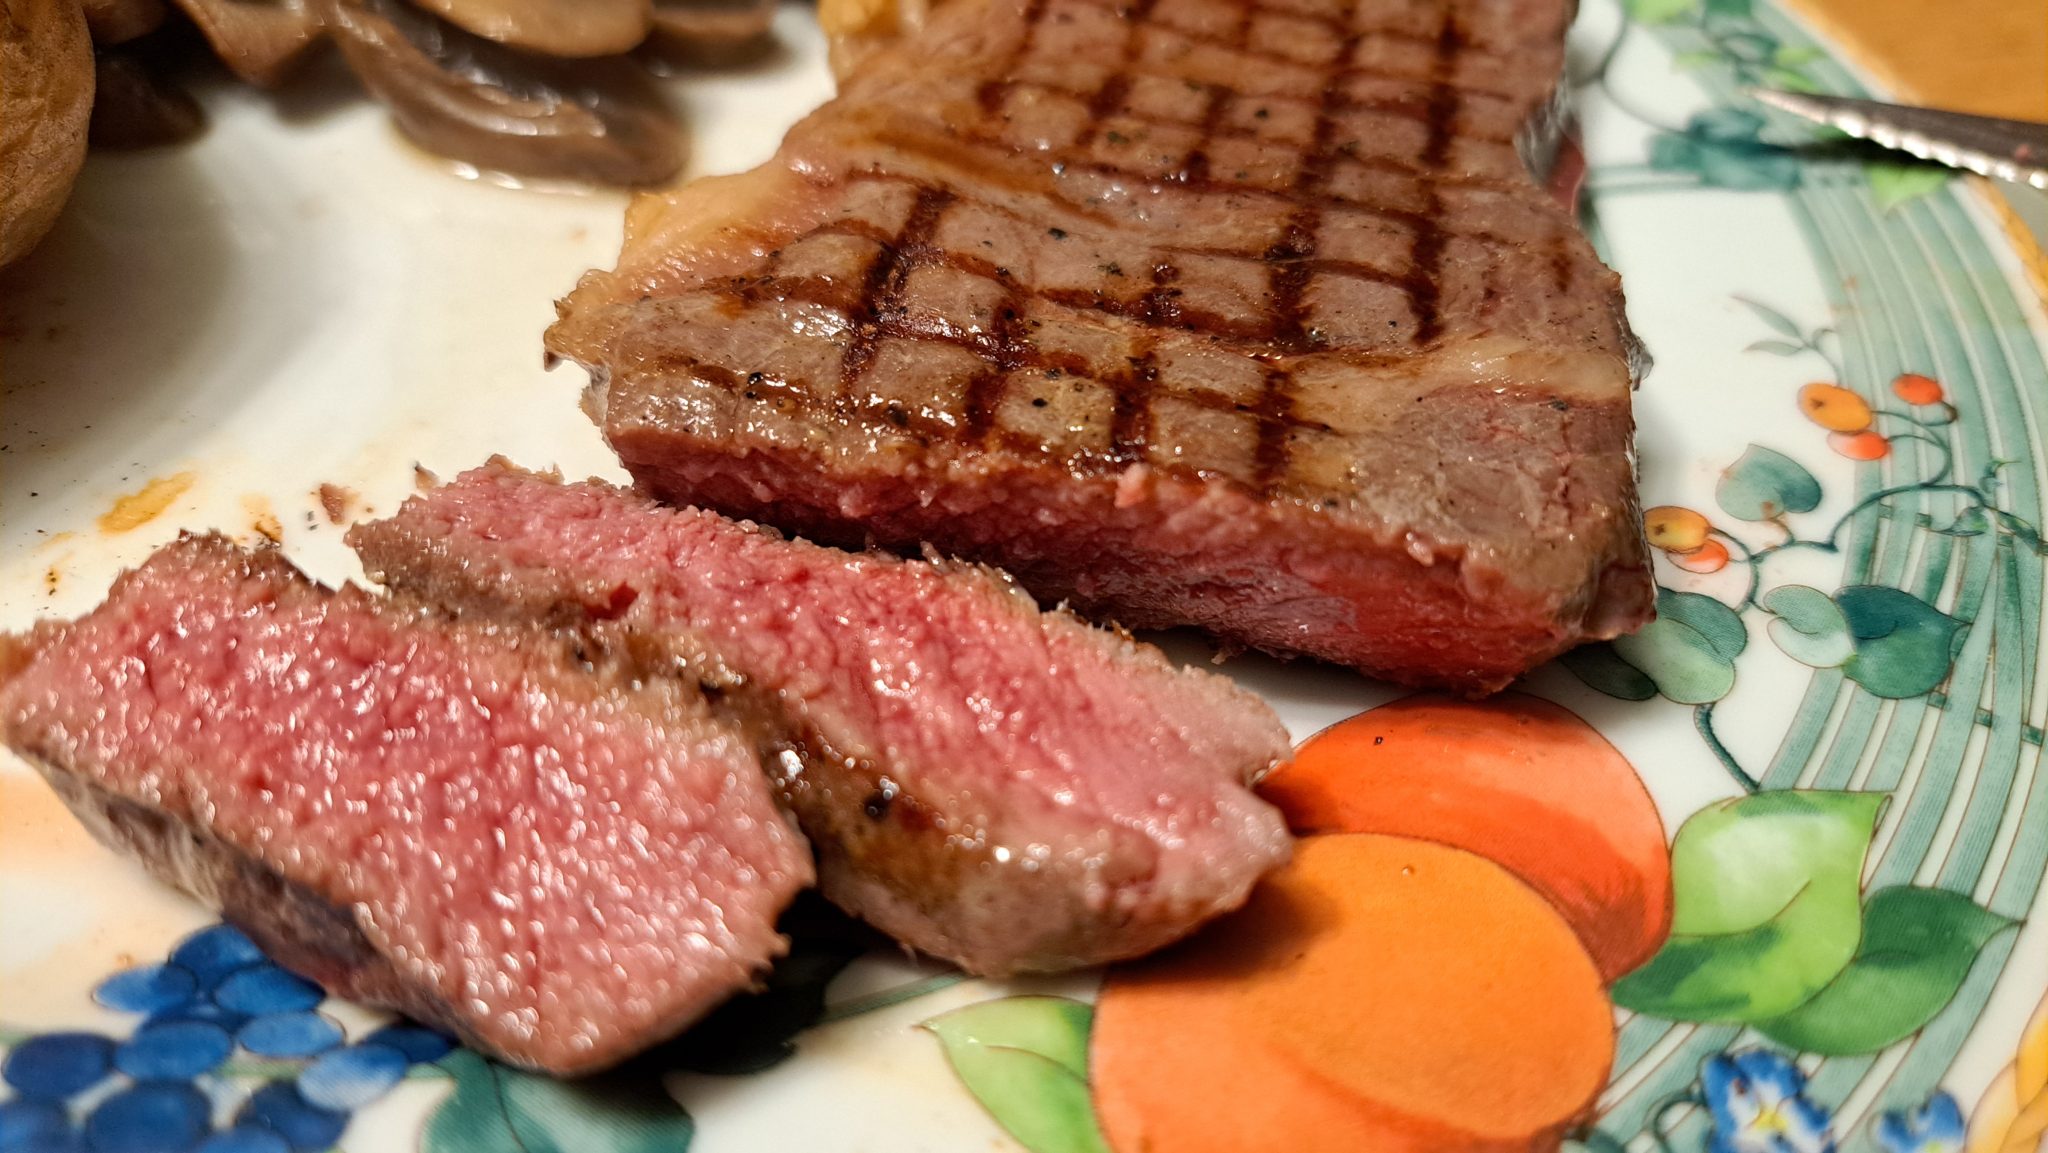
Now, you may call that rare, rather than medium-rare, and you may be right, but it is definitely what I was aiming for. The big difference between cooking the steaks this way, and frying them, is the way they’re not overcooked at the surface, with a smaller pink area inside. Now that I know the process, I will not be using cheap supermarket steaks like these, but really good ones from the friendly local butcher.
Update: This sous vide device died the third time I used it, and I got a refund. My new one is an Inkbird one, and cost twice as much. Let’s hope it lives longer…