
This is fish the first way, a salmon fillet with no bones in it, served with some new potatoes, cauliflower, home grown broccoli, and parsley sauce from a packet. It was very pleasant with a white wine to help it on its way. My wife liked it, and there were no bones in the fish to annoy her.
However…
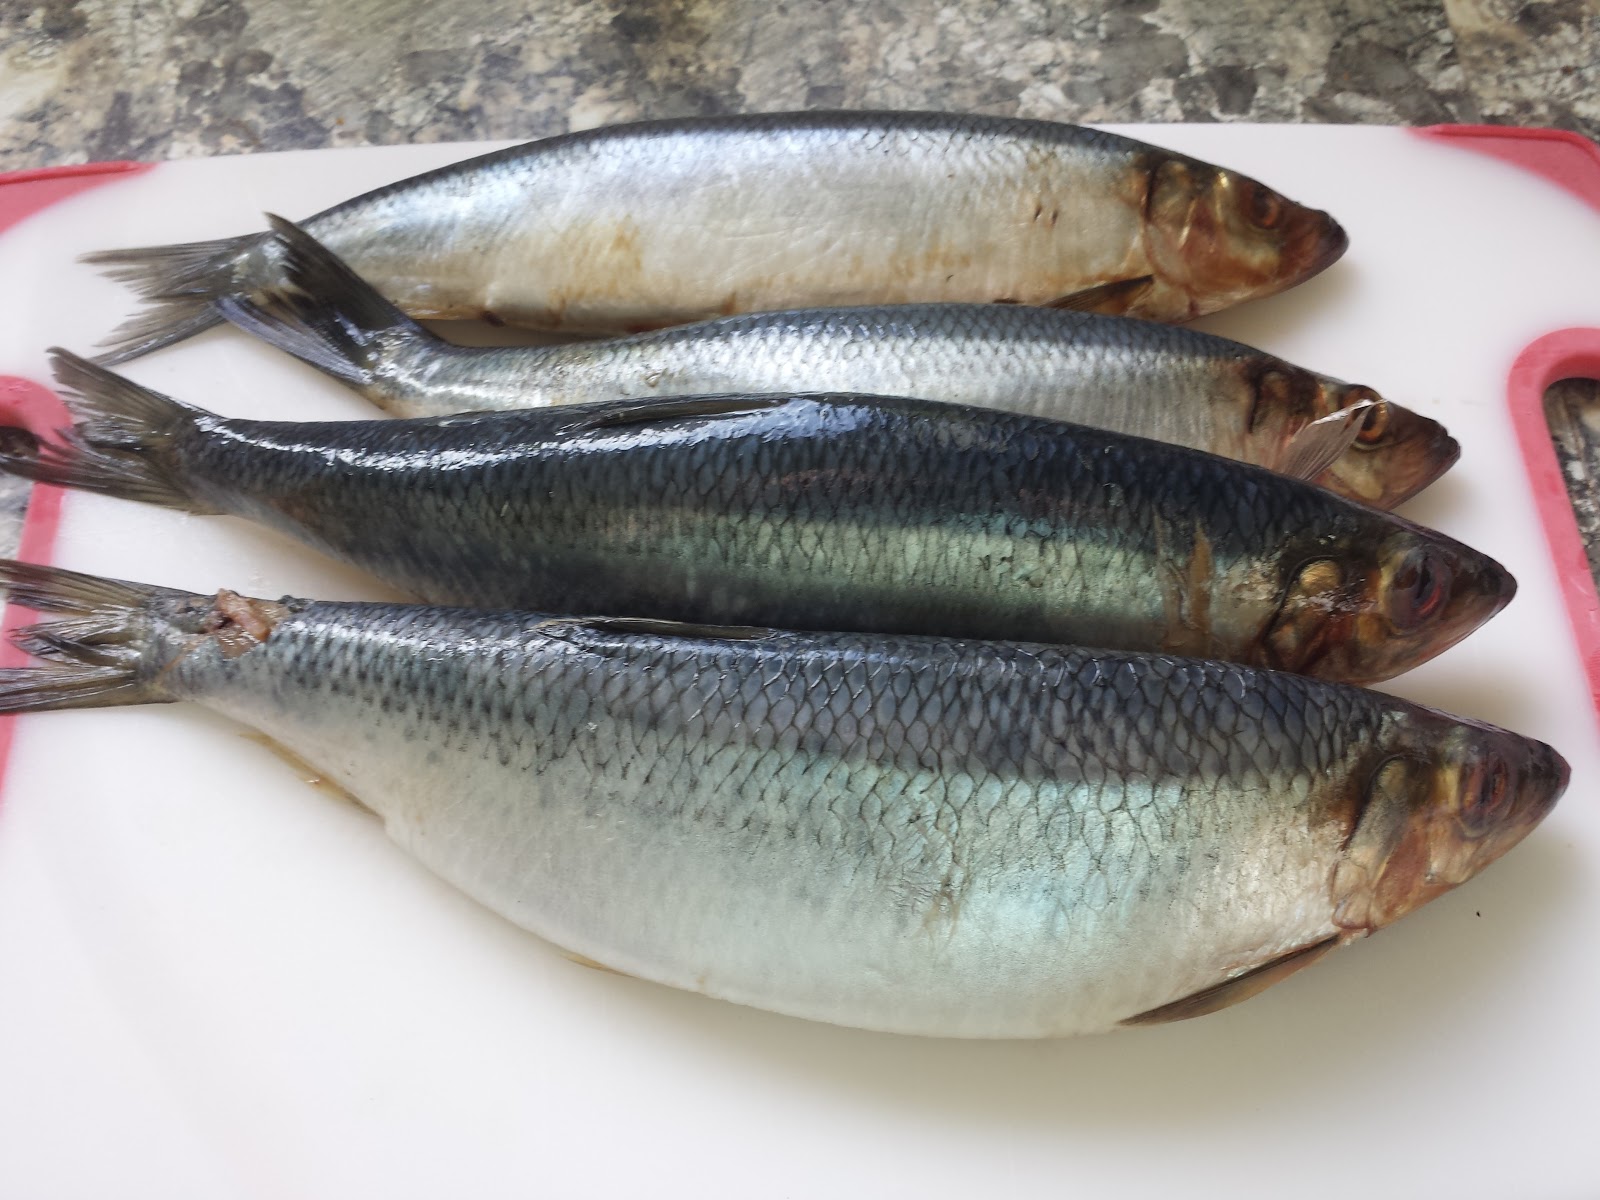
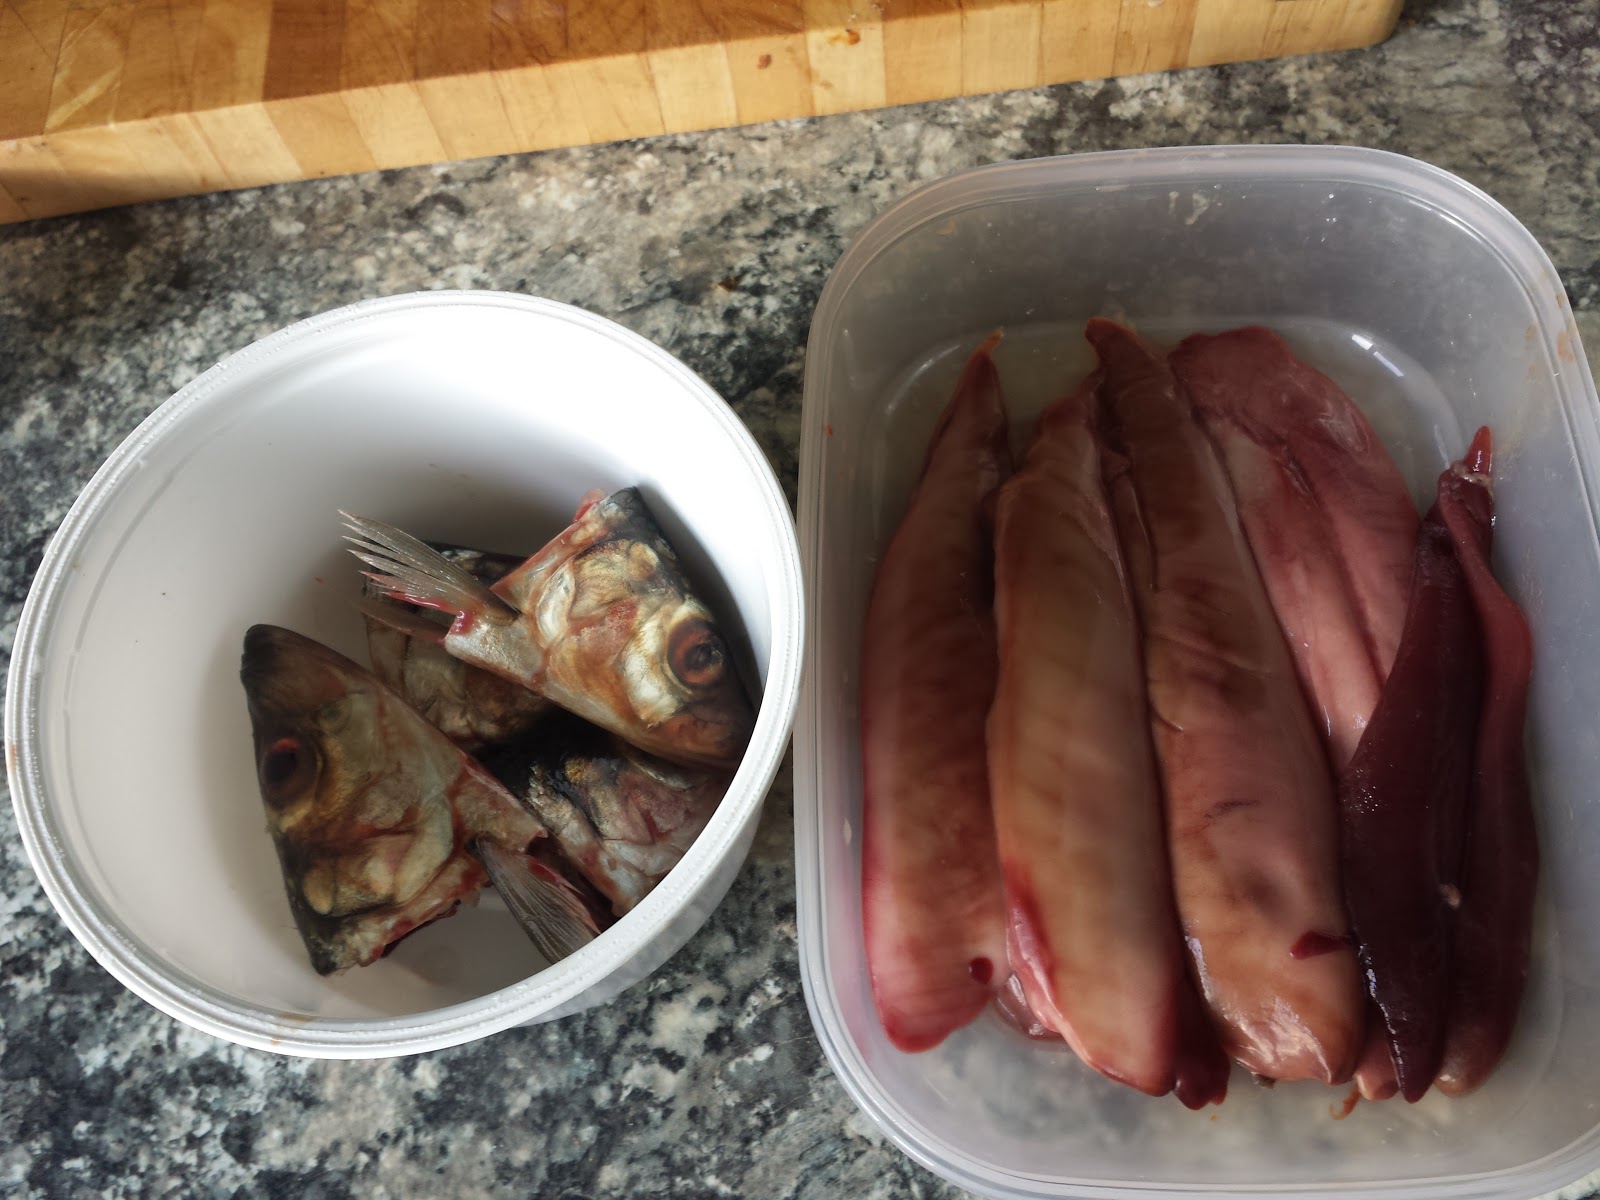
 These little beauties are sprats, and they are so cheap that I allow myself a big handful as a treat, when my wife is away. Treat? These cost less than a pound.
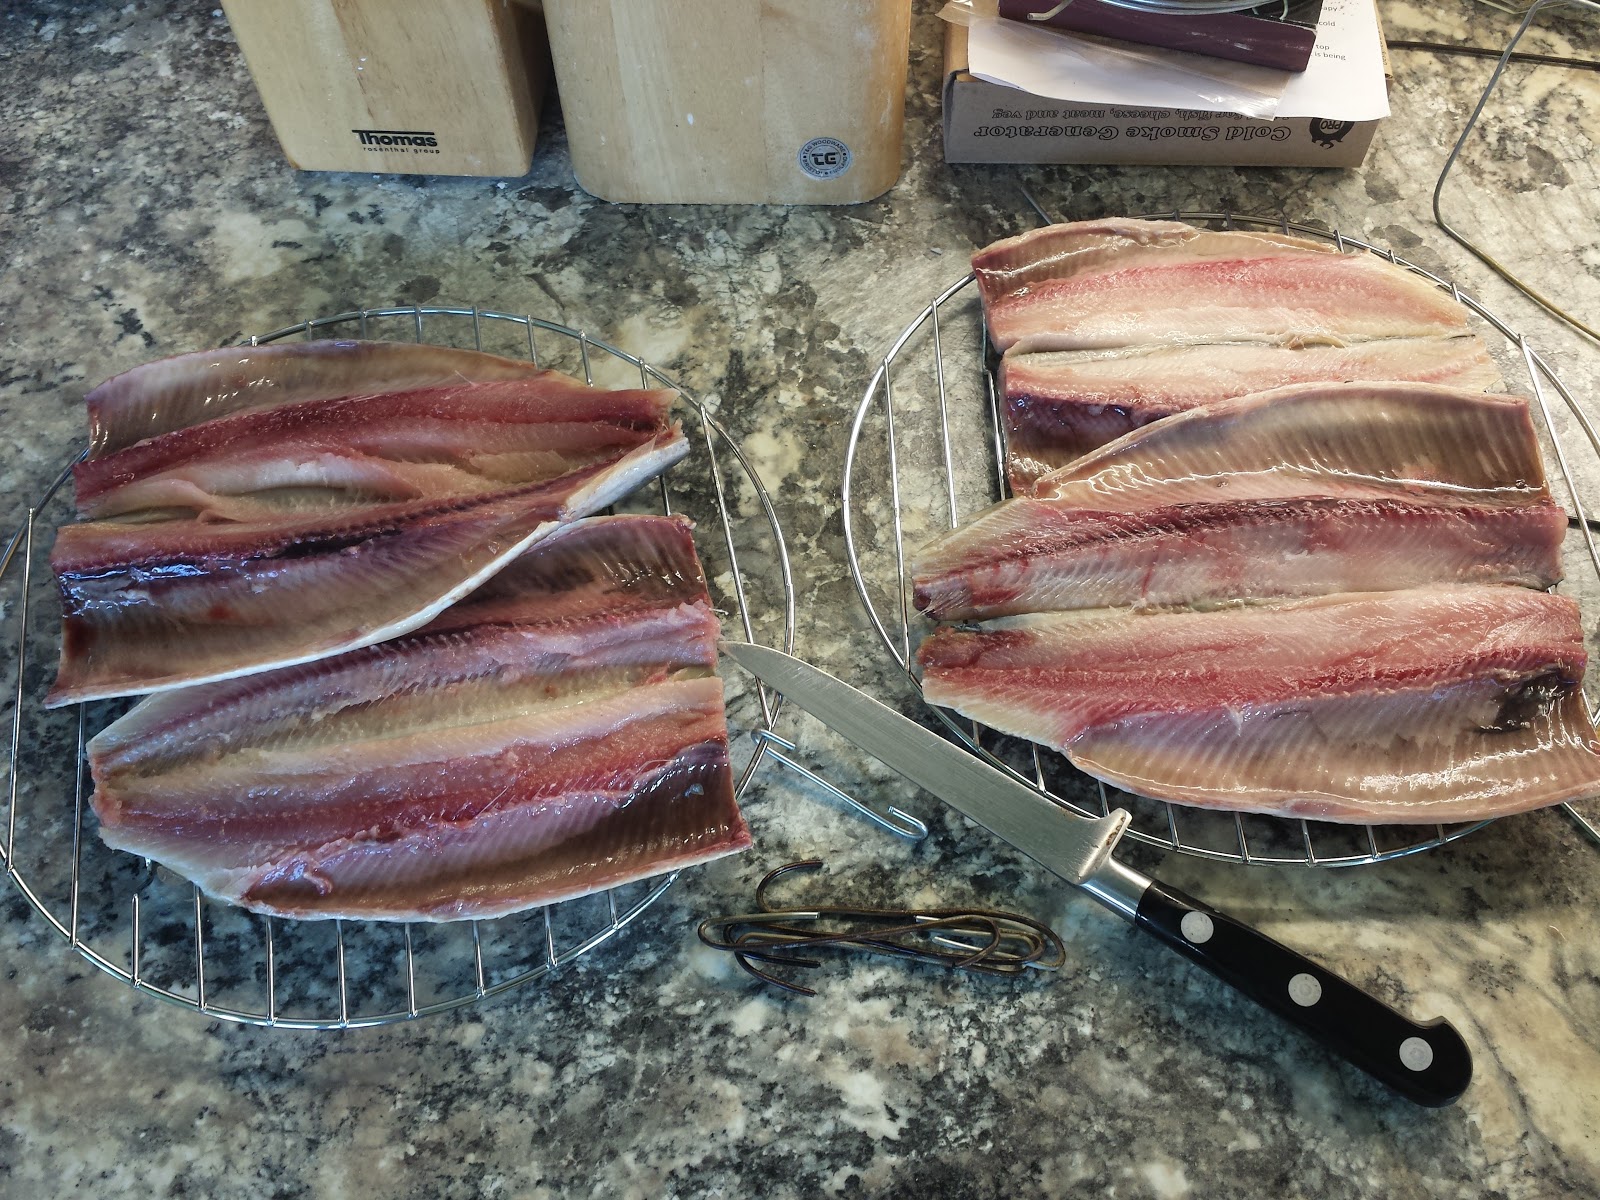
  I was asked to make these postings more instructional. So, off with their heads, use the pointy end of the knife to gut them, and shake them in a bowl with a little seasoned flour, until they are covered thinly with it. Heat a pan with some olive oil in it, and put the fish in. The lass in the shop, that sold them to me said she had stirred hers, and they broke up. No surprise, poor little things. After a couple of minutes, turn them over and give the other side a couple of minutes.
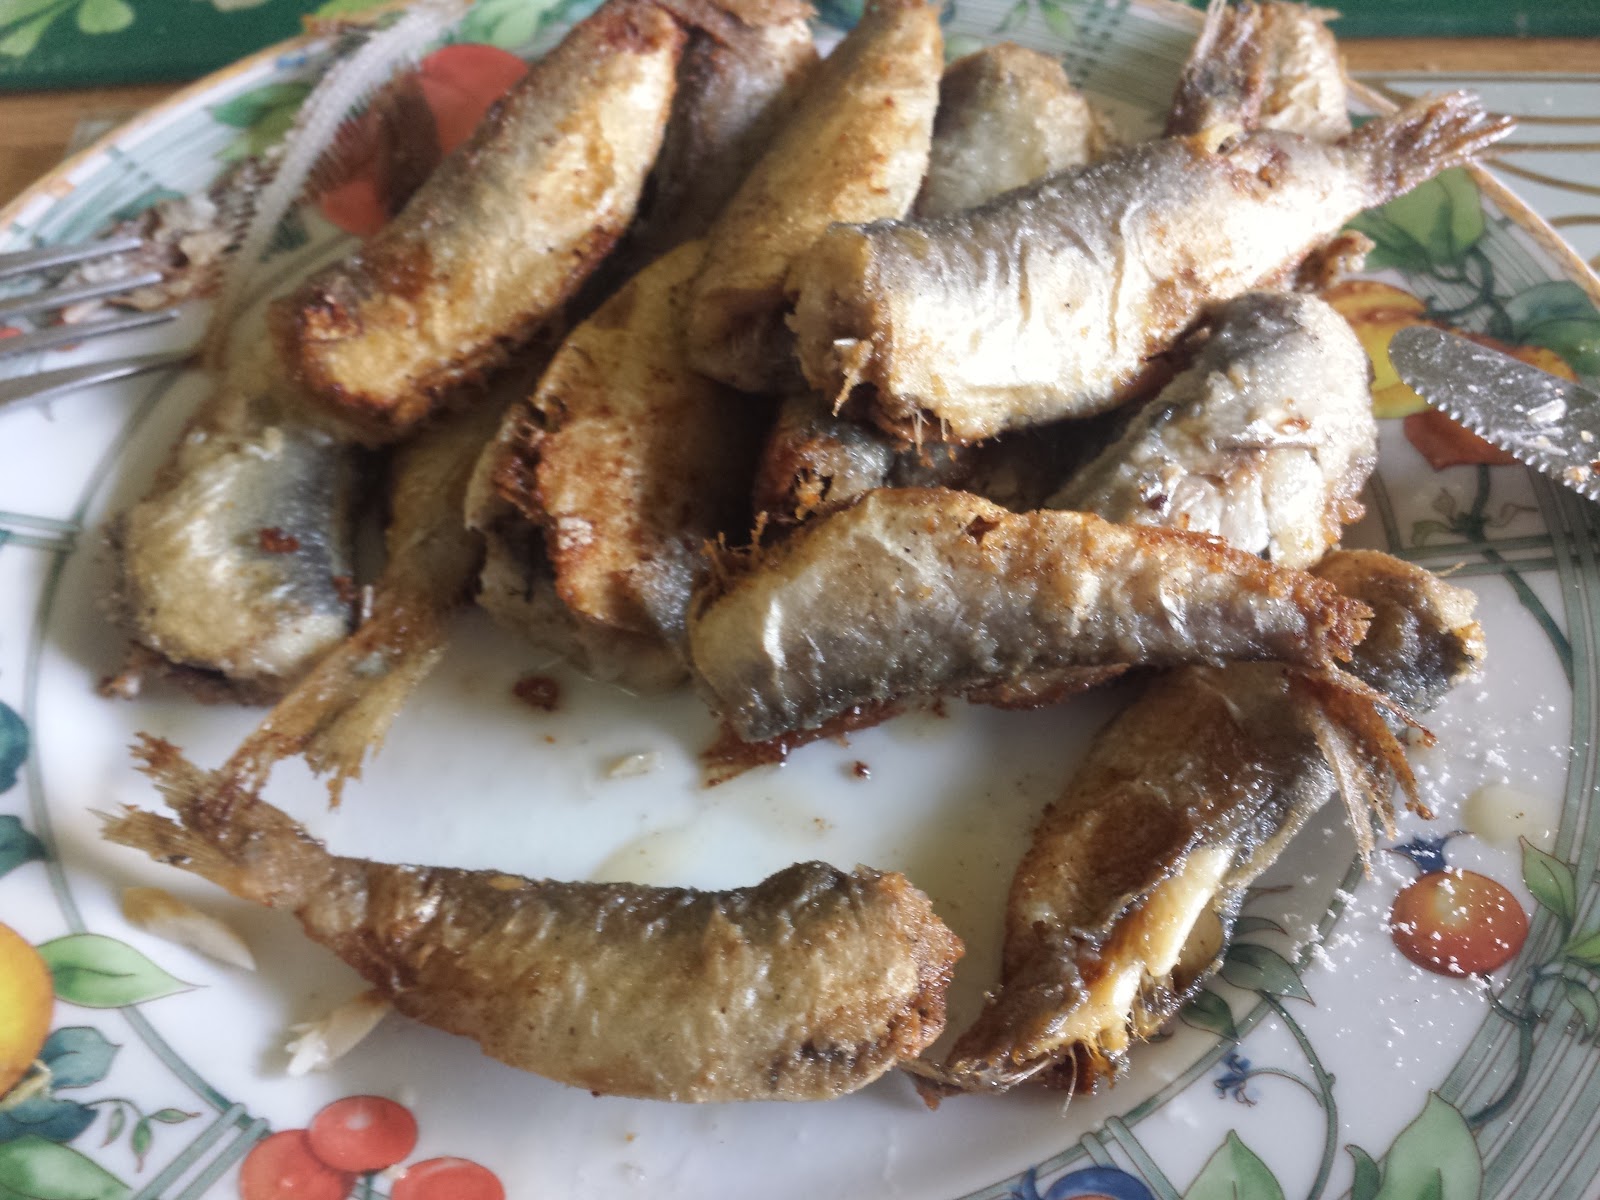
This is the result. I got a bit excited, and ate one before I took this picture. The flesh comes off the bones very easily, but it’s a good idea to have bread and butter handy, to eat with any bones you might happen to put in your mouth. They won’t last five minutes in stomach acid, so it doesn’t matter if you eat some.
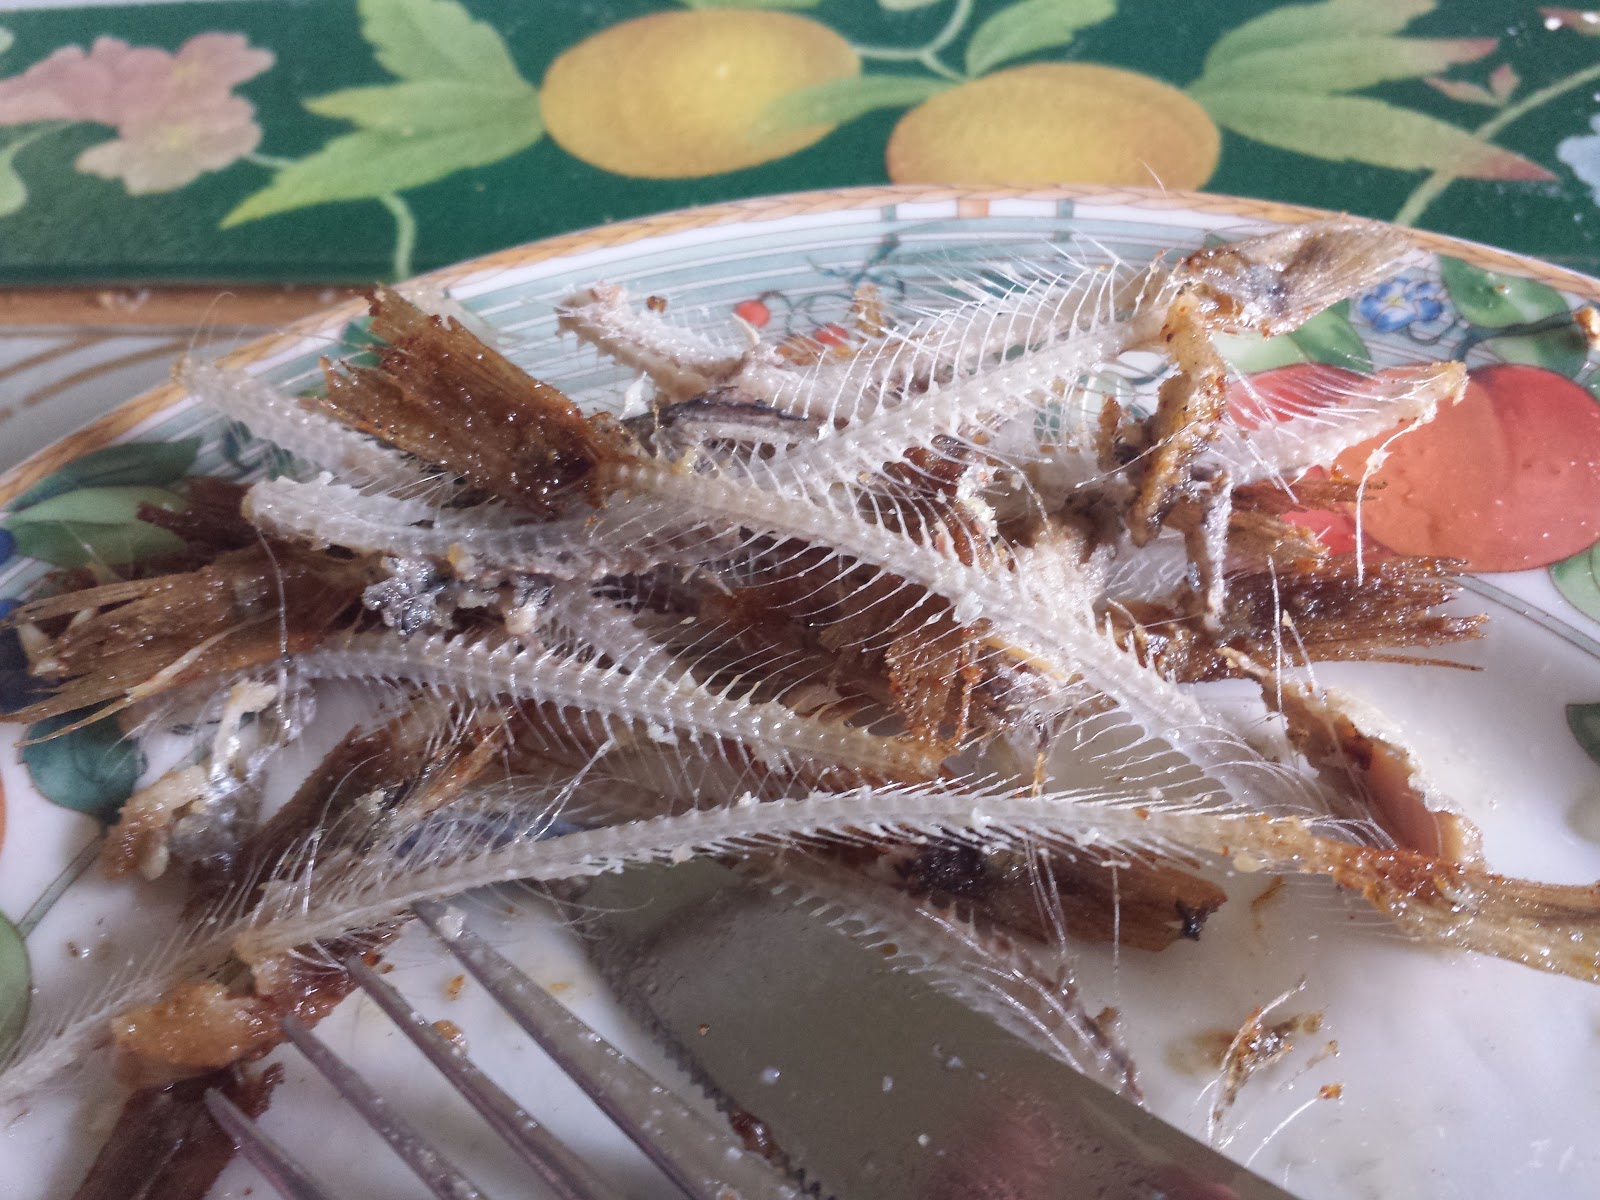
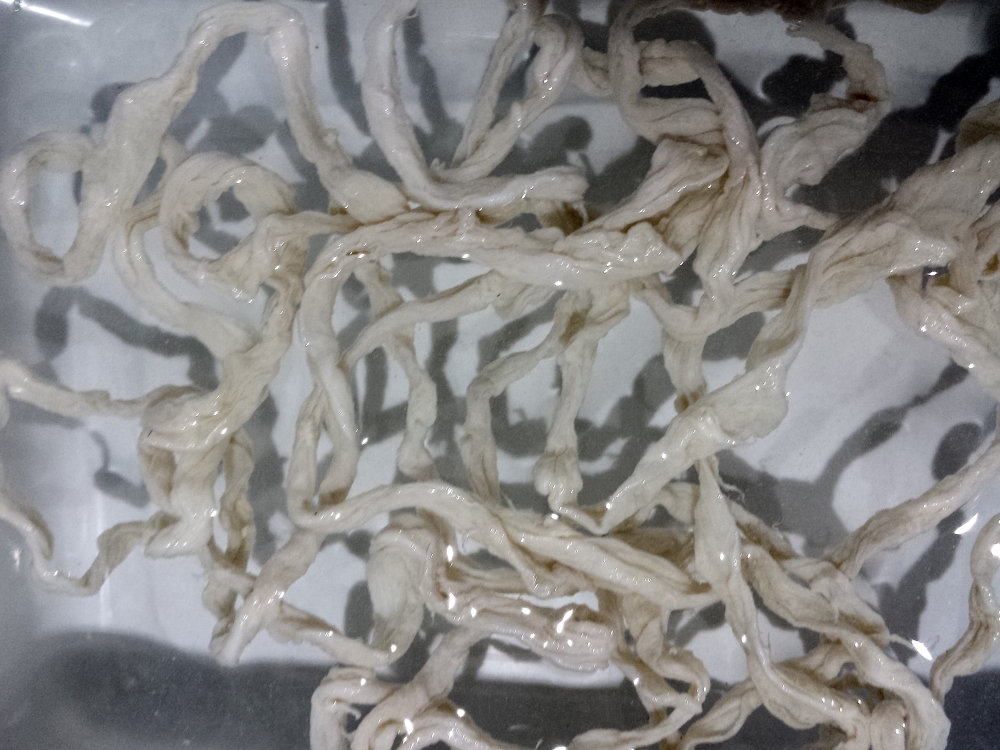
Then again, if you don’t, you will have something like this left. Obviously, they go in your compost bin, and will make things grow well in your garden….
Bon appetite, as we say here in Wales!


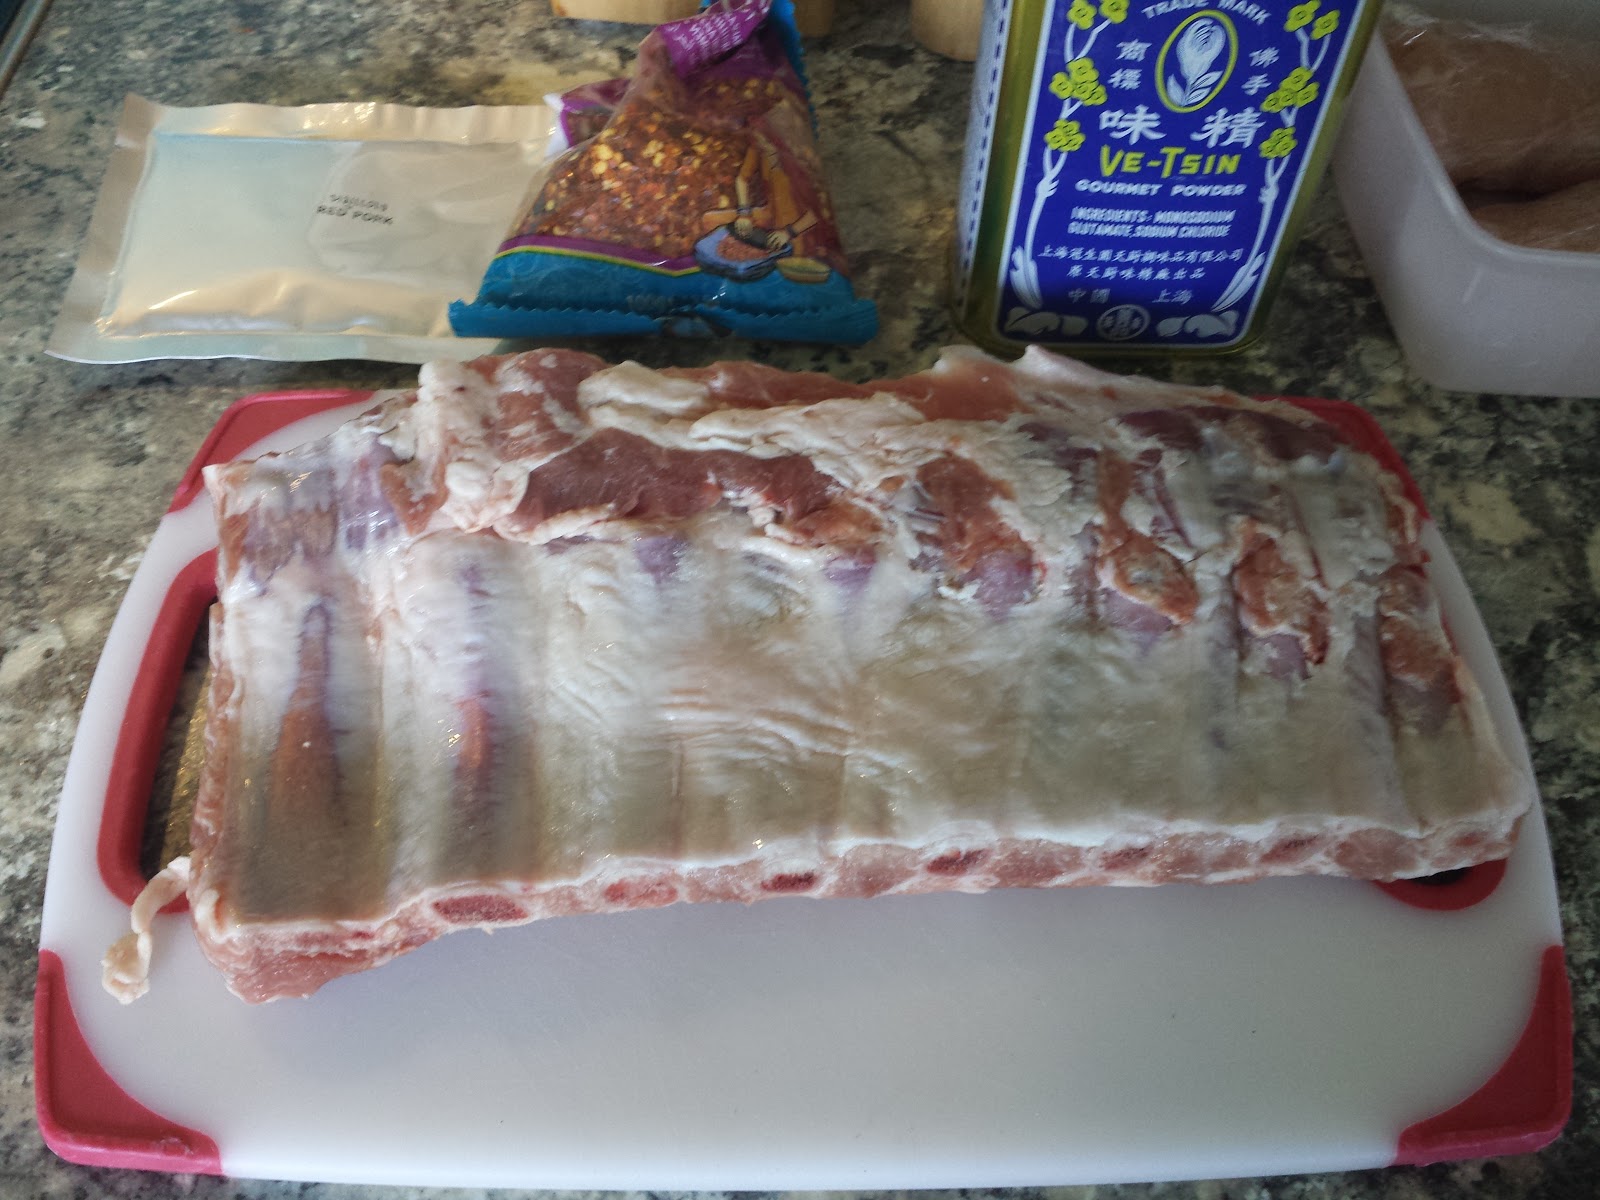


 We had a roast-in-the-bag duck crown in the freezer, but I wanted to feed the three of us, so I bought a couple of extra duck breasts. These Gressingham duck items seem to be in most UK supermarkets, and they are rather good. I also didn’t want to have all the faff of cutting the duck off the bones after it was
 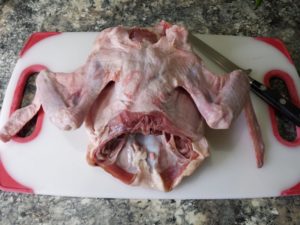 cooked, so I decided to remove all the bones before starting, and combine all the meat into a single roast. On the left, you can see what is inside the roasting bag. The legs, and the tail end have gone to other customers. I often use the leg joints for confit duck.
 Anyway, I sharpened my boning knife, and set to… here I have cut away the wings, and started to separate the breast from the rib cage, taking care not to cut the skin.
 By this point, the rib cage, spine, and shoulder bones have gone into the stock pot, along with the wings, and are being boiled up for a lovely stock. The whole thing is a bit untidy, as this was the first attempt at this task, so I cut off the untidy edges, and rendered the fat from them, to add to my collection of duck fat.
  When I have enough, I will be able to do confit duck legs again.
 The picture shows the second try, because the first time I did it, the two separate duck breasts slid out as I tightened the knots. It probably wasn’t as funny as I thought…
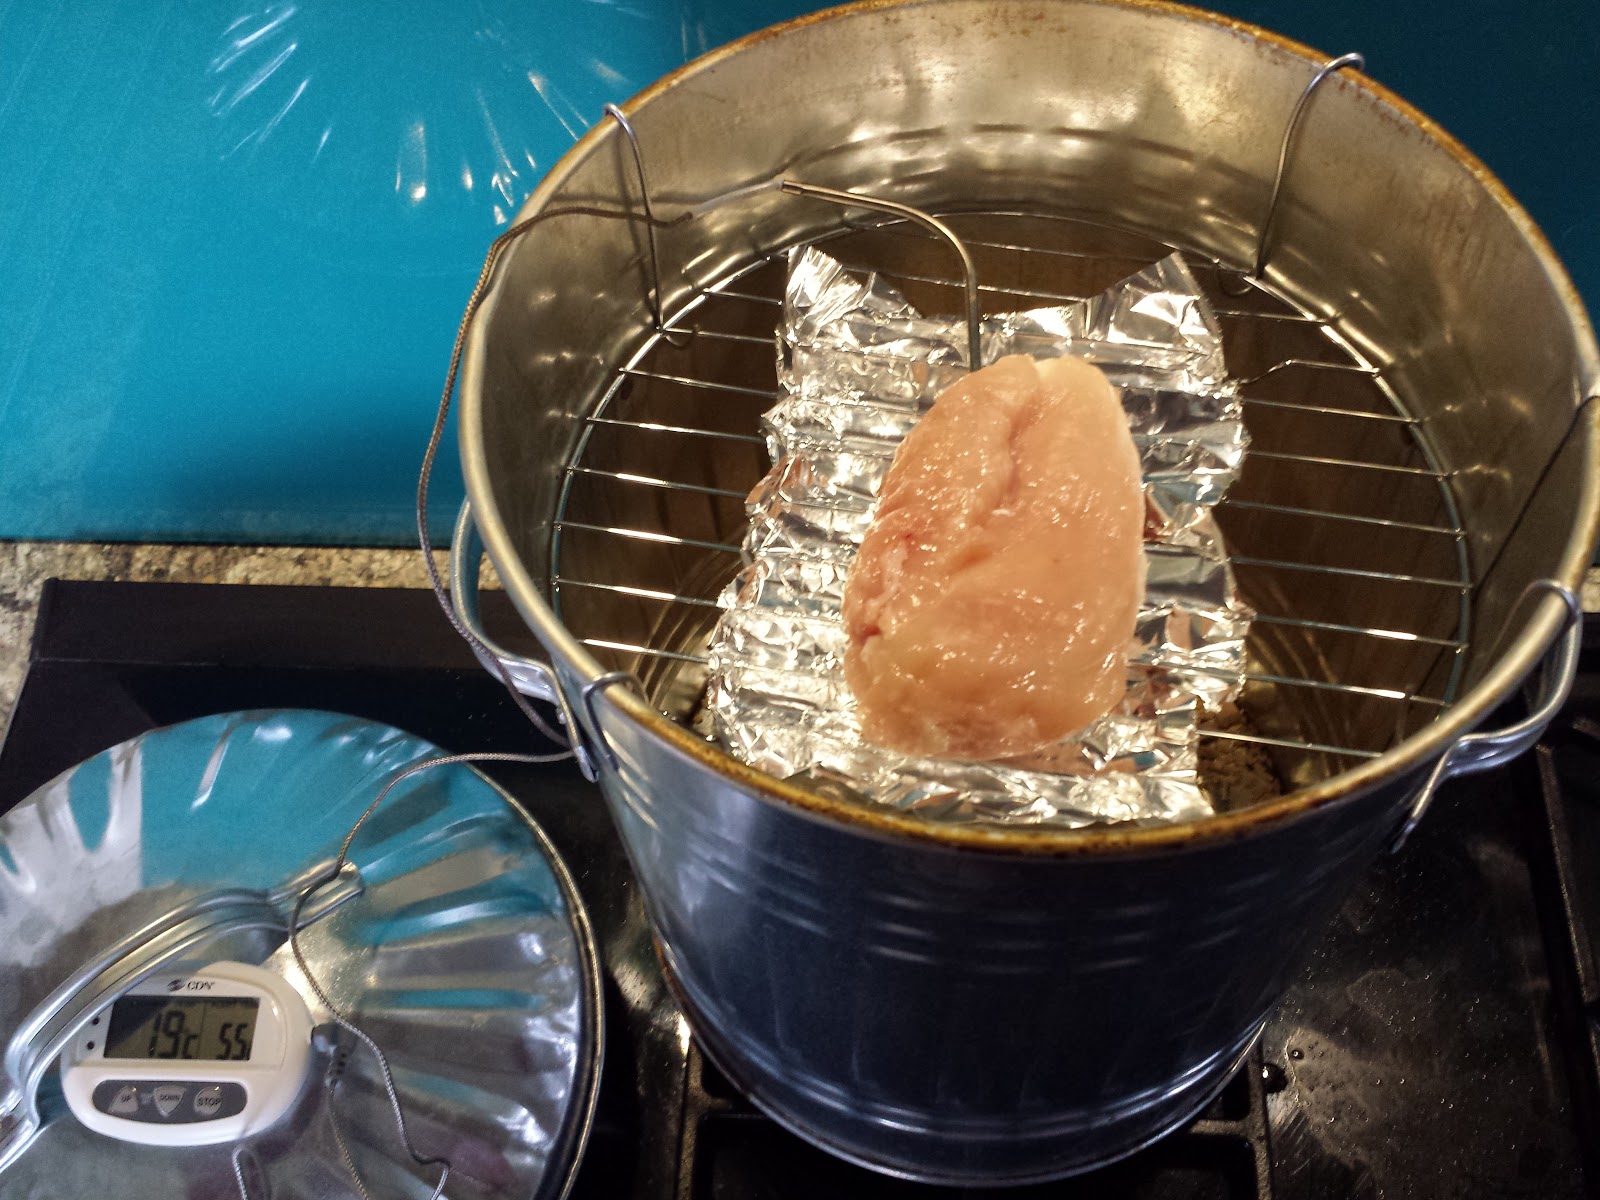
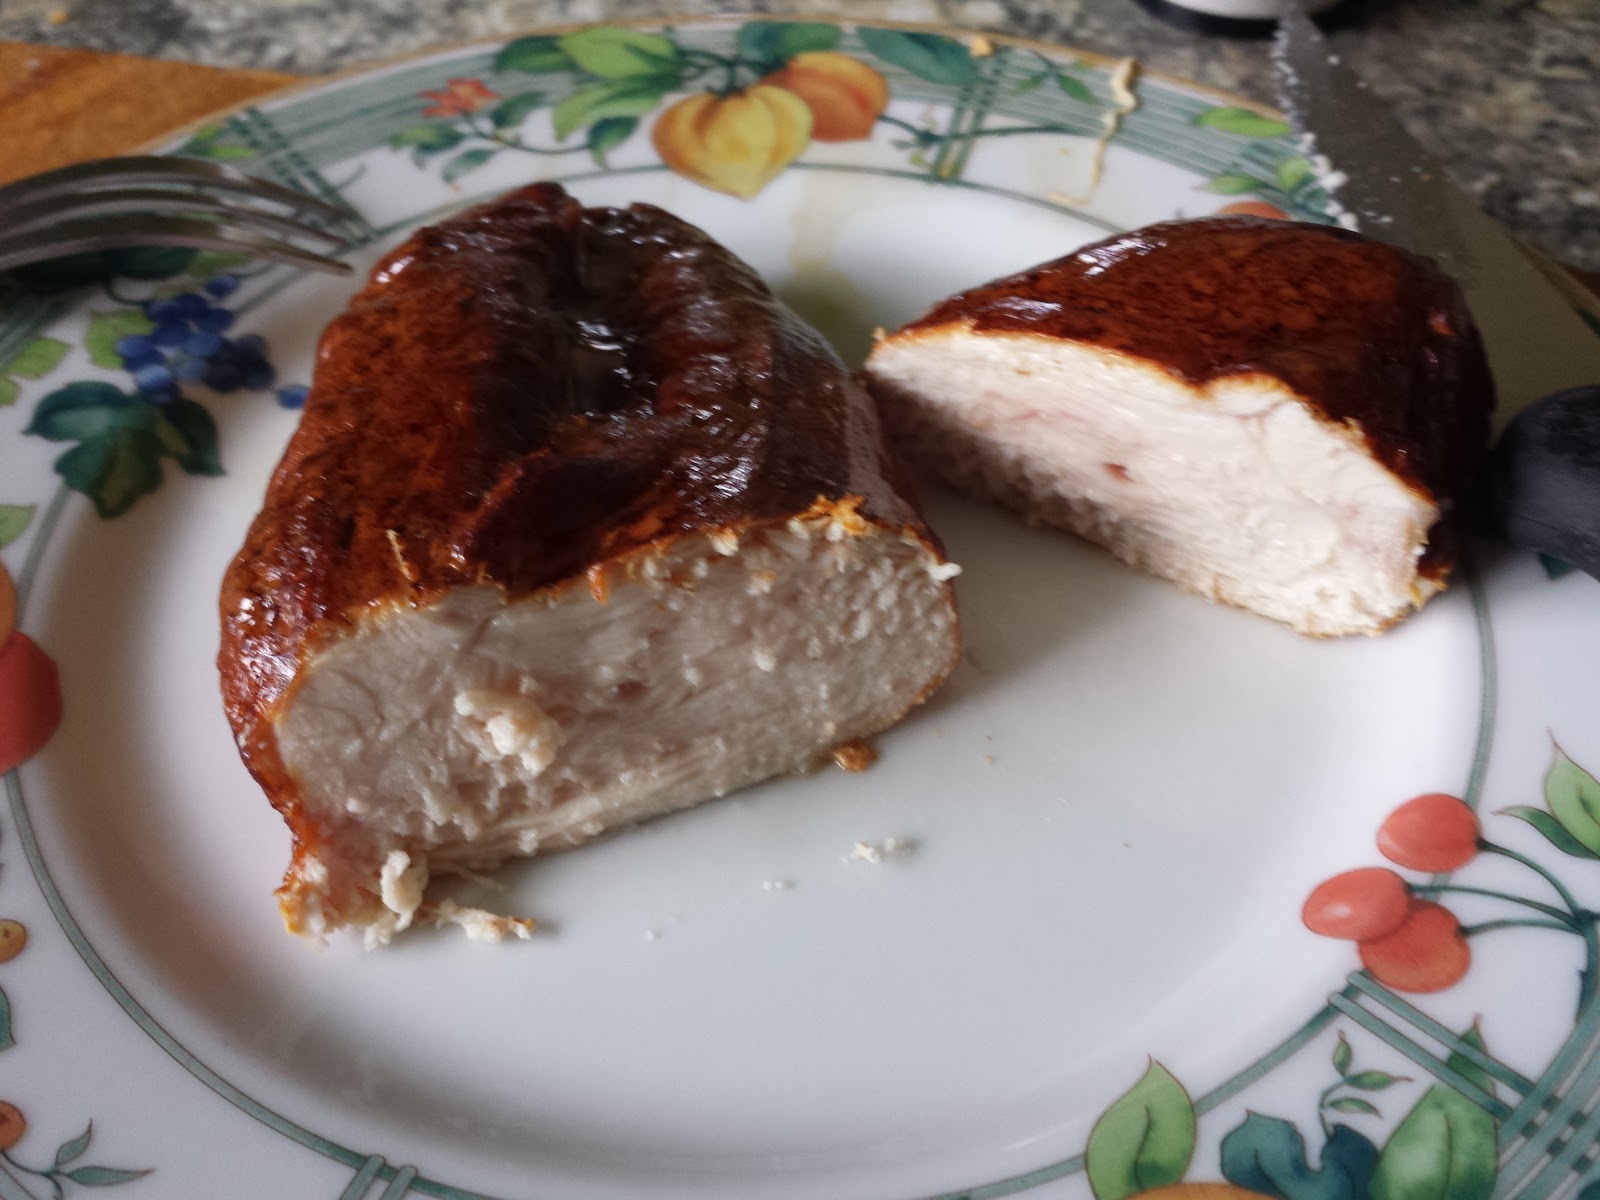
 Here it is, in the handy aluminium tray that was supplied with the duck crown. I inserted a thermometer probe into the duck, as I didn’t want to ruin it by overcooking it. Anything over 50ºC would do that, according to the online sources I looked at. That’s 122ºF, if you are cooking in old money, as I believe some
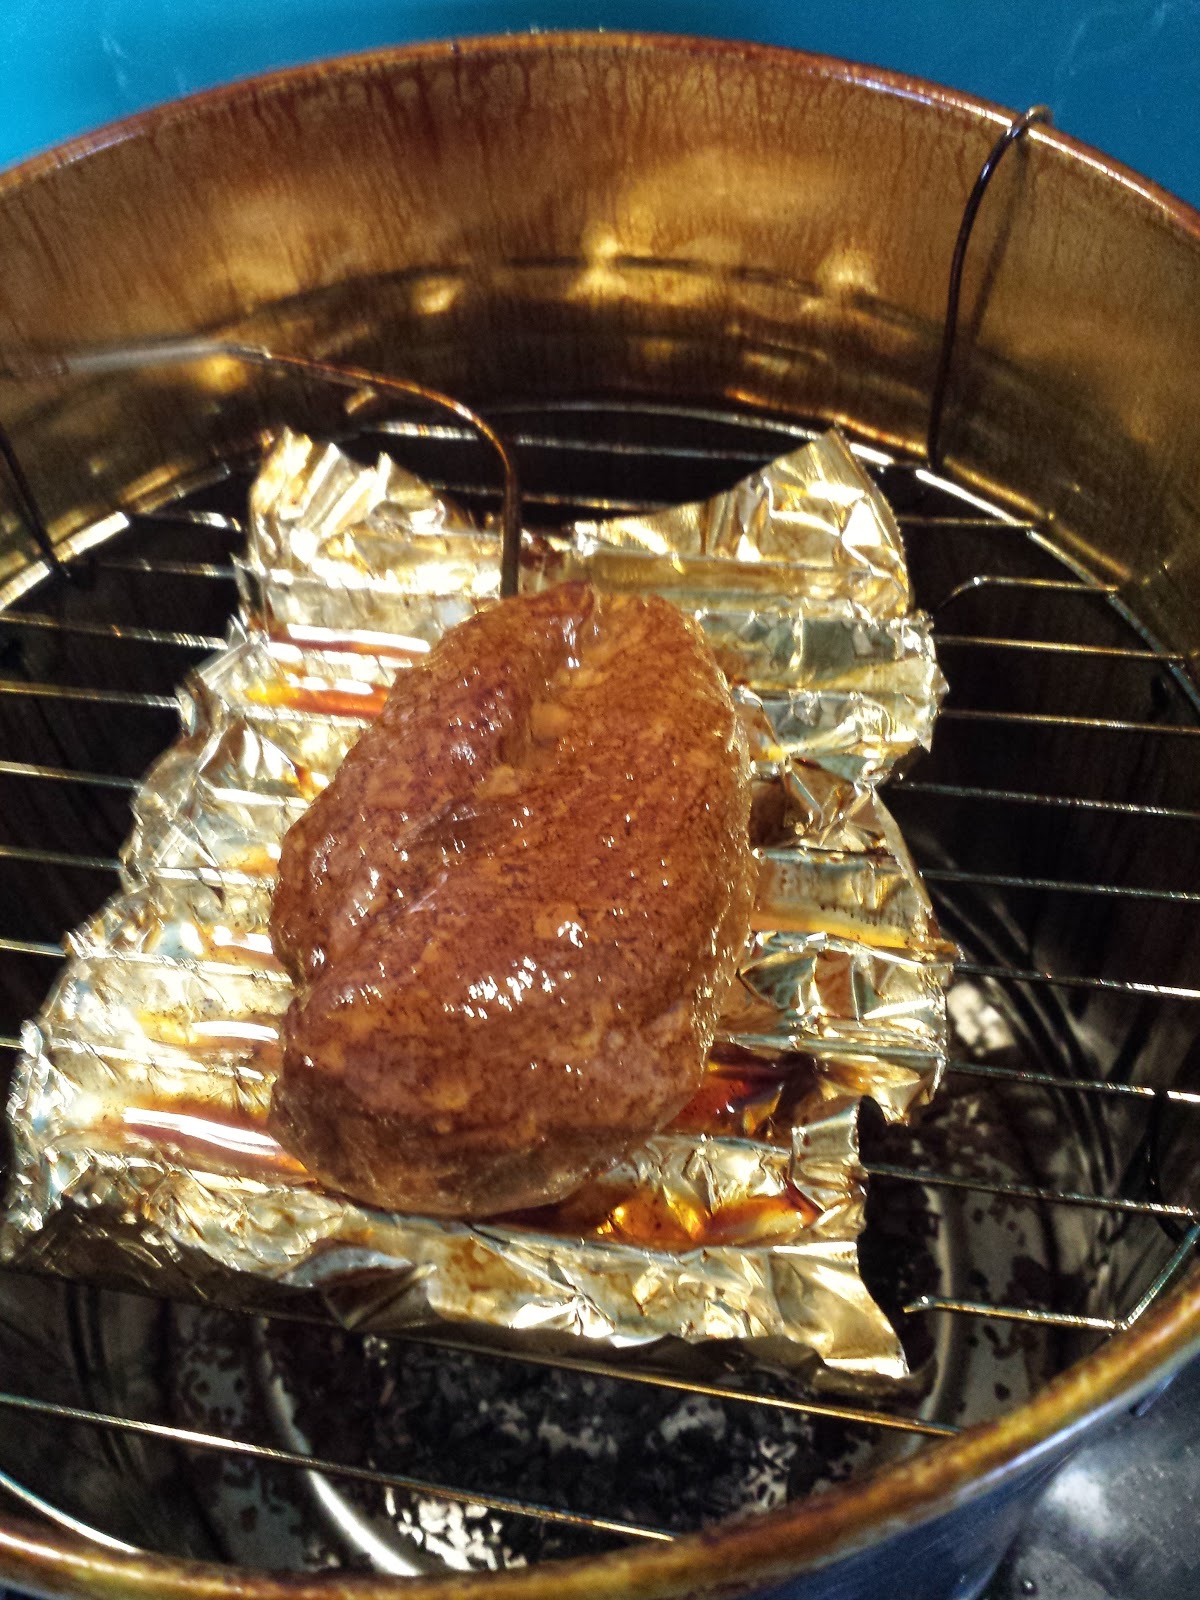
 countries do. I roasted it at 180ºC until the thermometer started beeping, and took it out of the oven to rest while I cooked the vegetables. The heat in the outer parts of the duck were conducted to the centre, and I was quite worried as it achieved a core temperature of 55ºC during that time, with no additional heat.
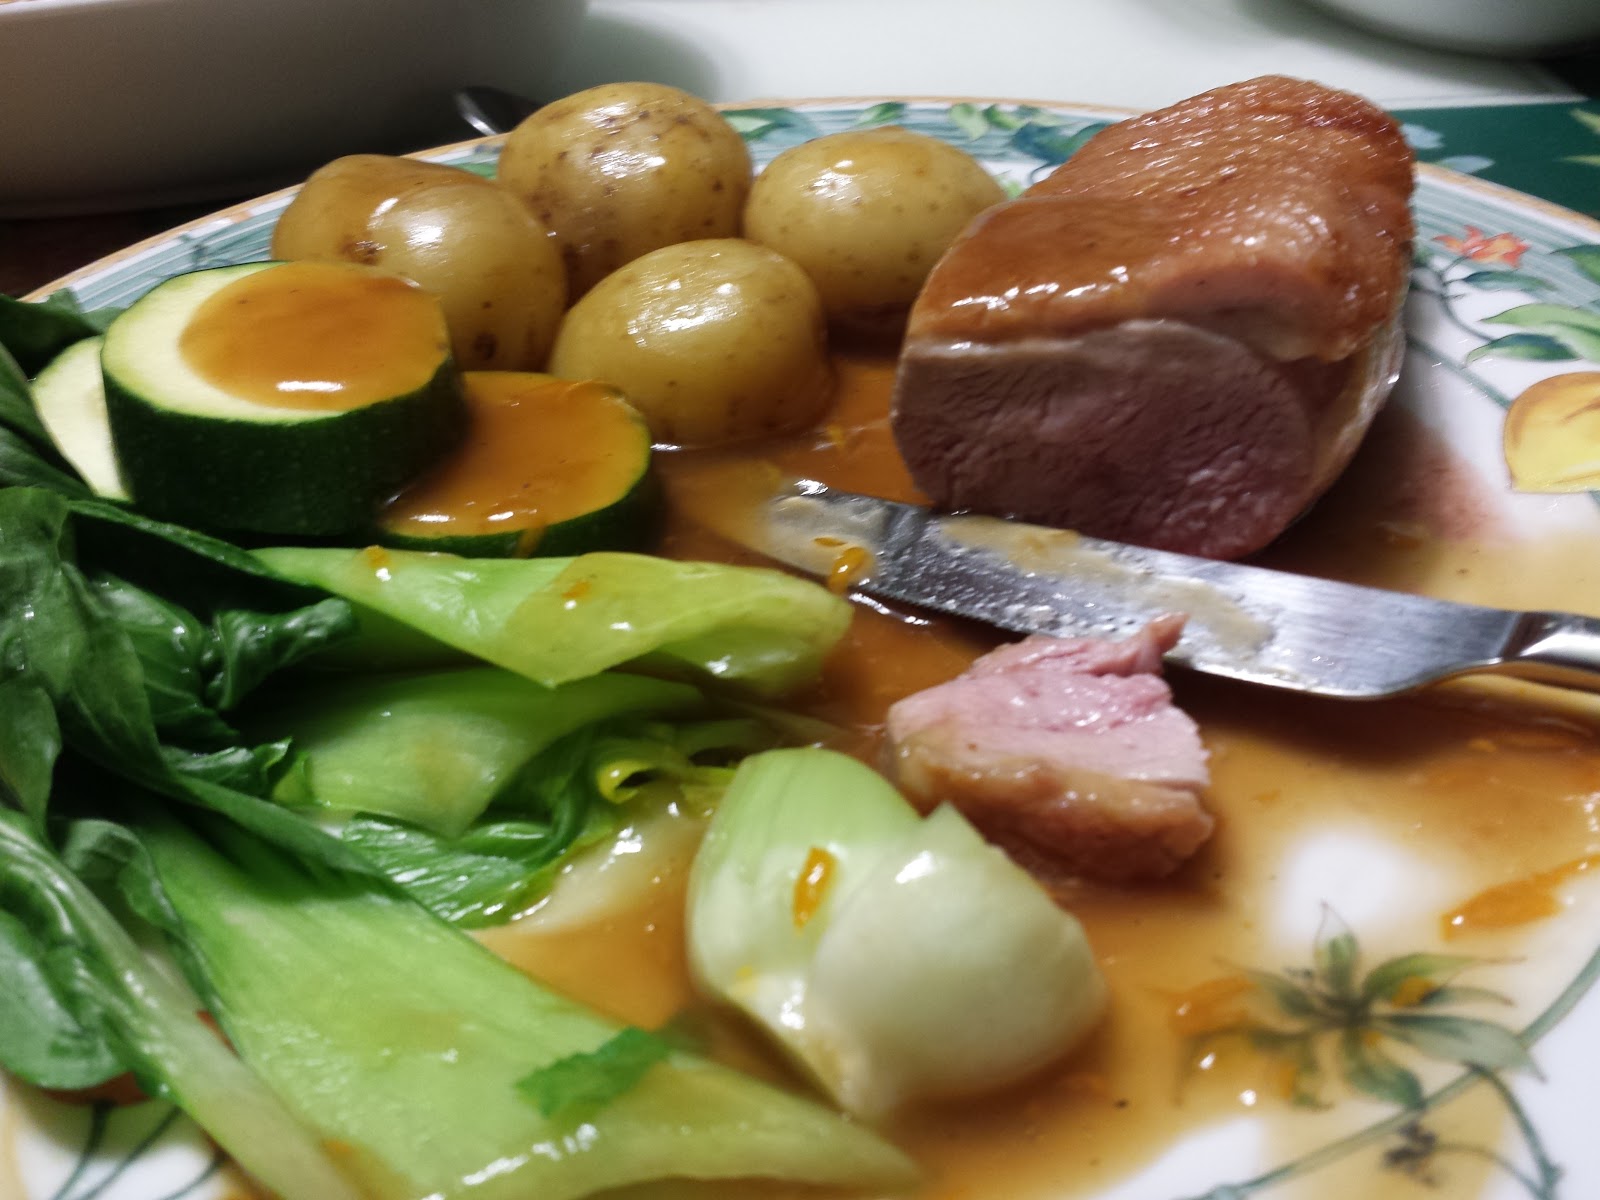
 time I try this. Overall, though, I was very pleased with this meal. The sauce was a chicken gravy from the store cupboard (Bisto, since you ask) flavoured with some hoi-sin sauce. New potatoes, sweetcorn, and soya beans were good, too.
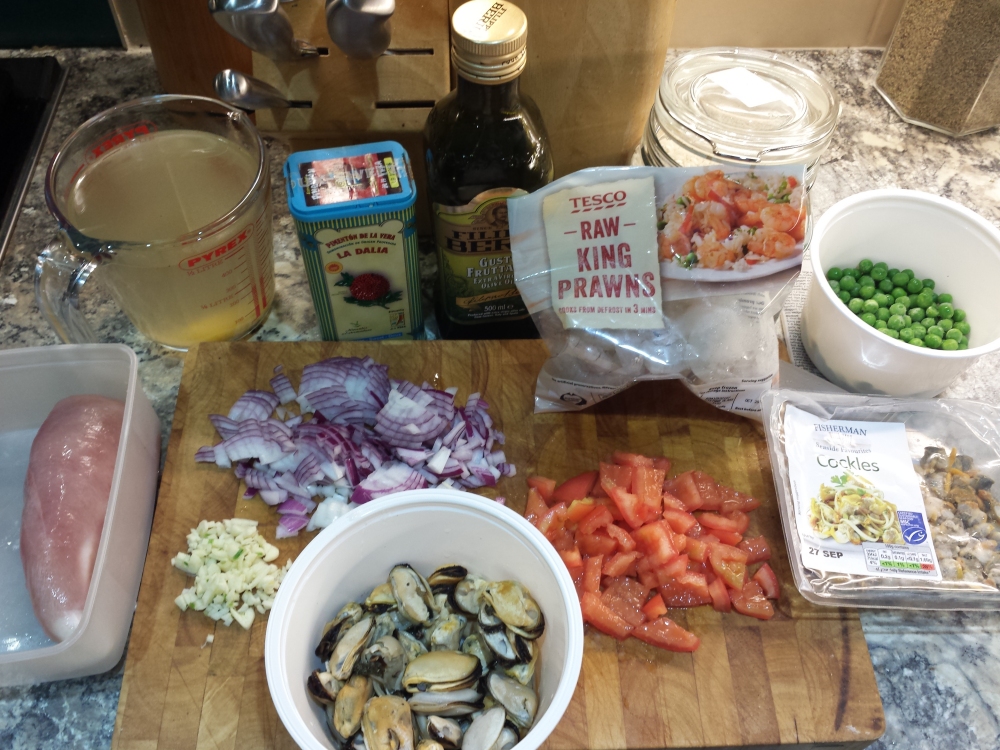
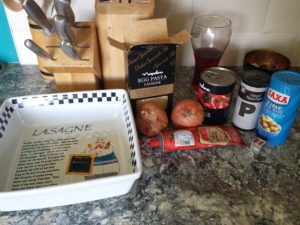 Here are some of the things I used to make a recent lasagne. It’s fairly hard to see, but there’s a bowl of home grown garlic at the back, on the right. Just push garlic cloves that are too small to bother peeling into the ground. A few months later, they will have multiplied enormously, and somehow pulled themselves down until they are six inches underground. I have no idea how they manage to do that, but they do. I must remember to ask my favourite botanist, if he ever visits us.
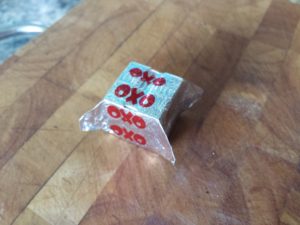 This is the humble, yet powerful, Oxo cube that I used, to flavour the rather insipid looking beef mince. Some people tear the foil off, and crumble the cube with their fingers. Try this… Pull the little flaps out as shown, and hit the cube a couple of times
 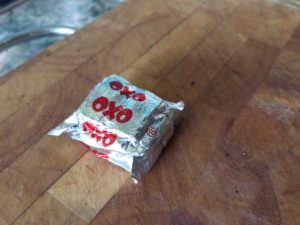 with your palm, until it is flattened. Now you can just rip it and tip the powdered Oxo straight into the pan. Isn’t that clever? I would credit the source of the tip, if I could remember it.
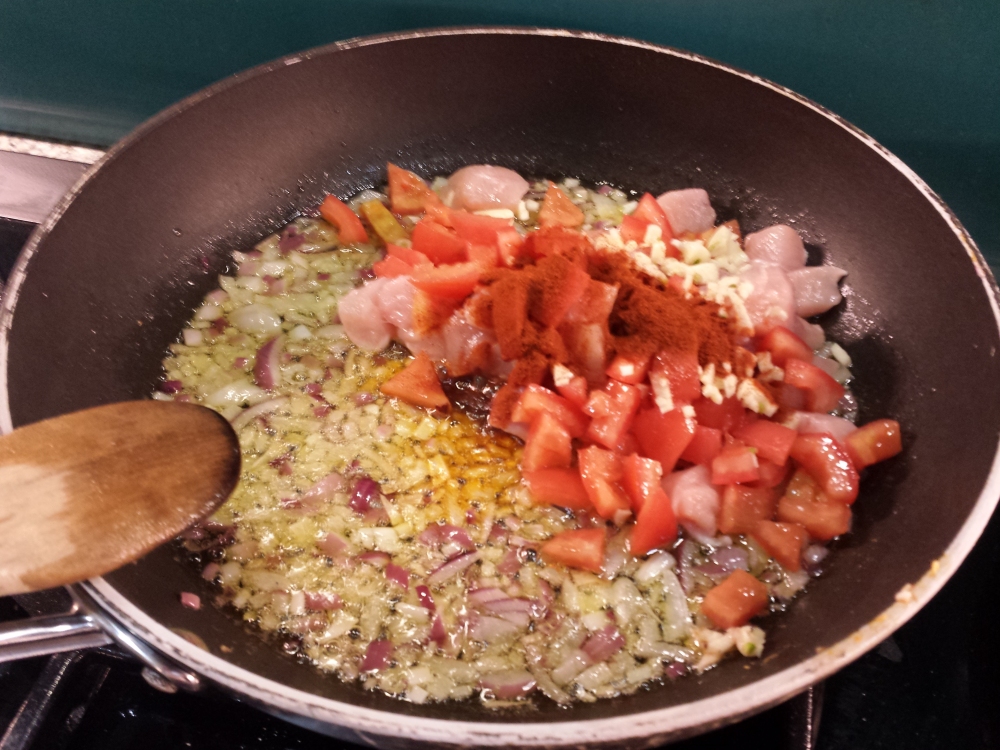
 That meat will need to be browned properly, of course, before you carry on making the sauce, but you know that, don’t you? I wasn’t following a recipe, just doing what seemed likely to be the way I have made lasagne before.
 Now some recipes have you put layers of sauce in with the layers of meat and pasta. I don’t do that, mainly because it increases hugely the amount of sauce you will need, and tends to make the final dish sloppy. I have been known to put in layers of grated cheese, and that can work quite well, but this lasagne didn’t have any.
 ends up knowing how to do without measuring things. A lump of butter of a certain size. A big, but not too big, spoonful of flour. Do not forget Colman’s mustard powder, about half a teaspoonful. It’s not enough to make the sauce taste mustardy, but it will seem dull if you forget to put it in.
  The butter and flour have to be cooked until there is what one recipe book describes as a “biscuity smell”.
 cheese. Please use a decent Cheddar, not soapy cheap stuff.
 picture, along with a salad that miraculously appeared while the lasagne was cooking.